The organic feed pickup is scheduled for May 1st at Regen Farms.
37200 East County Road 6, Watkins CO.
Take I70 to exit 299 which is the Manila Road exit. head south on Manila Road and take your first right turn on E County Road. This road runs into the gates of the community. I plan to have the gates open. If not you can call me to get you in.
once you enter the gates the farm is the second property on the left (south). When 6th avenue begins to turn the farm gates are directly to your left. Hopefully I’ll remember to set a orange cone out.
If anyone wants to check the farm out ahead of time let me know. It is an early stage (3rd year) permaculture, regenerative farm.
Thanks,
Kinch
Contact (at) RegenFarms.com
Monthly Archives: April 2015
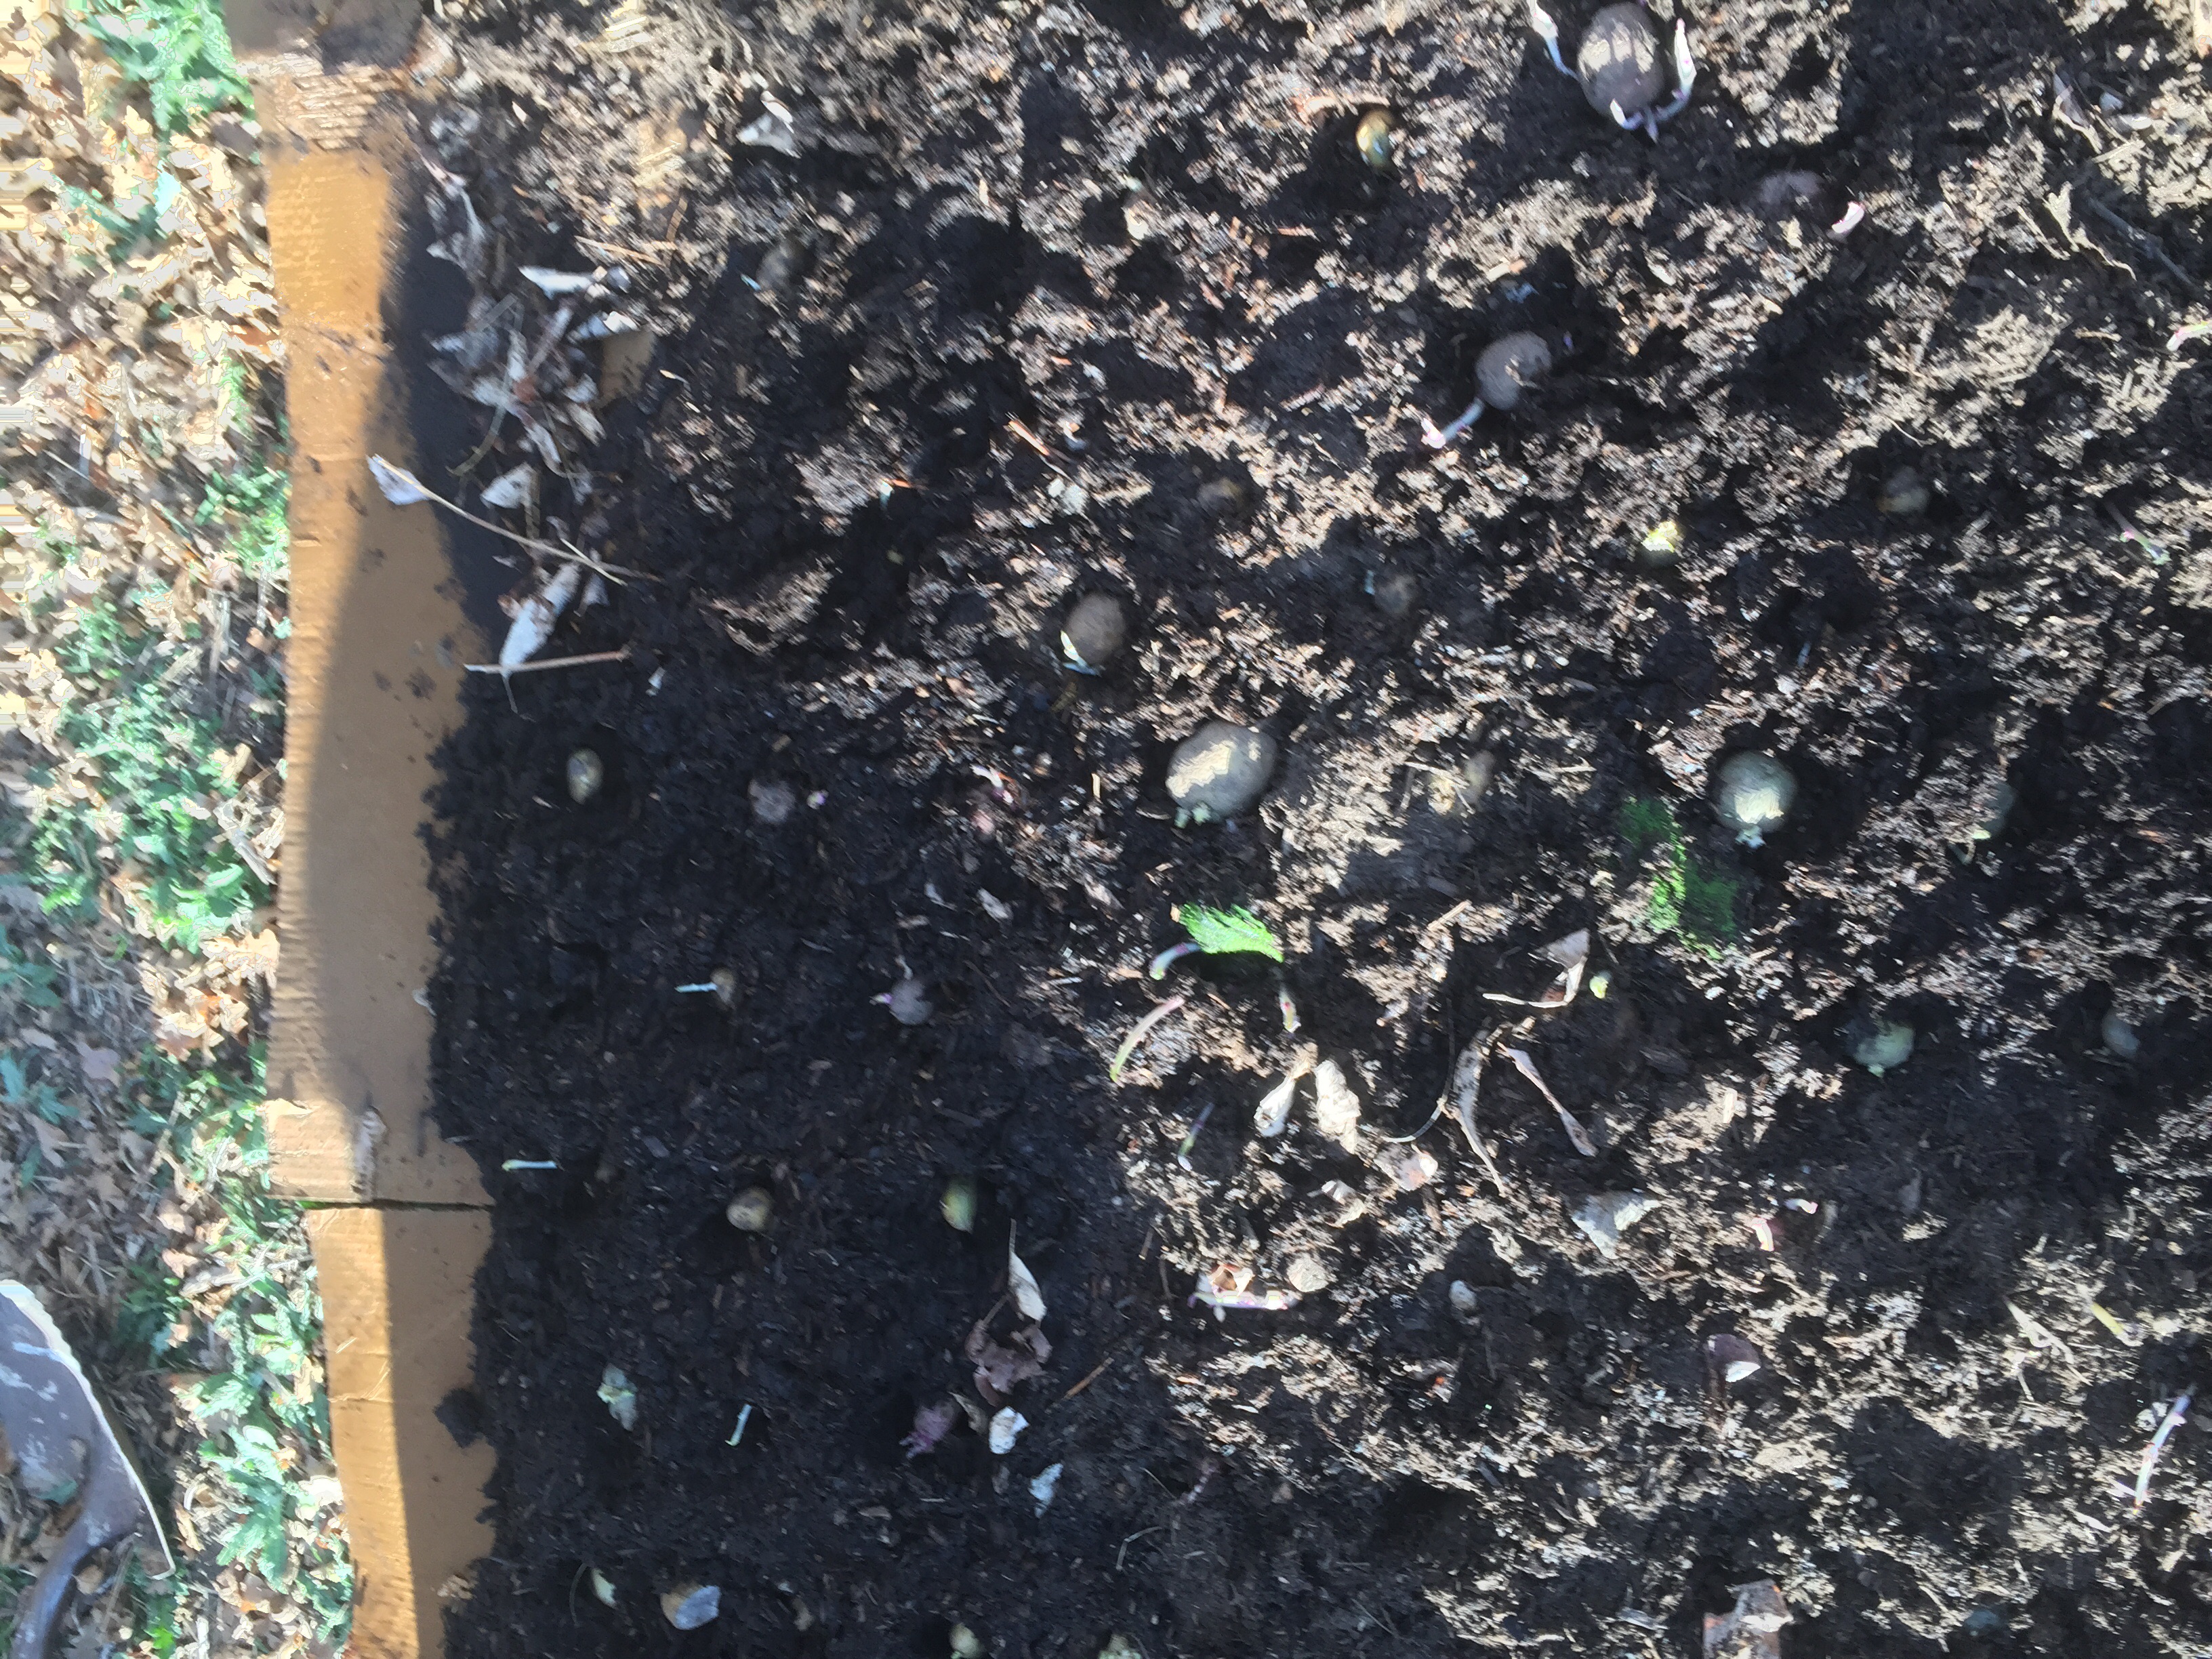
How to grow sheet mulch potatos
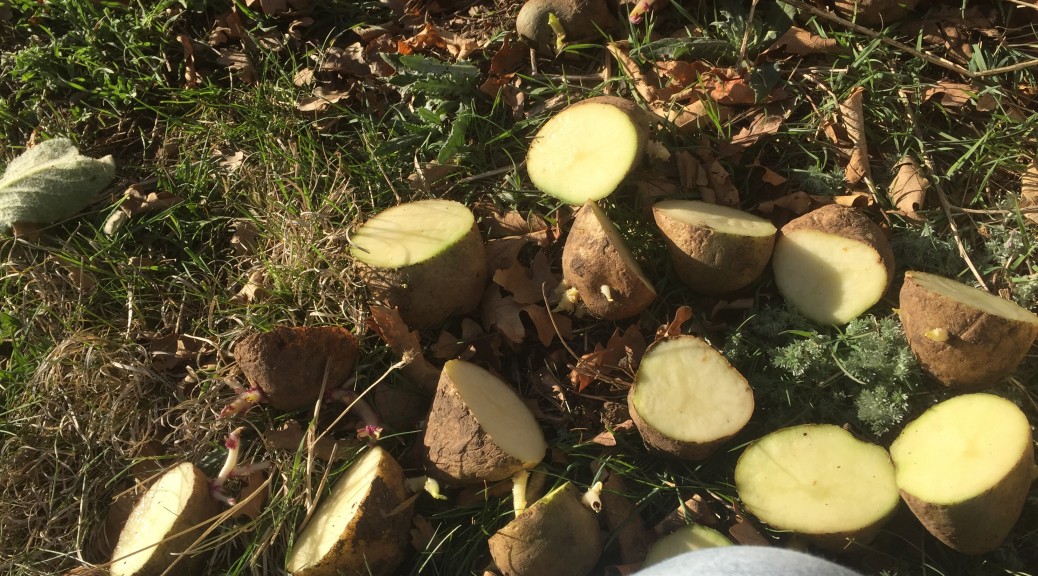
For this years sheet mulch potato plot I picked a weedy area where nothing had been previously been grown.
why sheet mulch potatos? Because when it is time to pick your new potatos they will be easy to pick since they will all be on top of the cardboard.
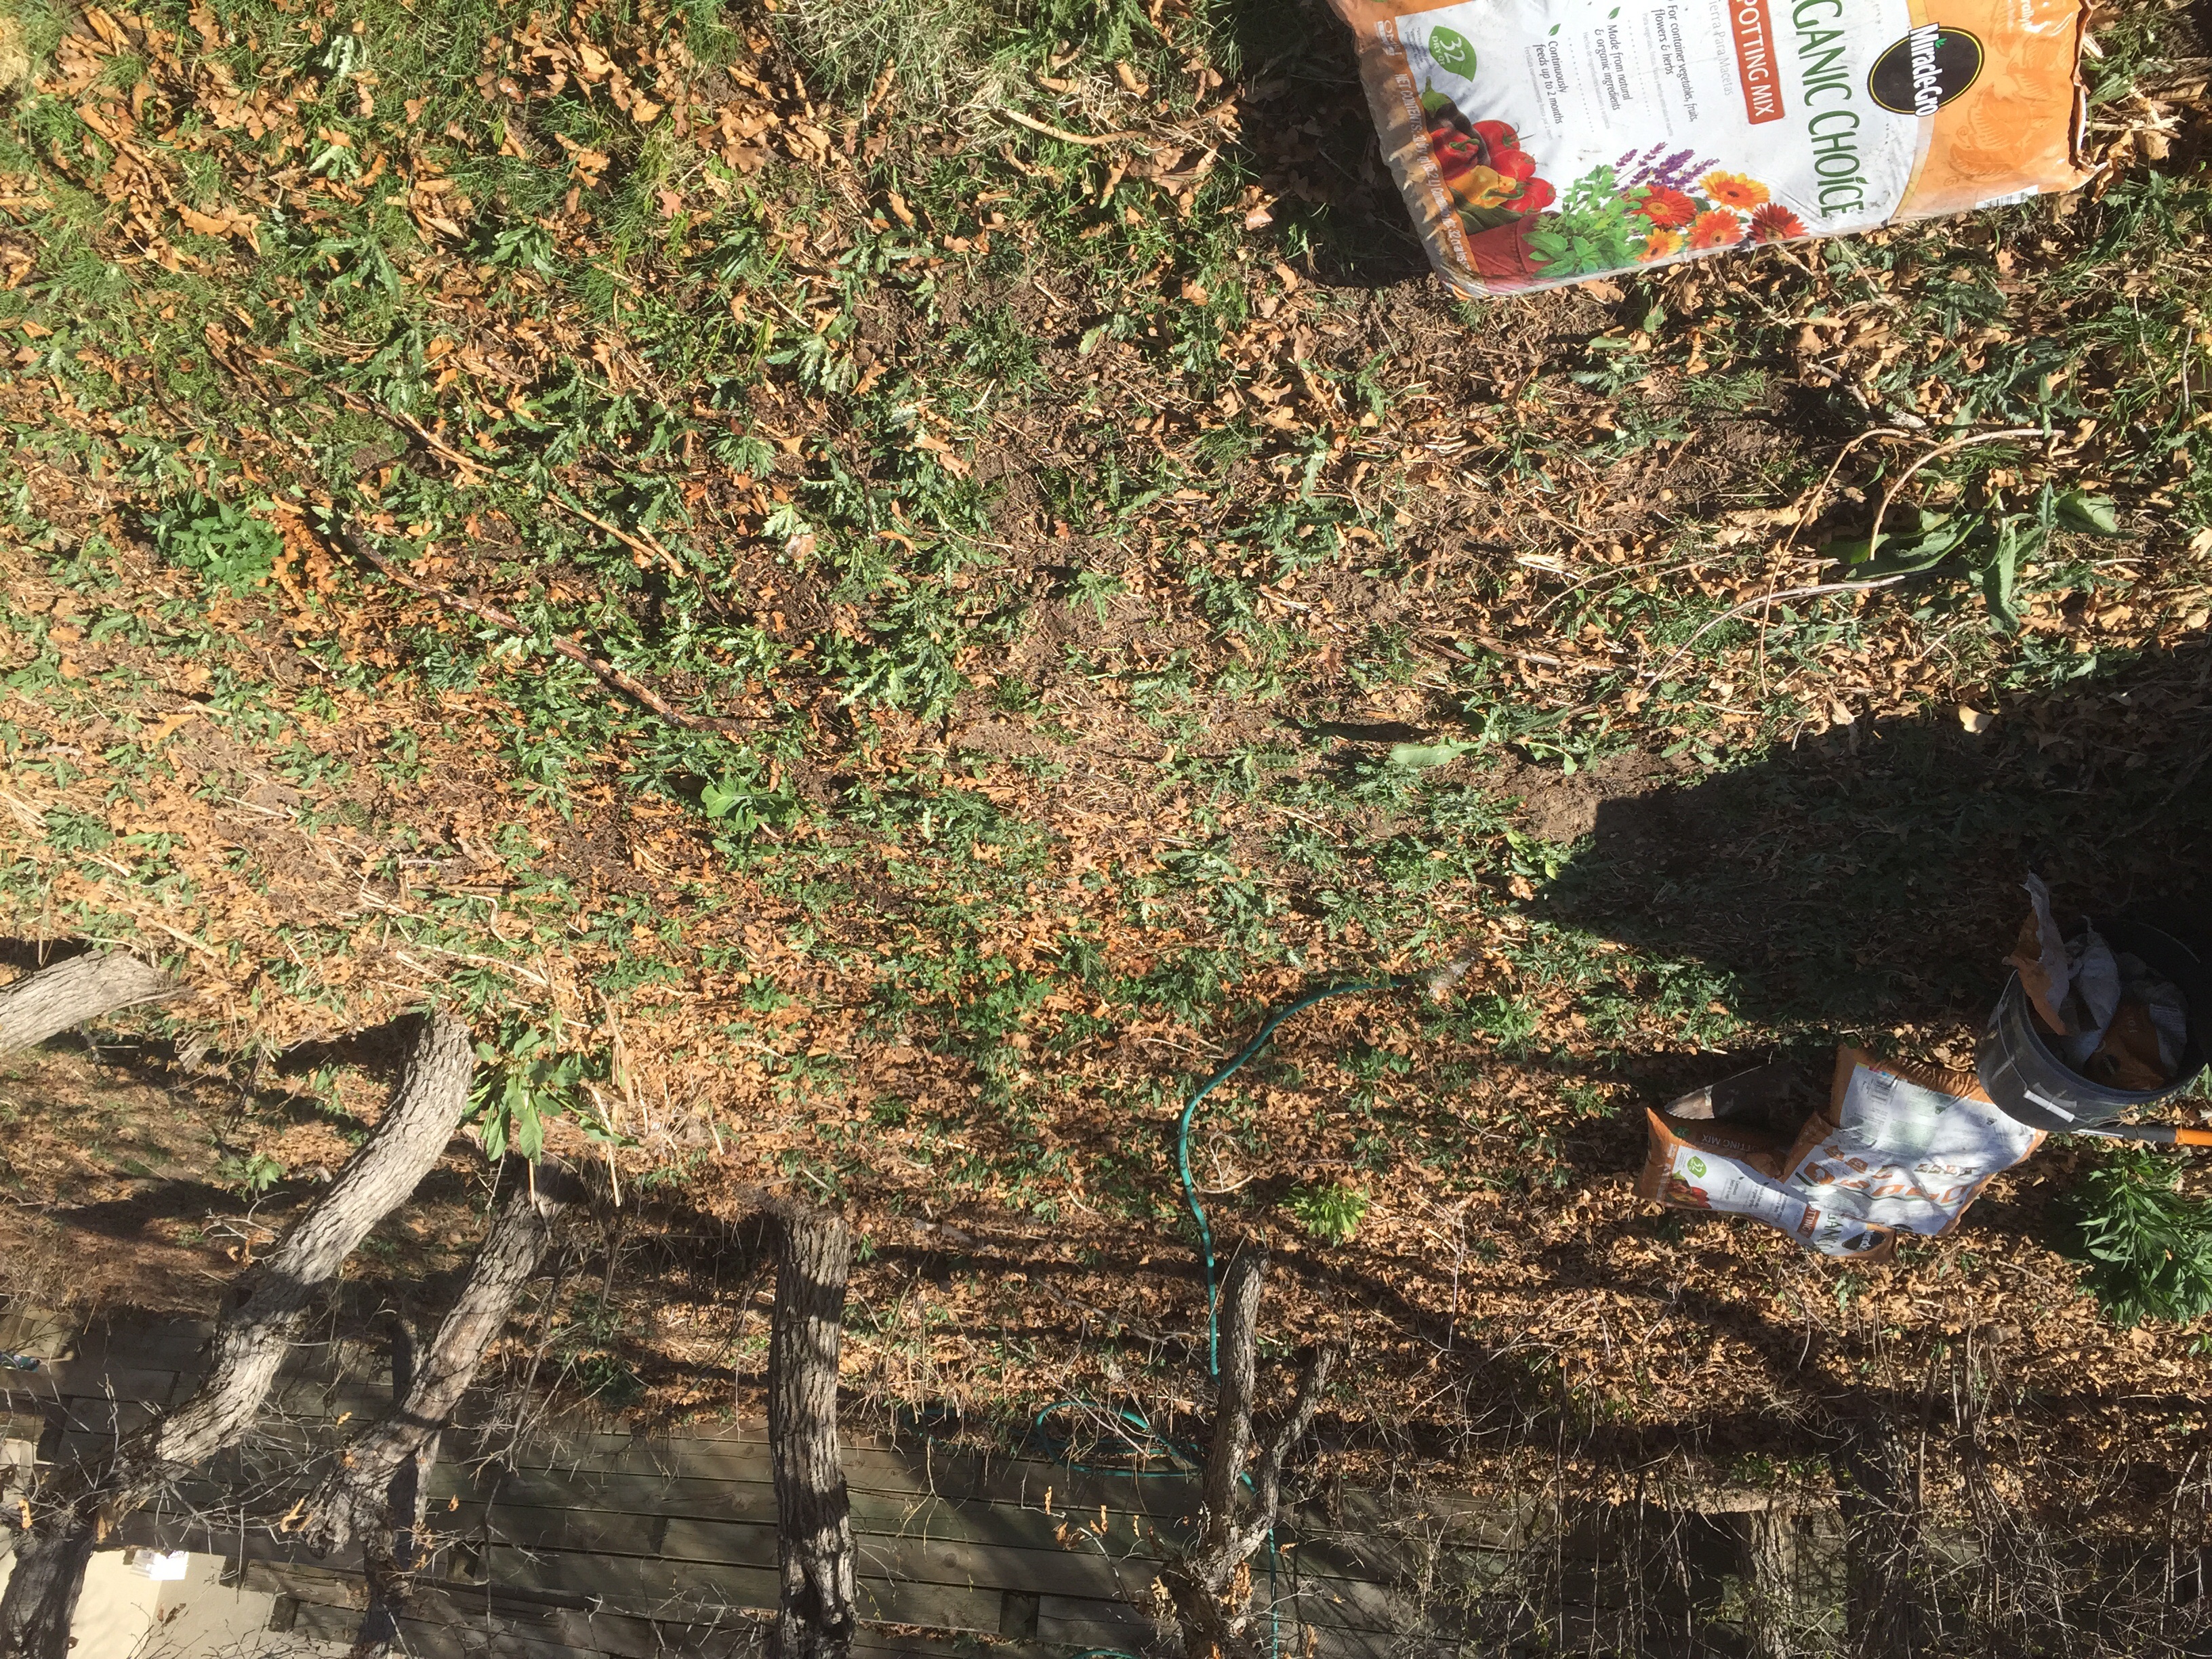
Lay out your cardboard.
I then sprayed it with water.
Add soil or in my case OMRI listed organic potting soil (price was right)
Add your seed potatos to the soil, cover them with soil.
Water the soil.
Add some mulch over the soil – you want to make sure your new growing potatos never get sunlight as they will turn green and be toxic. You may need to add more soil as the potatos grow. I used pine needs for mulch since I had access to some and they stay put when the wind blows.
If you cut your potatos you need to let them dry a day or two until the cut areas dry. In wet area you may need to dust them with maybe sulfur.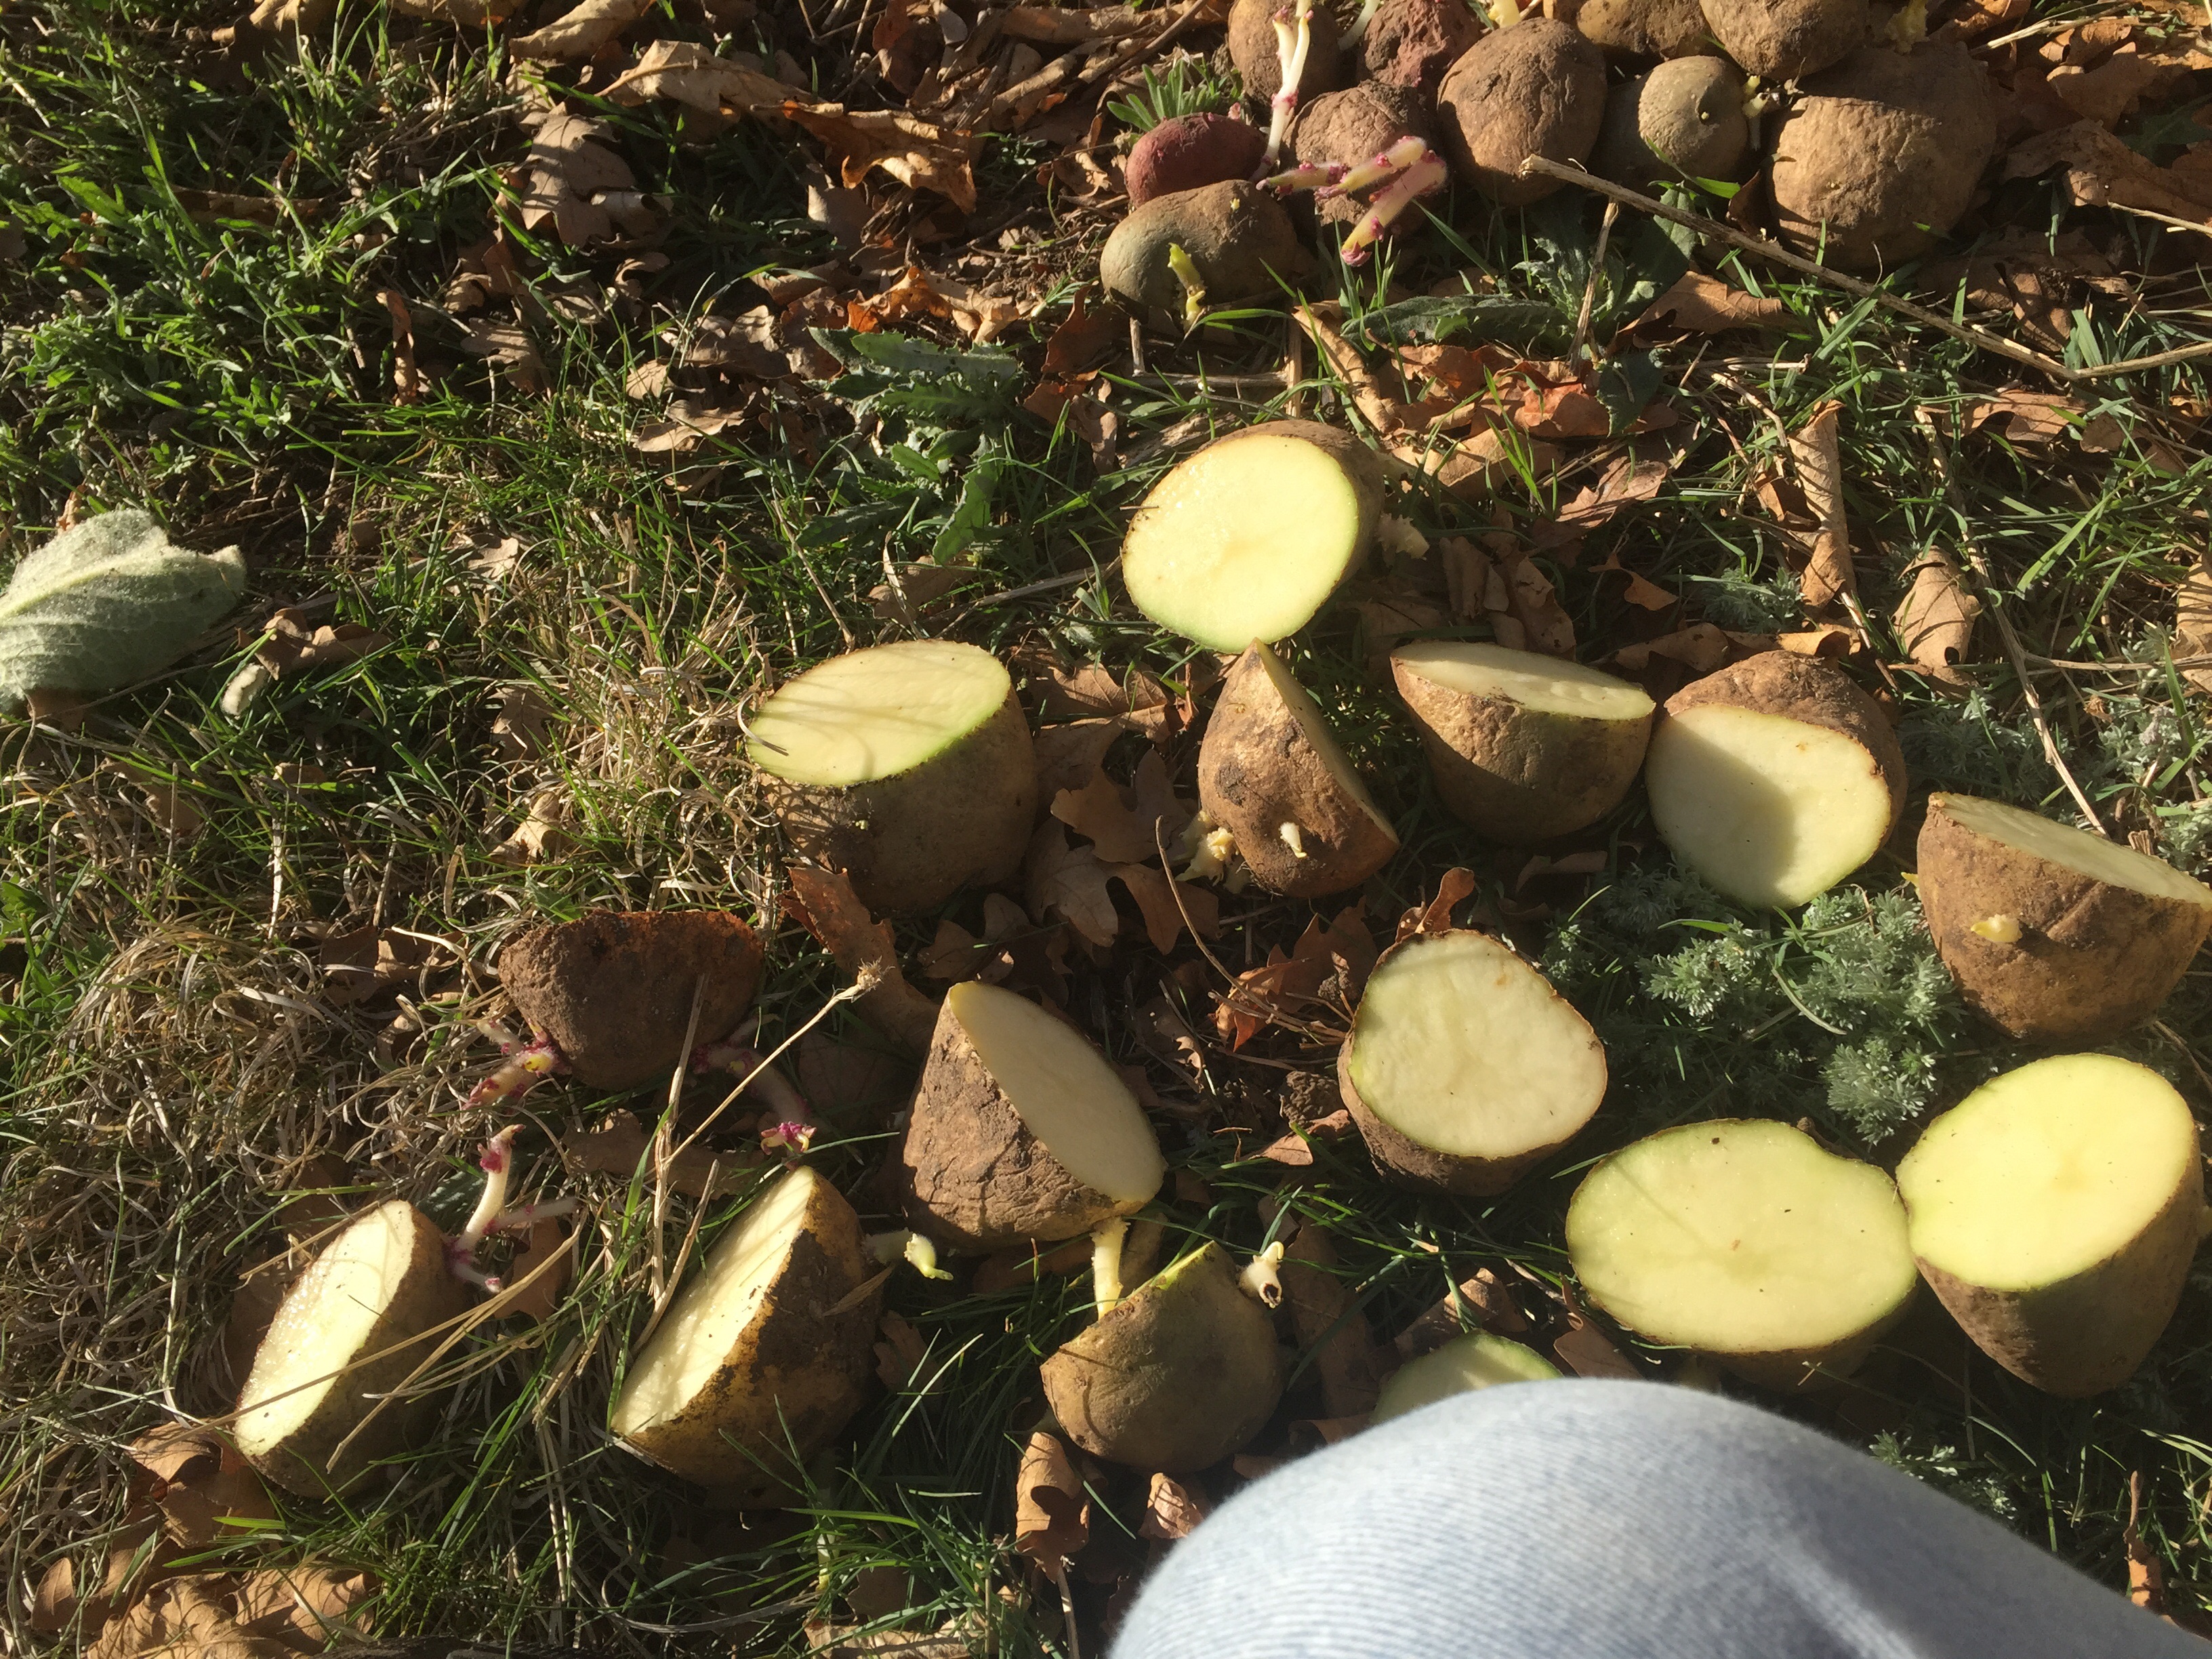

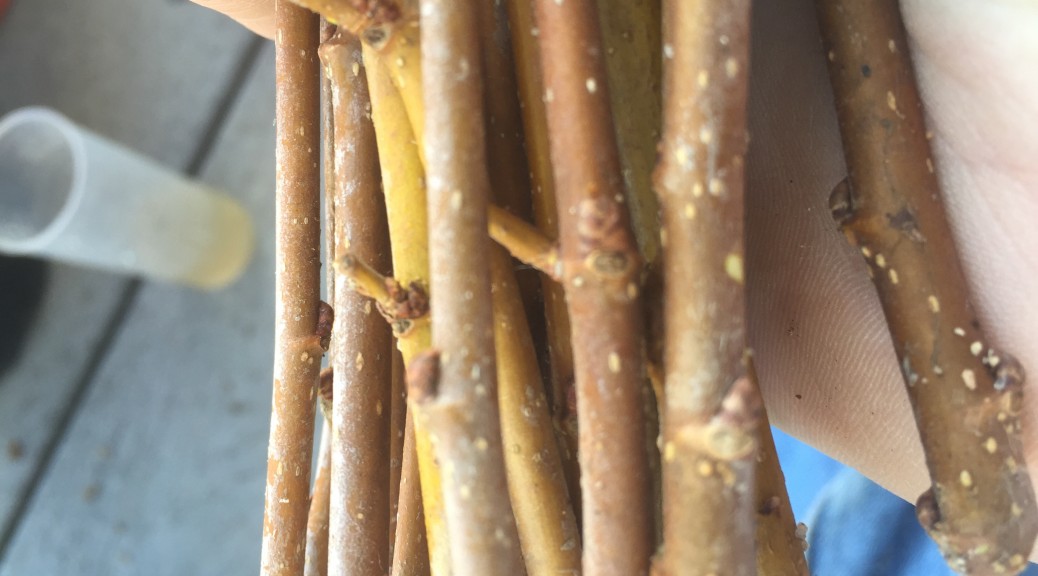
Rooting hardwood elderberry, mulberry and black currant cuttings
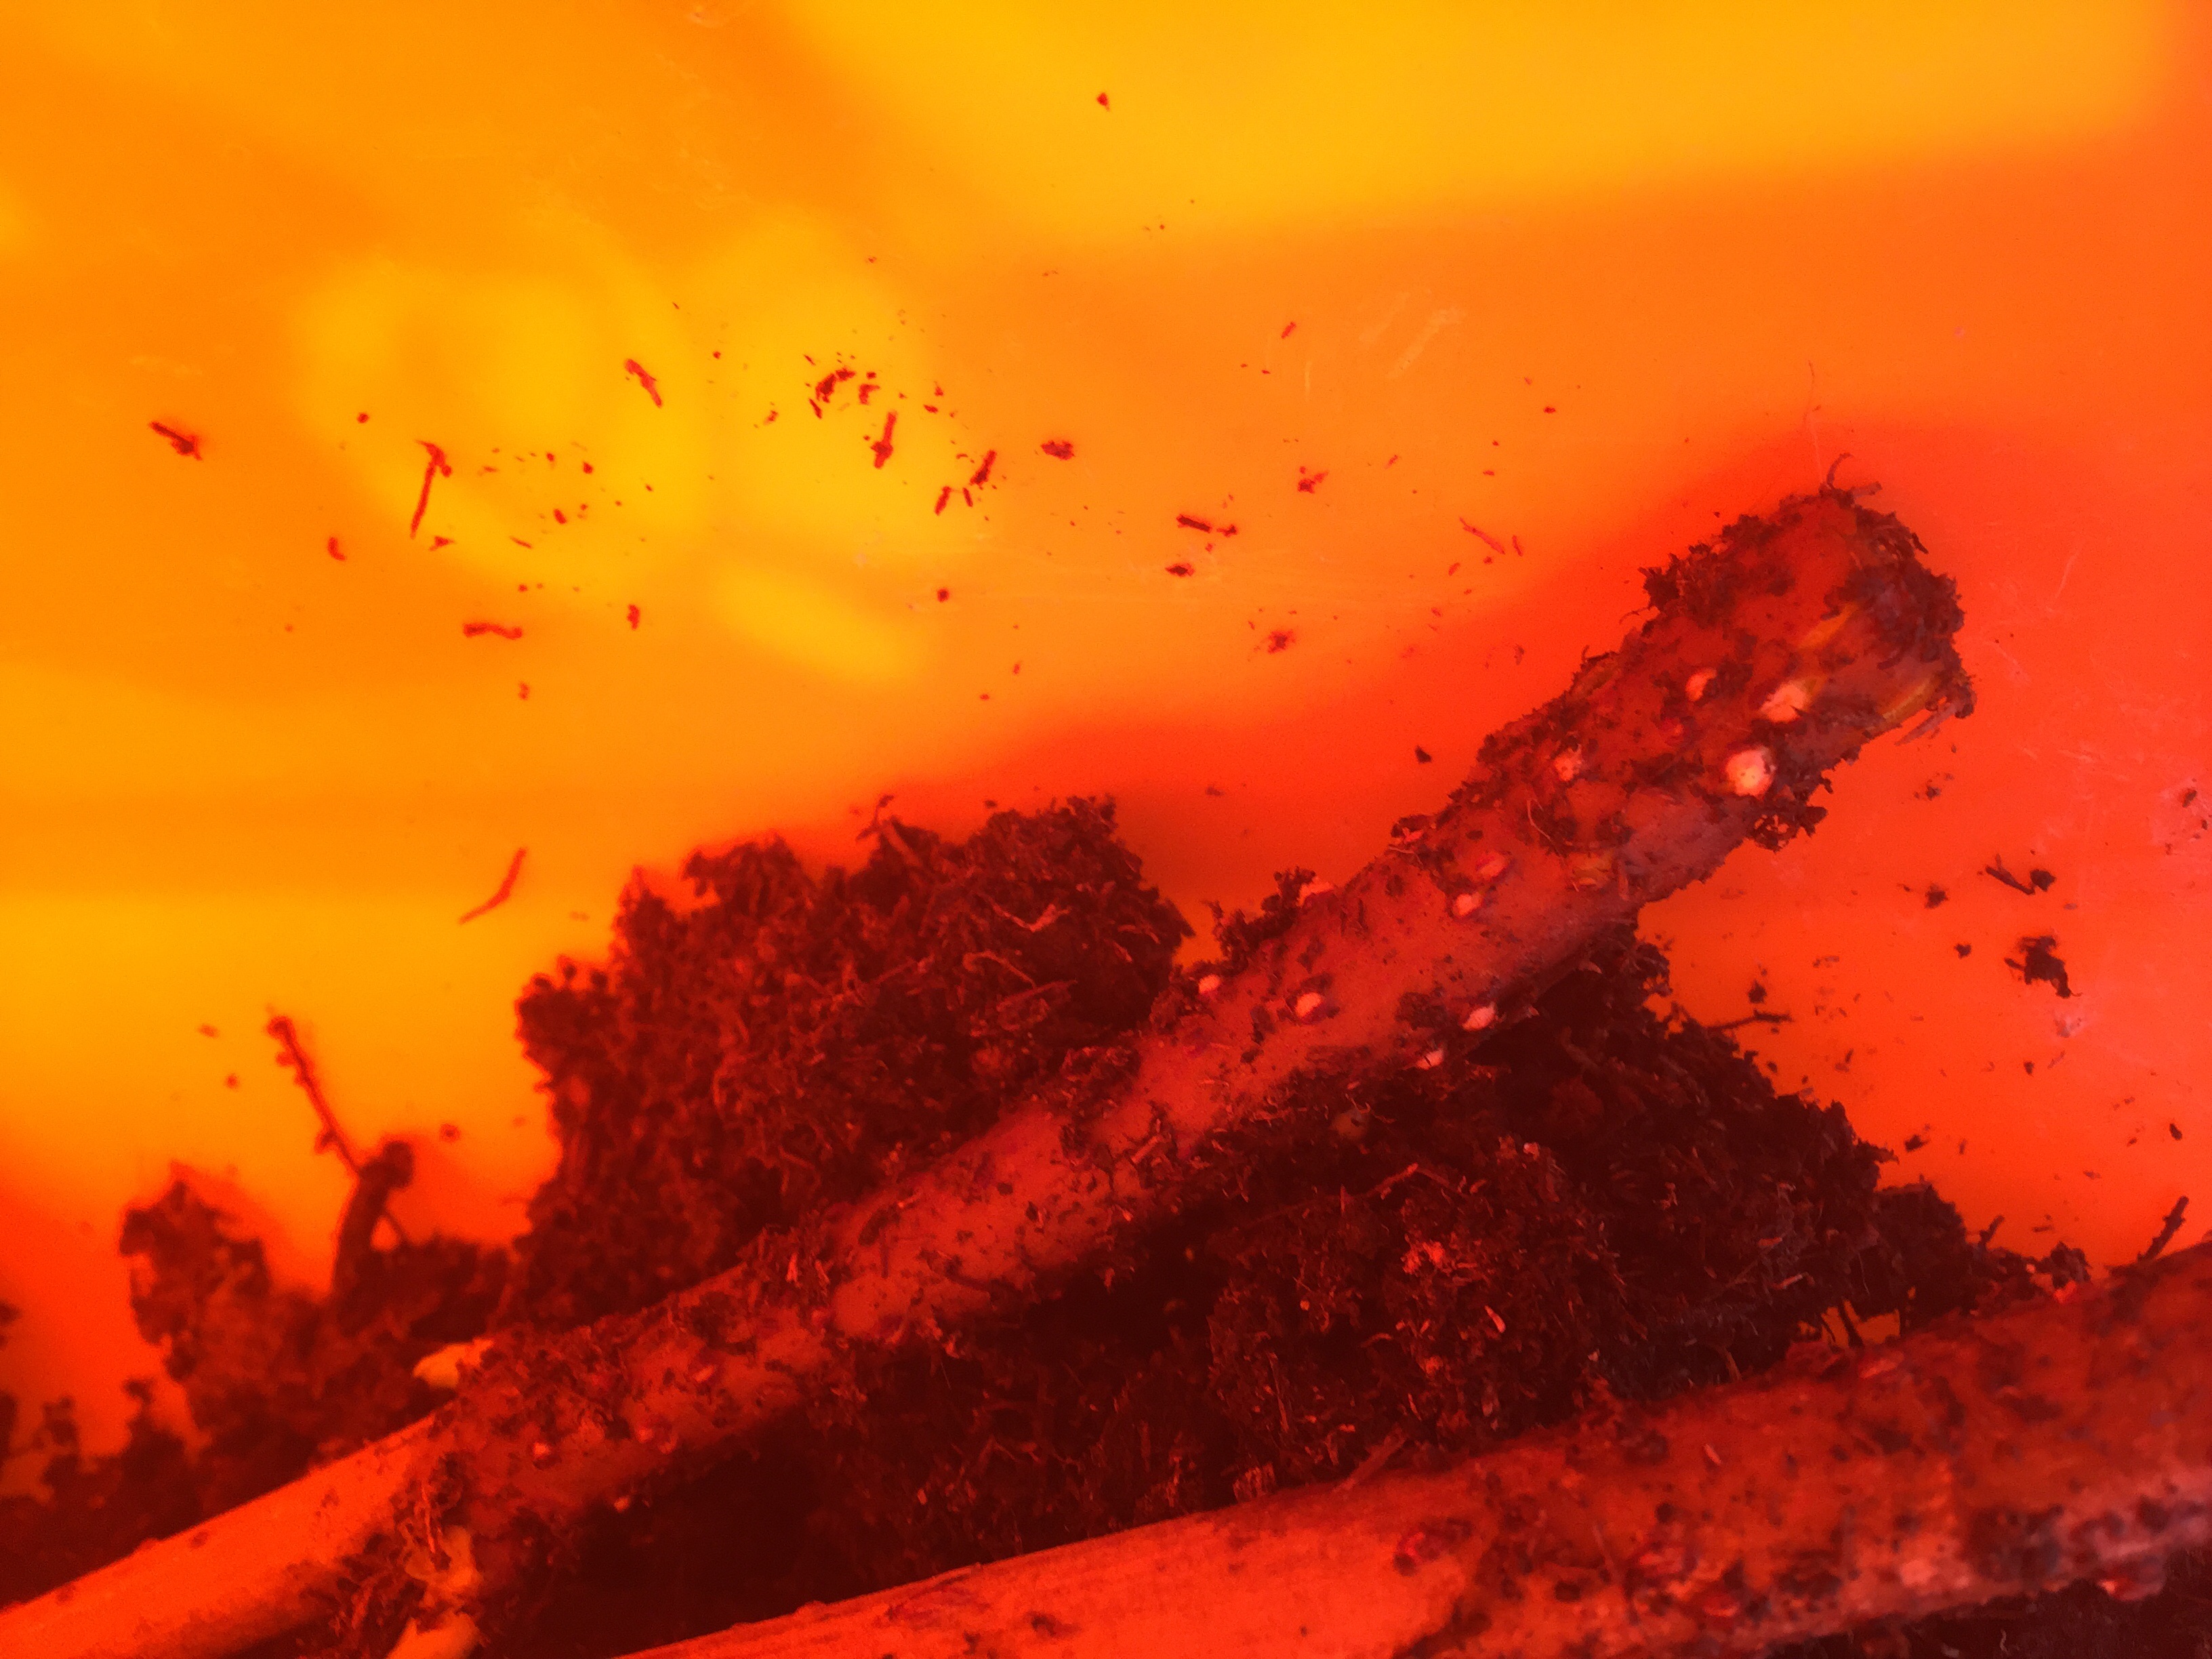
Rooting hardwood elderberry, mulberry and black currant cuttings. Most hardwood cuttings are rooted staring in the winter. These varieties are supposed robe easy to root so I’m trying them now along with some cuttings which may not root like apple and cherry. All of the cuttings were dipped in liquid rooting hormone. Many were placed in pots the same day I got them while others were dipped in rooting hormone and then stored in the fridge for up to a week. The cuttings were then placed in pots with a mixture of peat moss and sand or only peat for the first week. Some were placed on a heat mat to help them root. 1 gallon ziplock bags were placed over them to increase the humidity around the new leaves since the plants have no roots to acquire water. These varieties have many small bumps on them and the ones I reported had pumps that were opening with white under the bark. Hopefully these are new roots!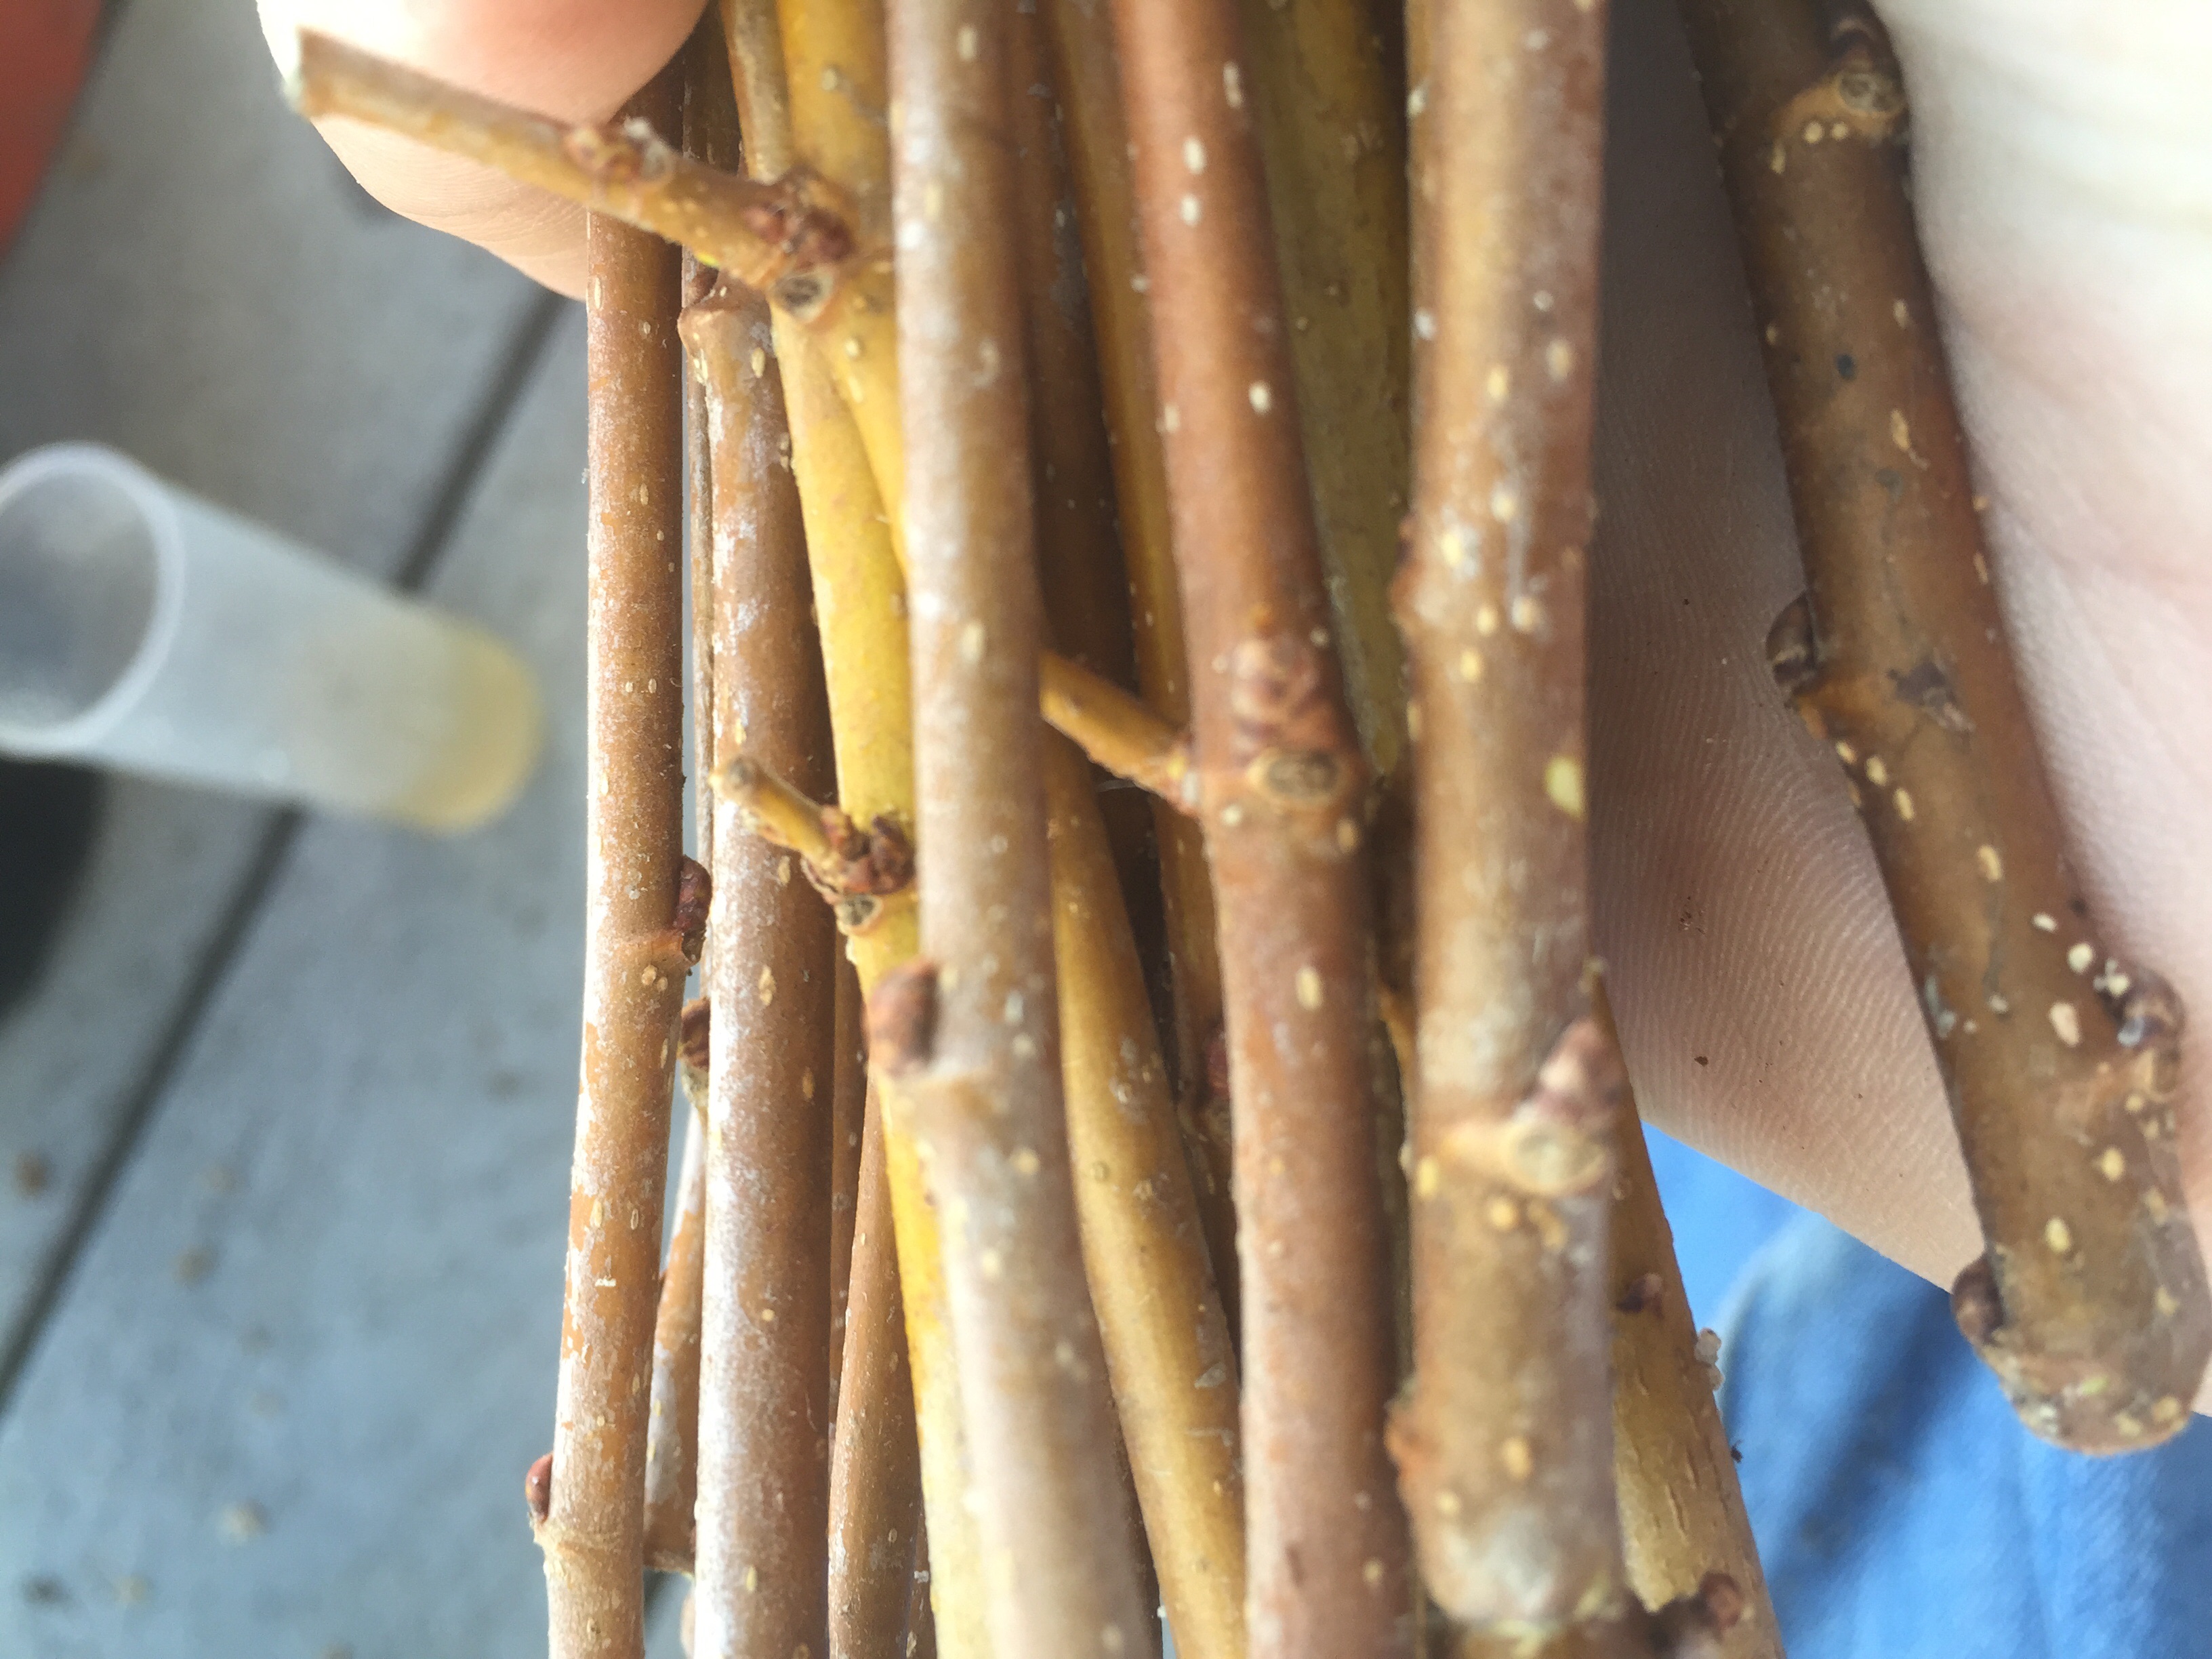
 T
T
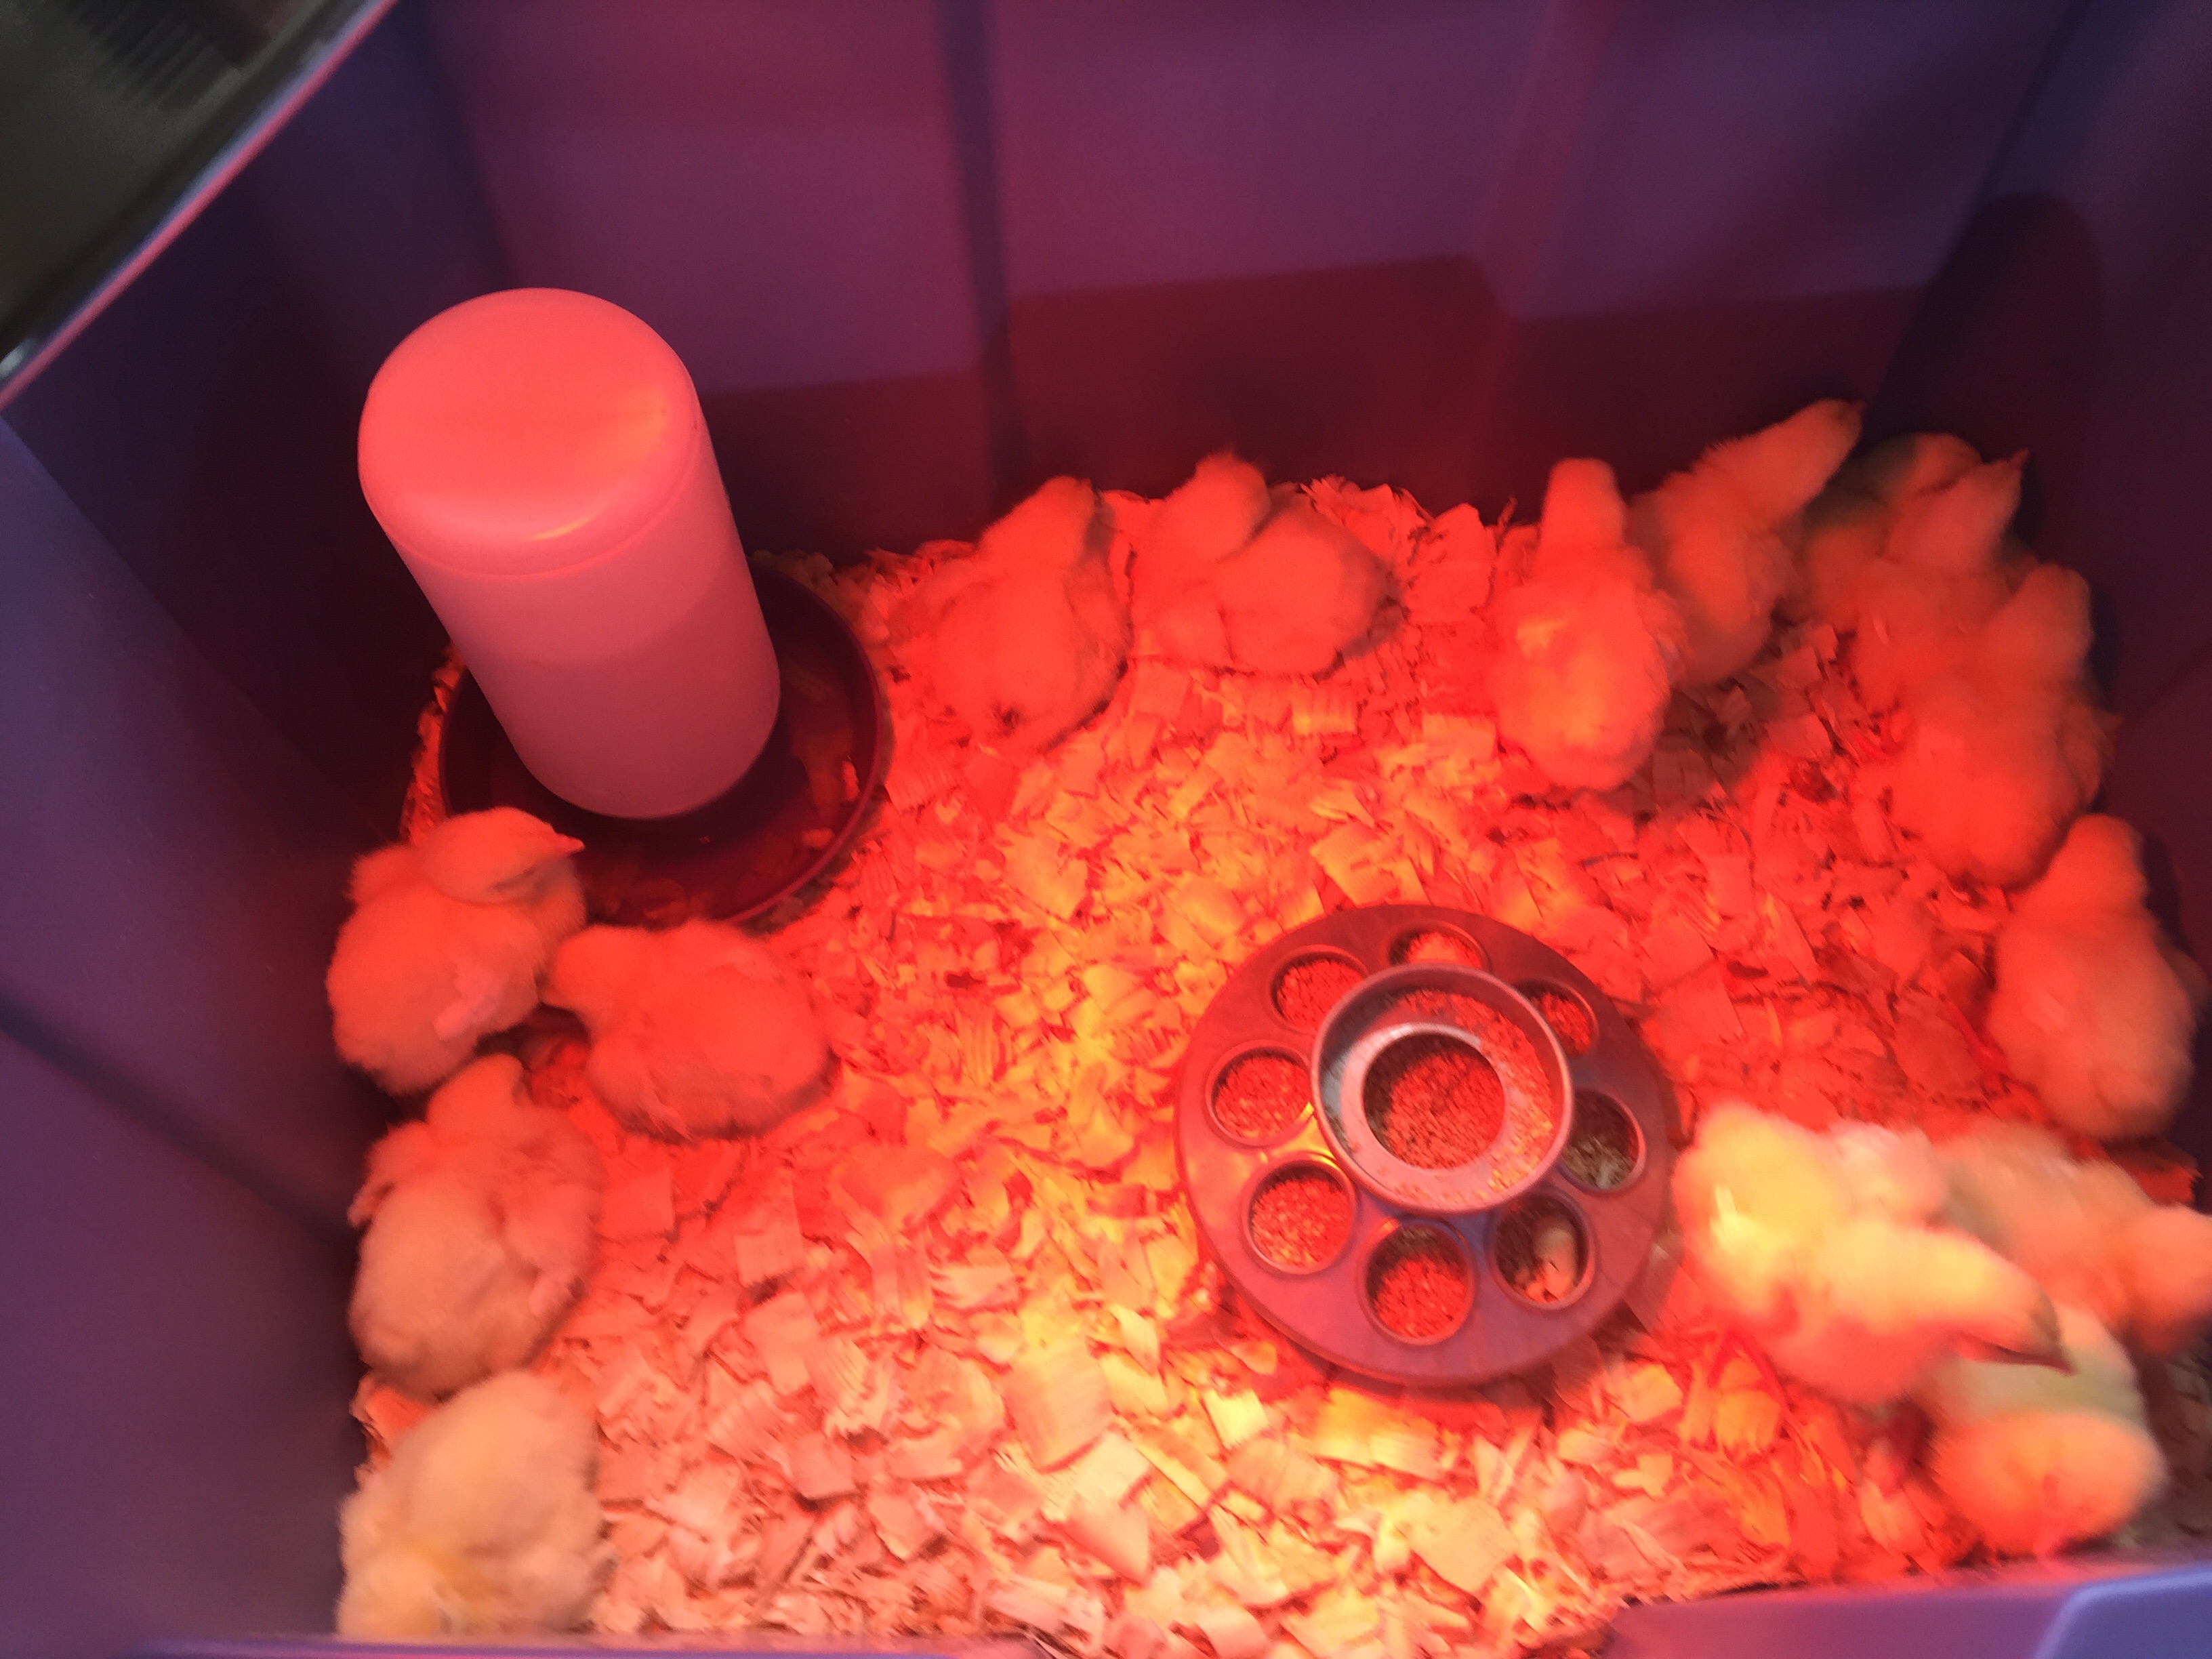
Chick flip over brooding chick lessons with heat lamps
I feel terrible that 11 chicks died the first night we got Cornish rock chicks. I believe I over heated the chicks by using a 250 watt heat lamp bulb. We ended up with a 75 watt house bulb which can still hear the area up under it to 100 if it is low enough. I aim for 95 degrees for the first week. I knew I should have put a thermometer in the brooder to begin with. The next morning 5 were dead and others looked and ended up dying. We saved one and kept others alive with the follow
ing techniques.
We noticed the chicks would start a death run throw their heads back, stretch out and die. If we grabbed then while they did this we would then hold them, massage them a bit while blowing air at their beaks. This kept them alive for quite a while as in over 30 minutes in some cases. The next challenge was to keep them from doing this again and dying.
We were successful in keeping one chick alive who did this several times. We used a syringe to give the chicks electrolyte infused water while we were holding them. Dropping a drip on their beaks. The healthier chicks kept drinking this water once we gave it to them. A sign they were hot a dehydrated. Another sign they were hot is they were spread out.
The final step we took with the chick that lived was to get her to start eating food. I set the chick down next to the feeder and moved the feed around with my finger for several minutes until the chick decided to eat. At that point she stayed calm and has lived for another day.
We started with 15 chicks which was well less than originally planned. This enabled me to use a smaller brooder than originally planned which in combination with the 250 watt heat bulb that TSC uses led me to assuming I should use the same bulb. I promise to not make assumptions again. I knew about using a thermometer but I didn’t. A bigger broder would have enabled the chicks to get away from the heat.
Hopefully these techniques will help you save some birds that are to hot or are dying of what I think is refered to as chick flip over death.
I plan to switch the heat source over to bulbs that produce red light or the heat stones that plug into bulb sockets sold for reptiles.
This photo was evidence to me that the birds were already to hot.