What is a tiller doing at a permaculture farm, garlic planting time

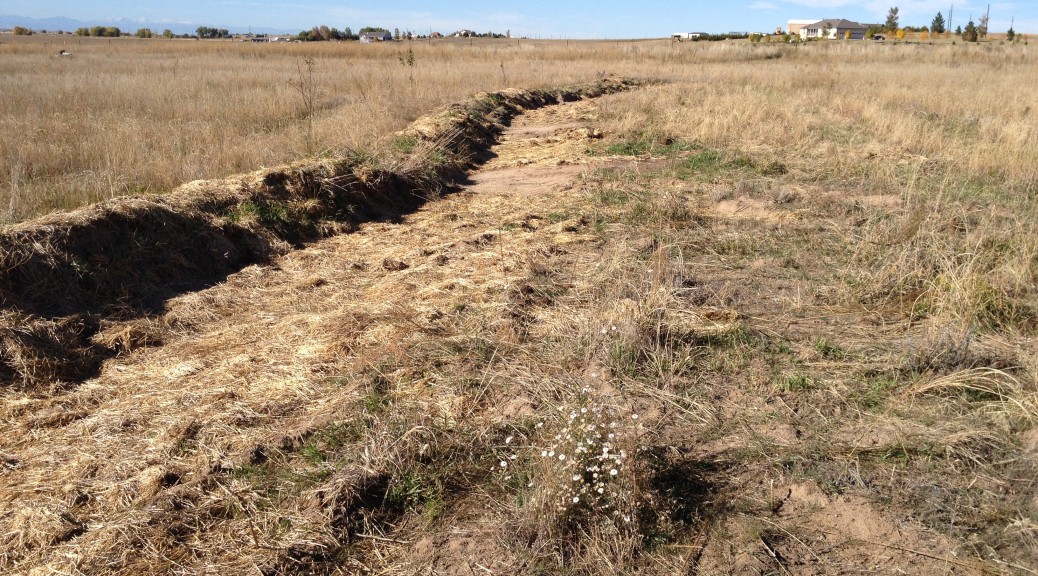
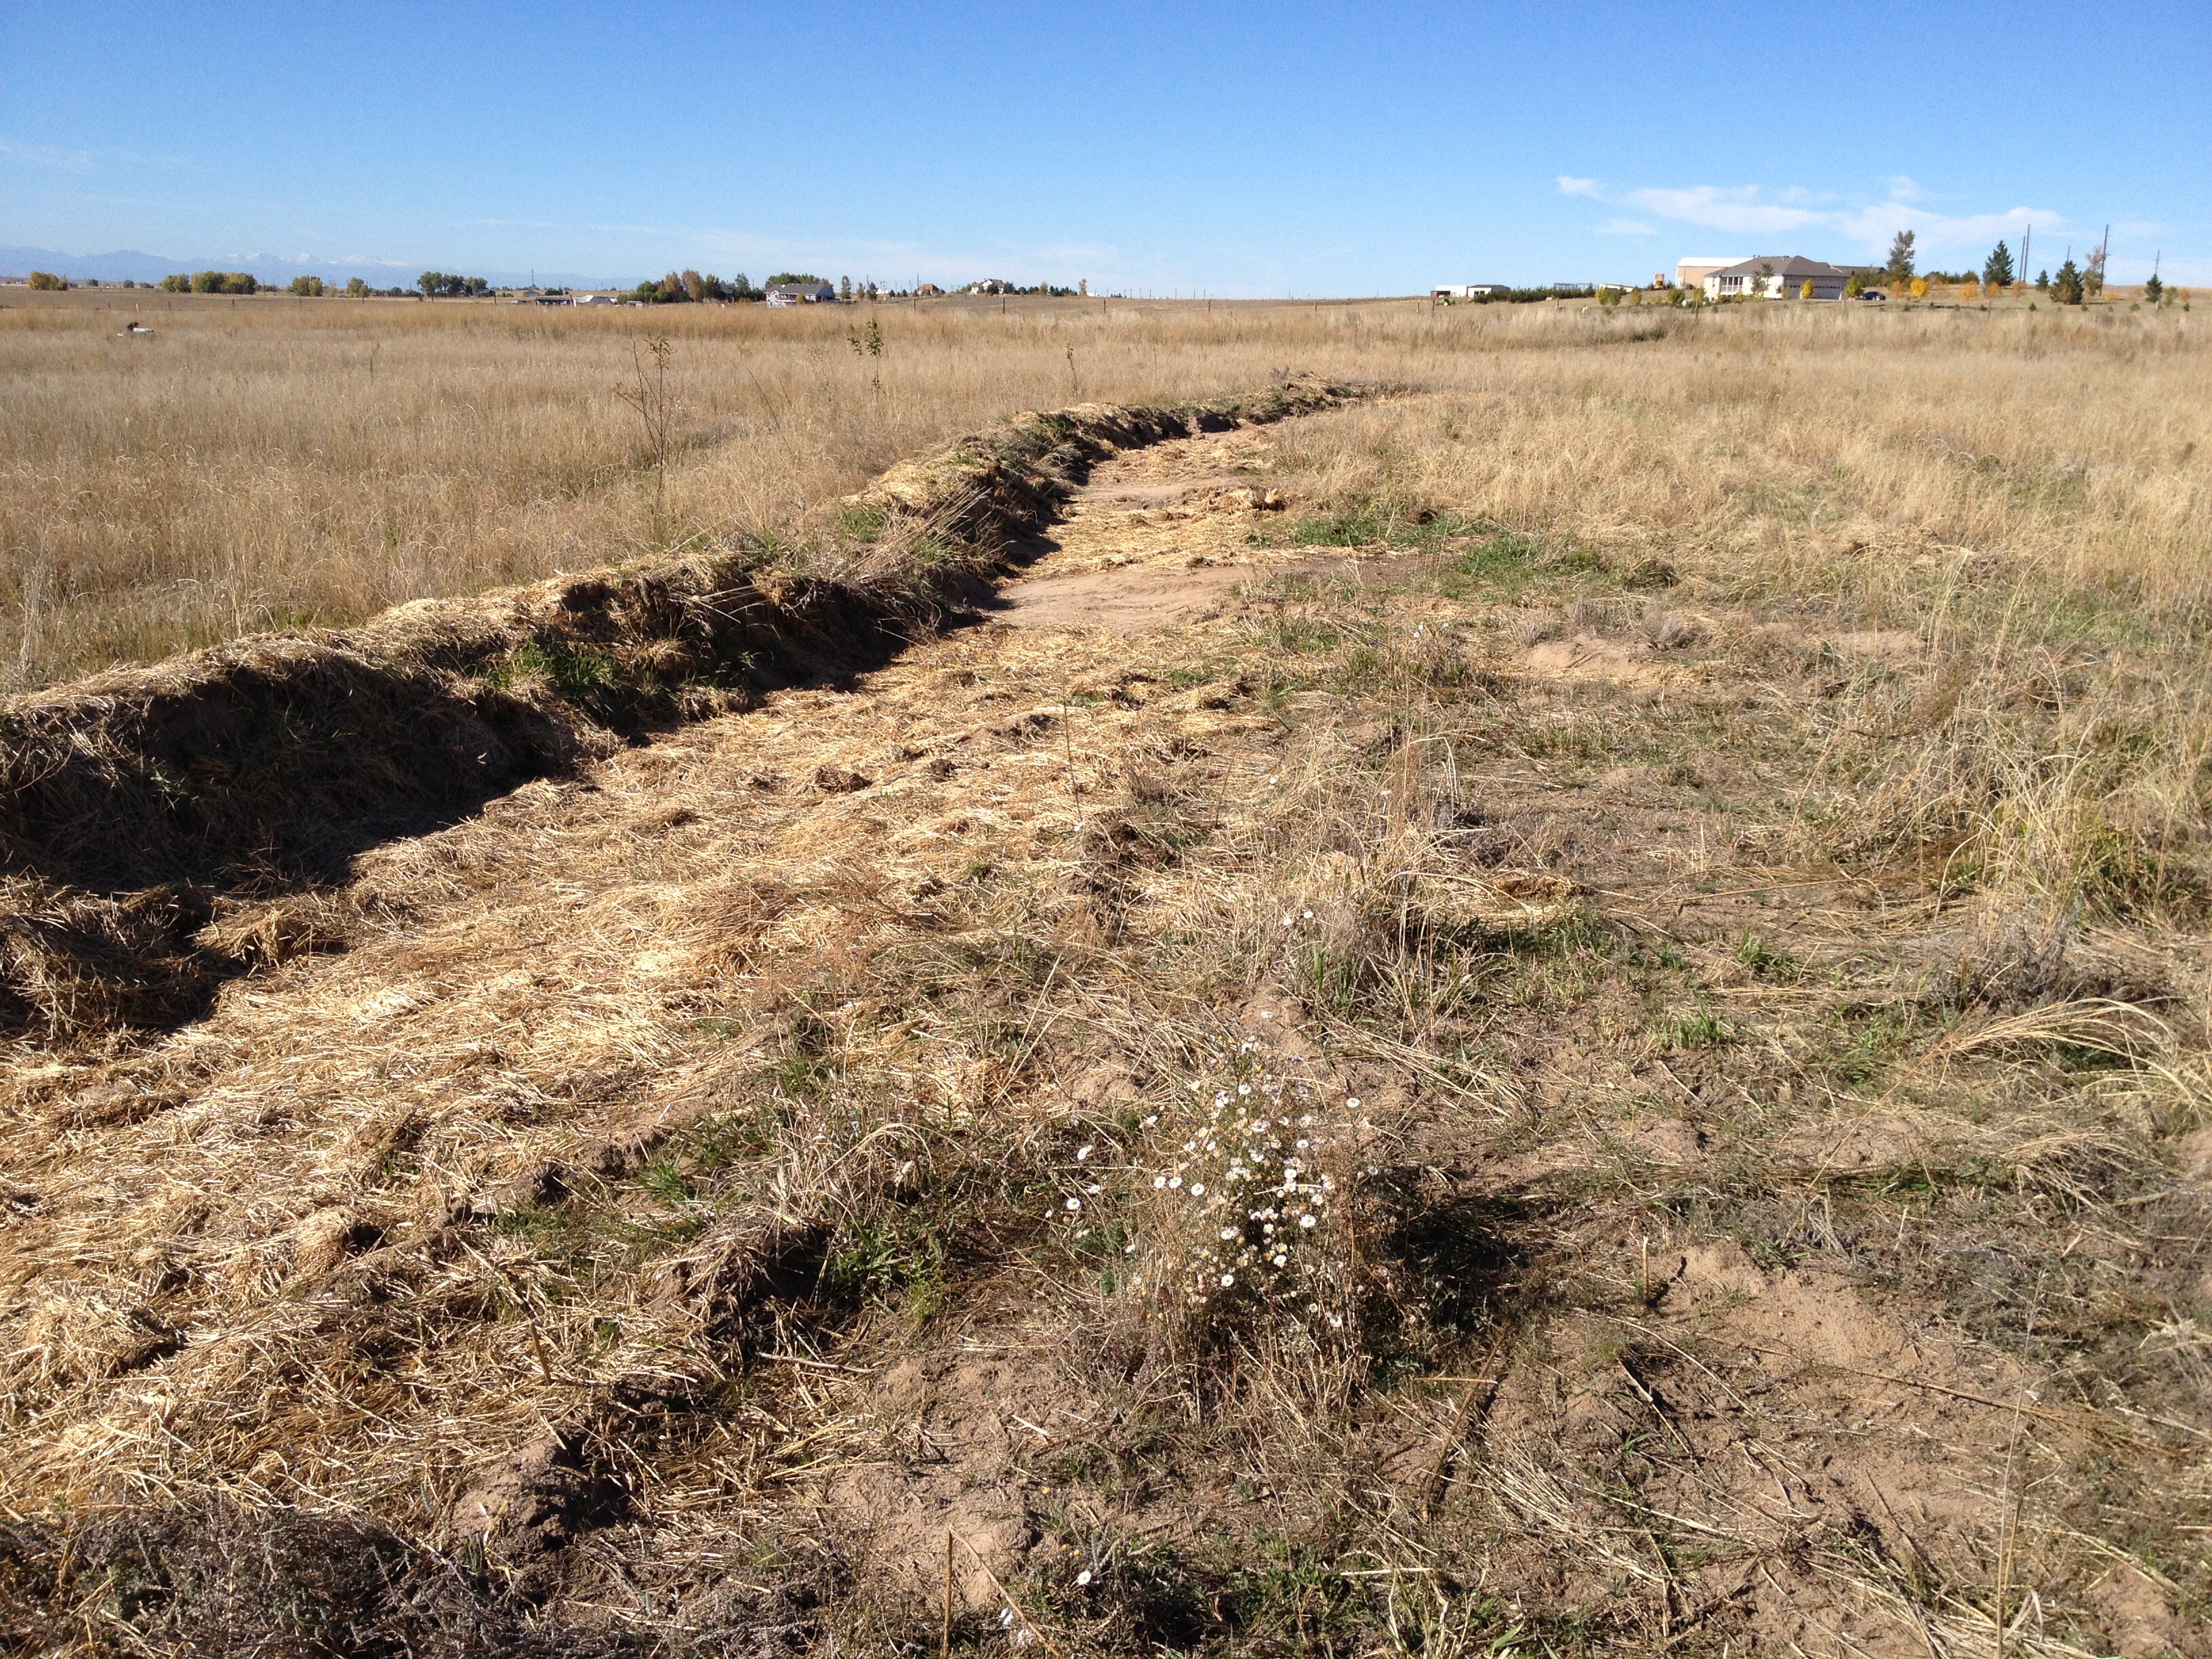
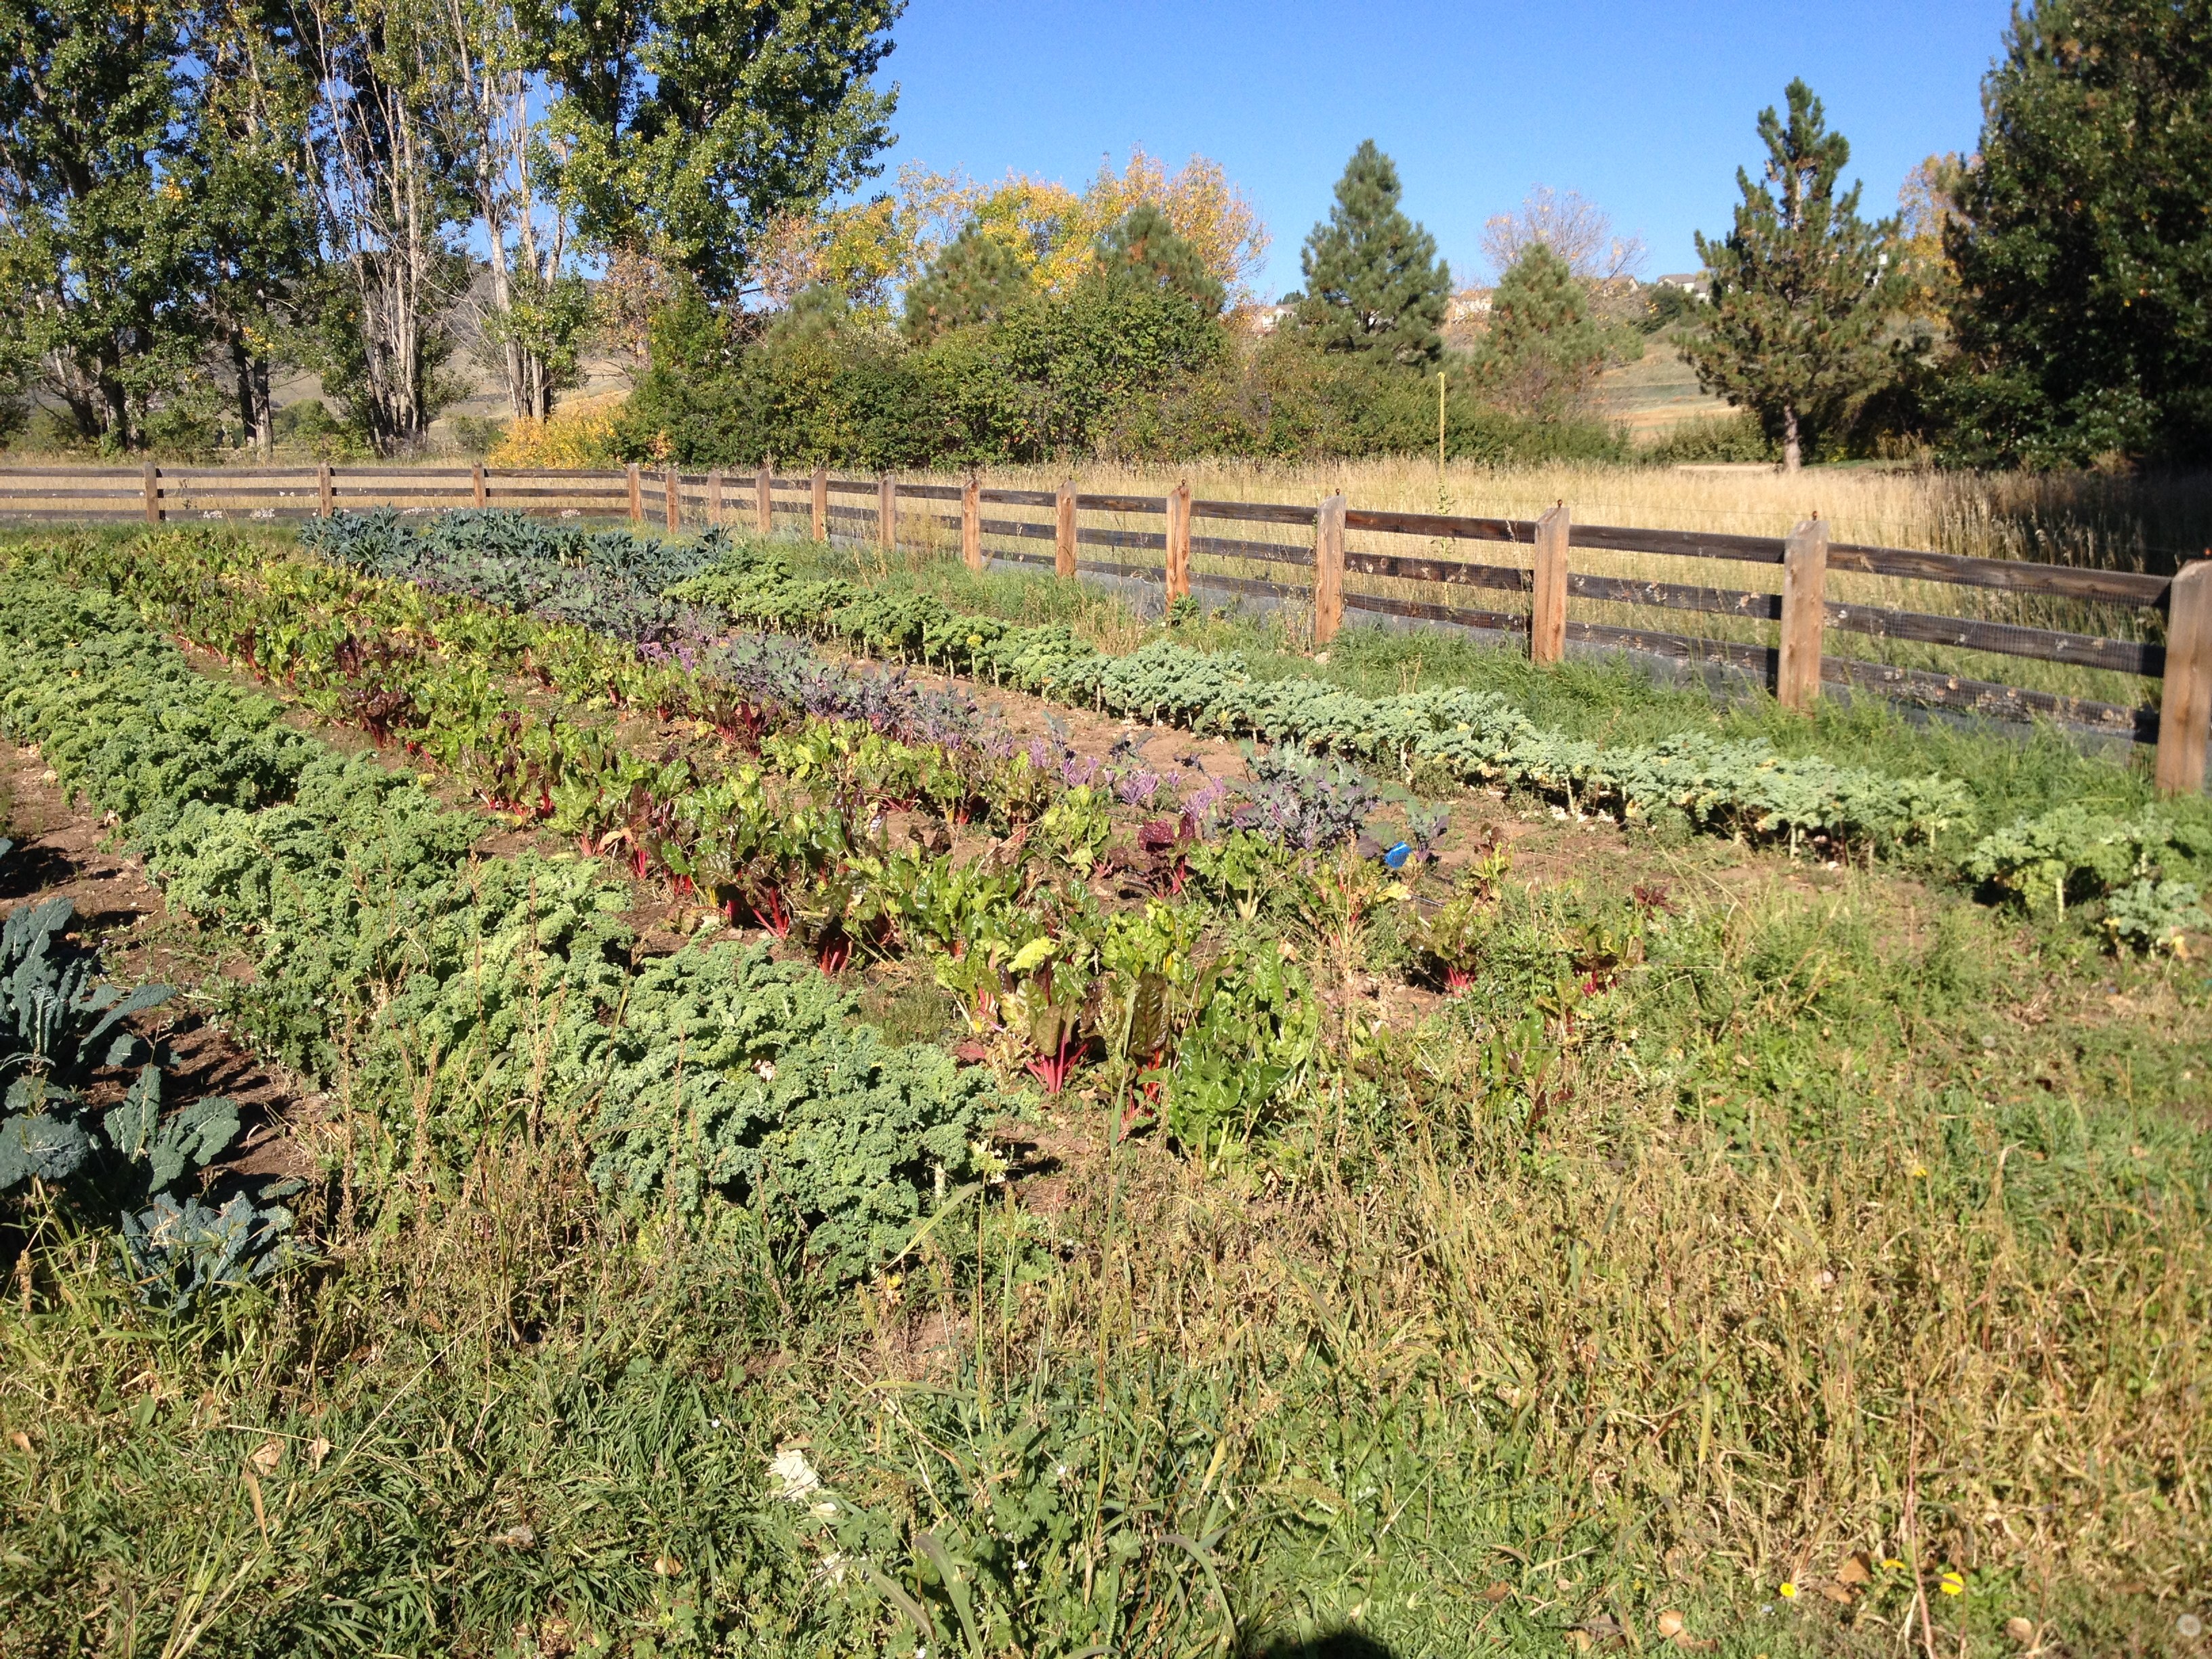
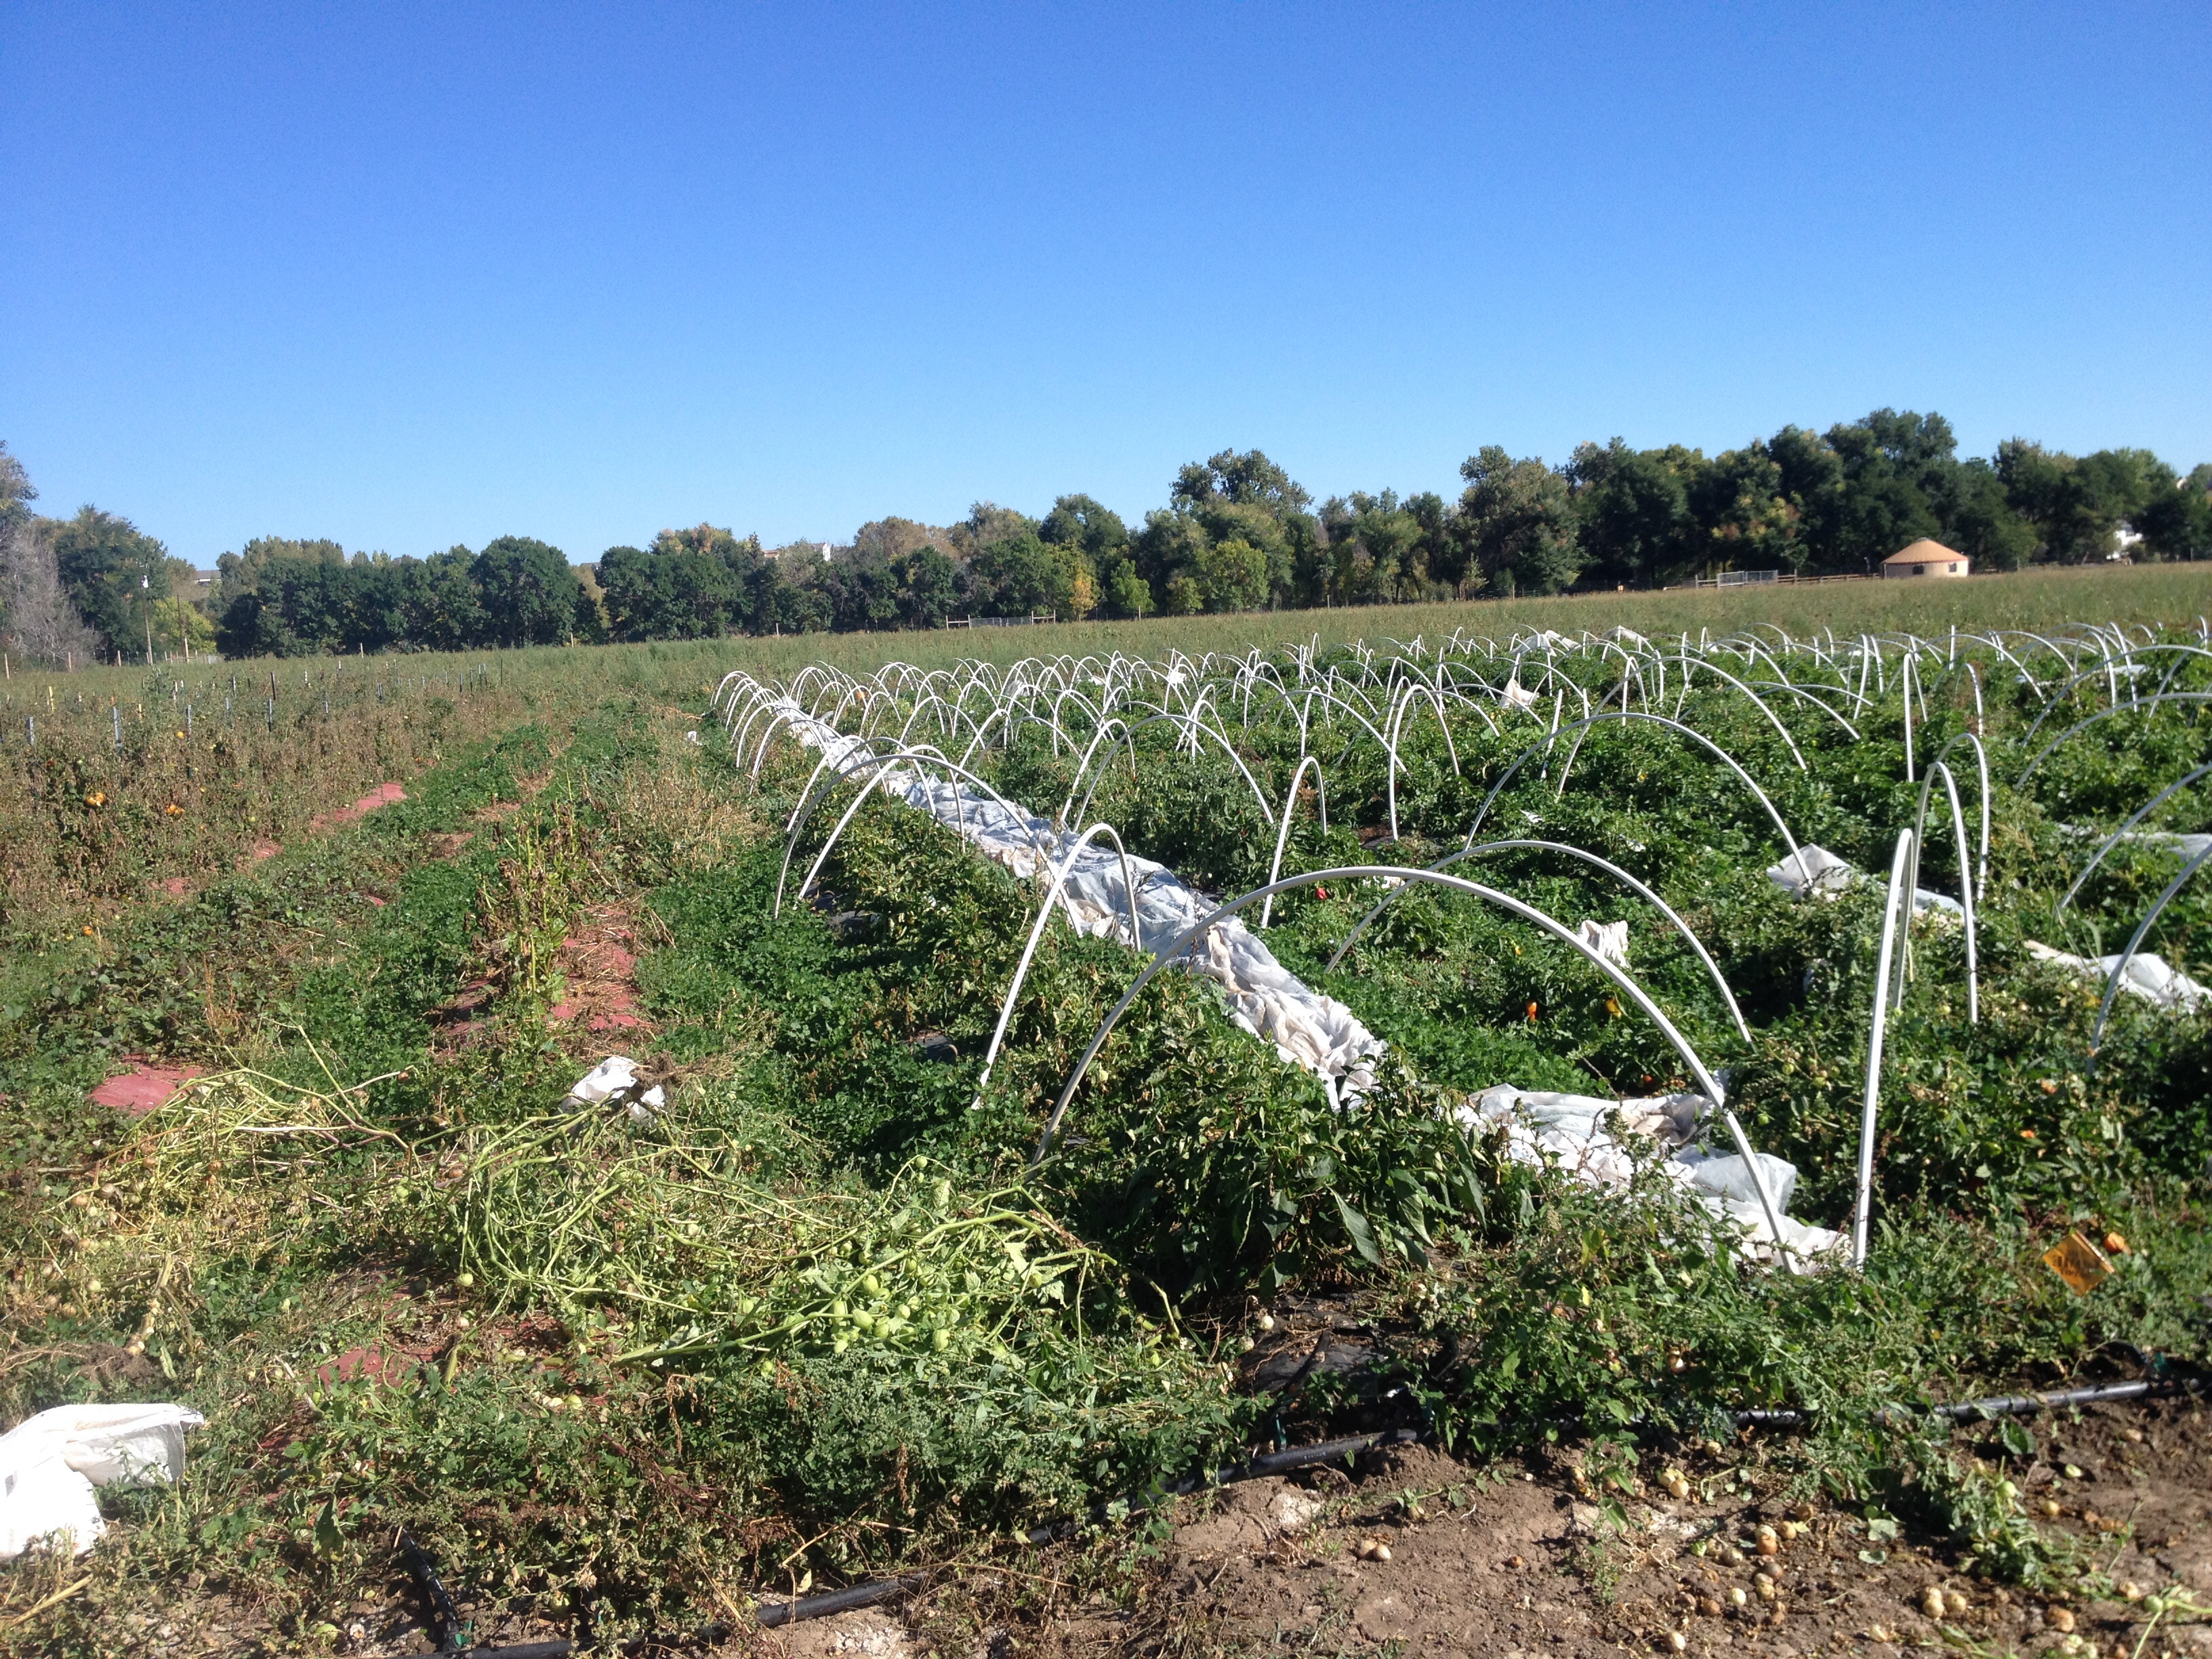
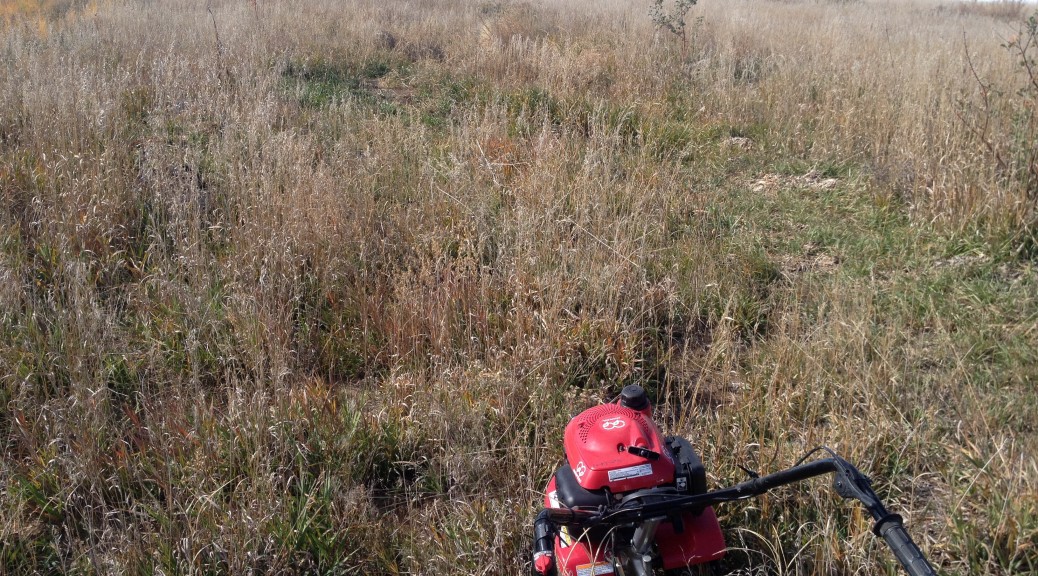
Here we have a Honda powered tiller at Regen Farms, a permaculture farm.  What is a tiller doing at a permaculture farm?  We are about to plant some garlic (hardneck garlic).  Garlic likes soils that drain (aka not clay soil) and since we have sandy soil the garlic should do well.
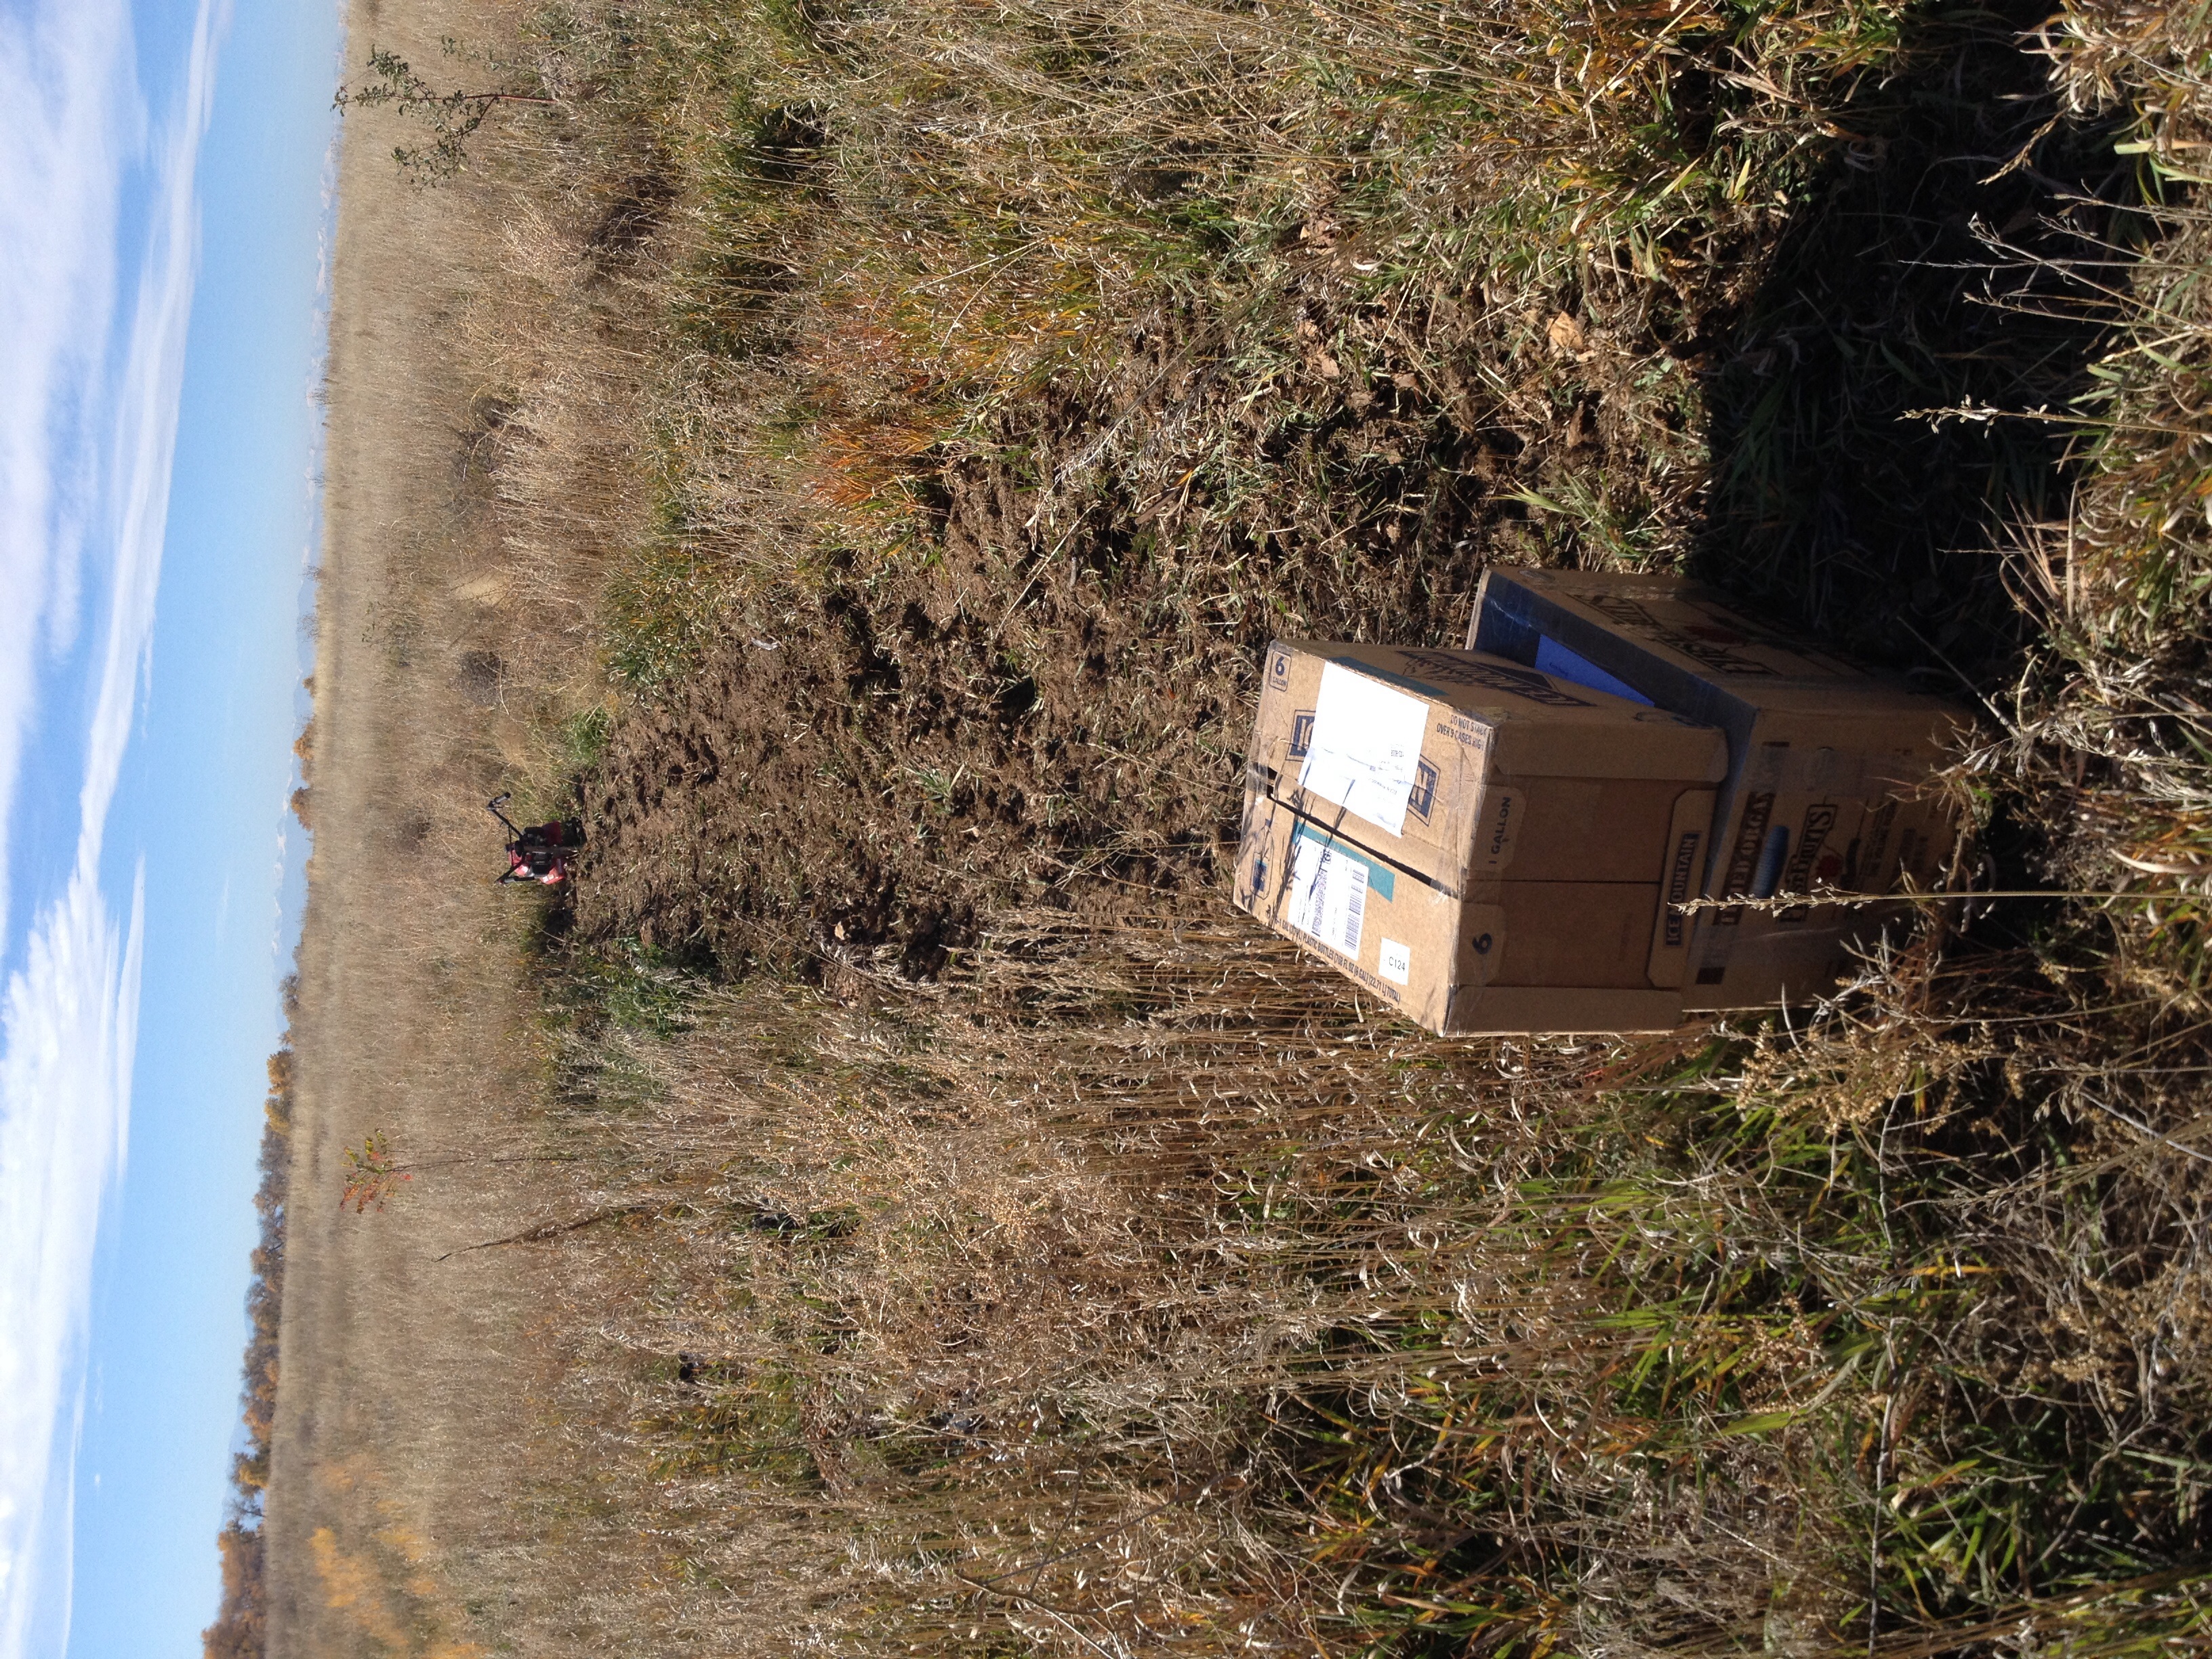
We are going to plant 3 kinds of garlic for a total of 50lbs.  At spacing of 6 inches we will need a good bit of weed and grass free area thus the tiller. I read that garlic is one of the top 10 plants to grow for profit. So we are going see how it grows at the farm. If all goes well each Porcelain bulb will produce an average of 5 bulbs next year. Some garlic sells for $10 per pound. I read that 1 acre of garlic could produce $150,000 in revenue. At six inch spacing that would be a lot of garlic cloves to plant. And would need to produce 15,000 pounds of garlic to sell. We will see how it grows and what it produces on the high plains.

A tiller at a permaculture farm

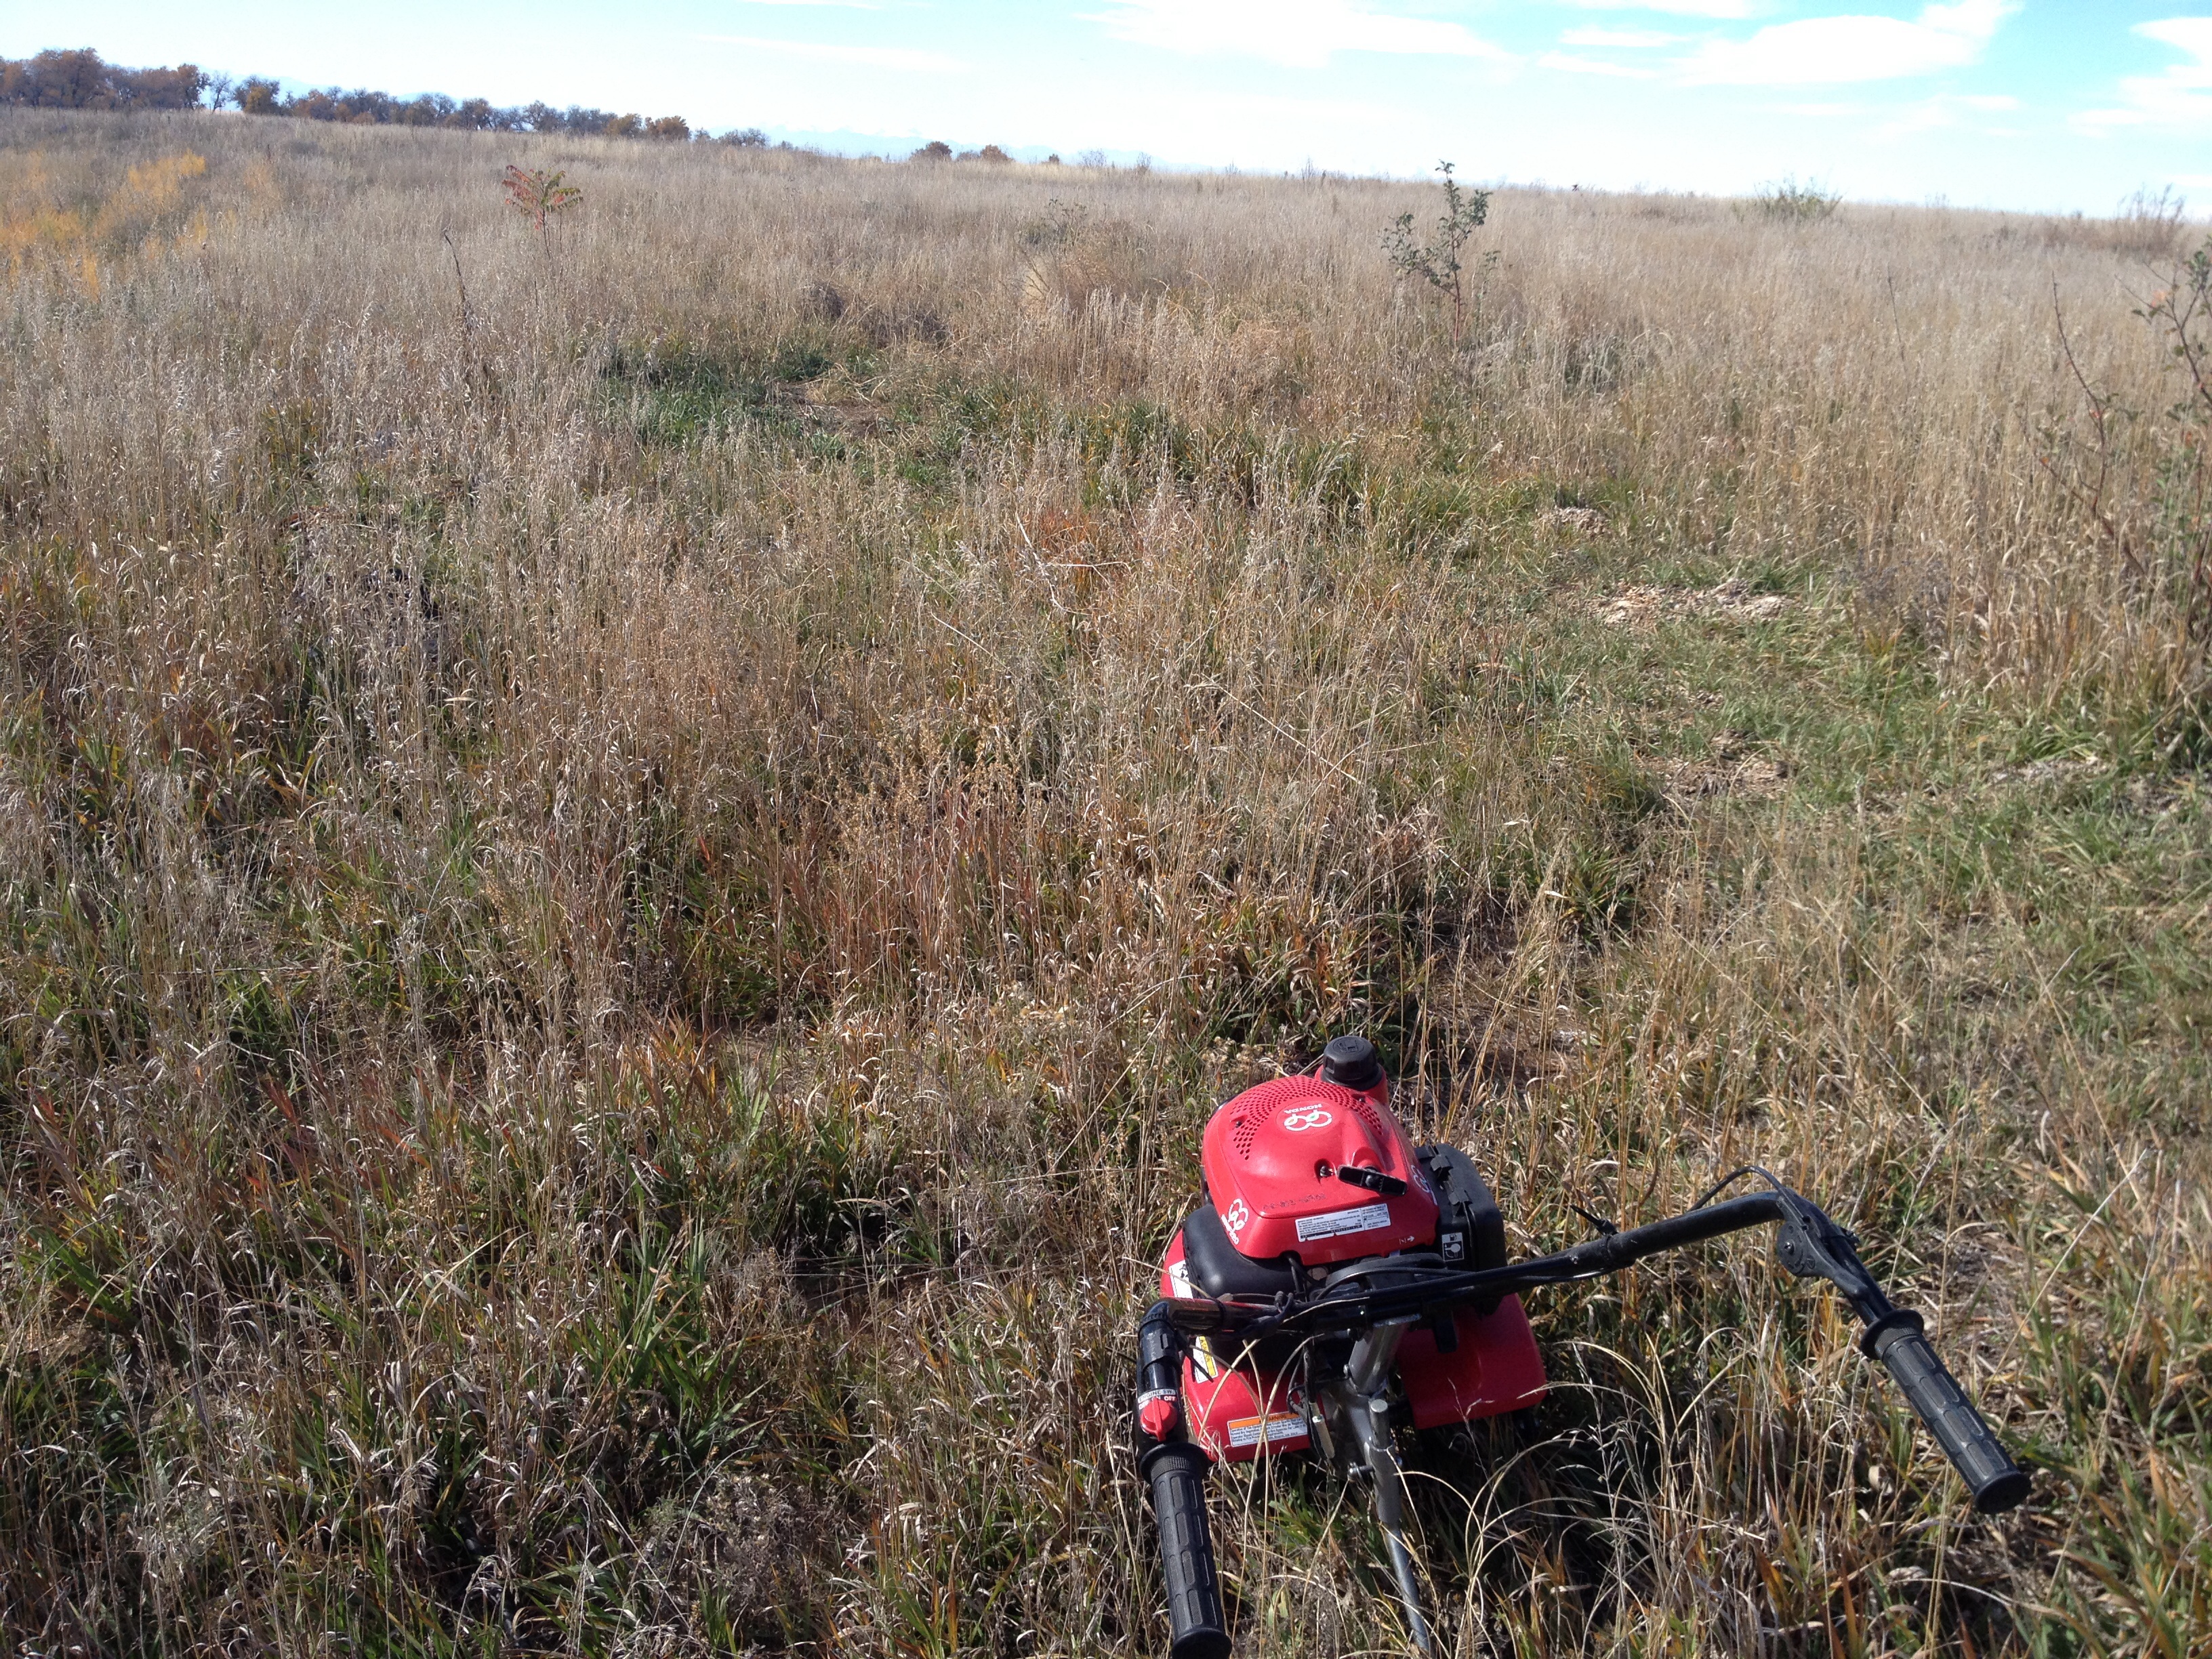
Tilling is not fun unless you consider using it a fun workout.  It is a fully body workout.  I ended up on my knees to maneuver it since I’m on the tall side.  Planting tips for garlic include soil that is loose for 12 to 18 inches.  Well the tiller didn’t get that deep so the pitch fork is also being used to get a bit deeper.

Tilling for garlic
Tilling for garlic

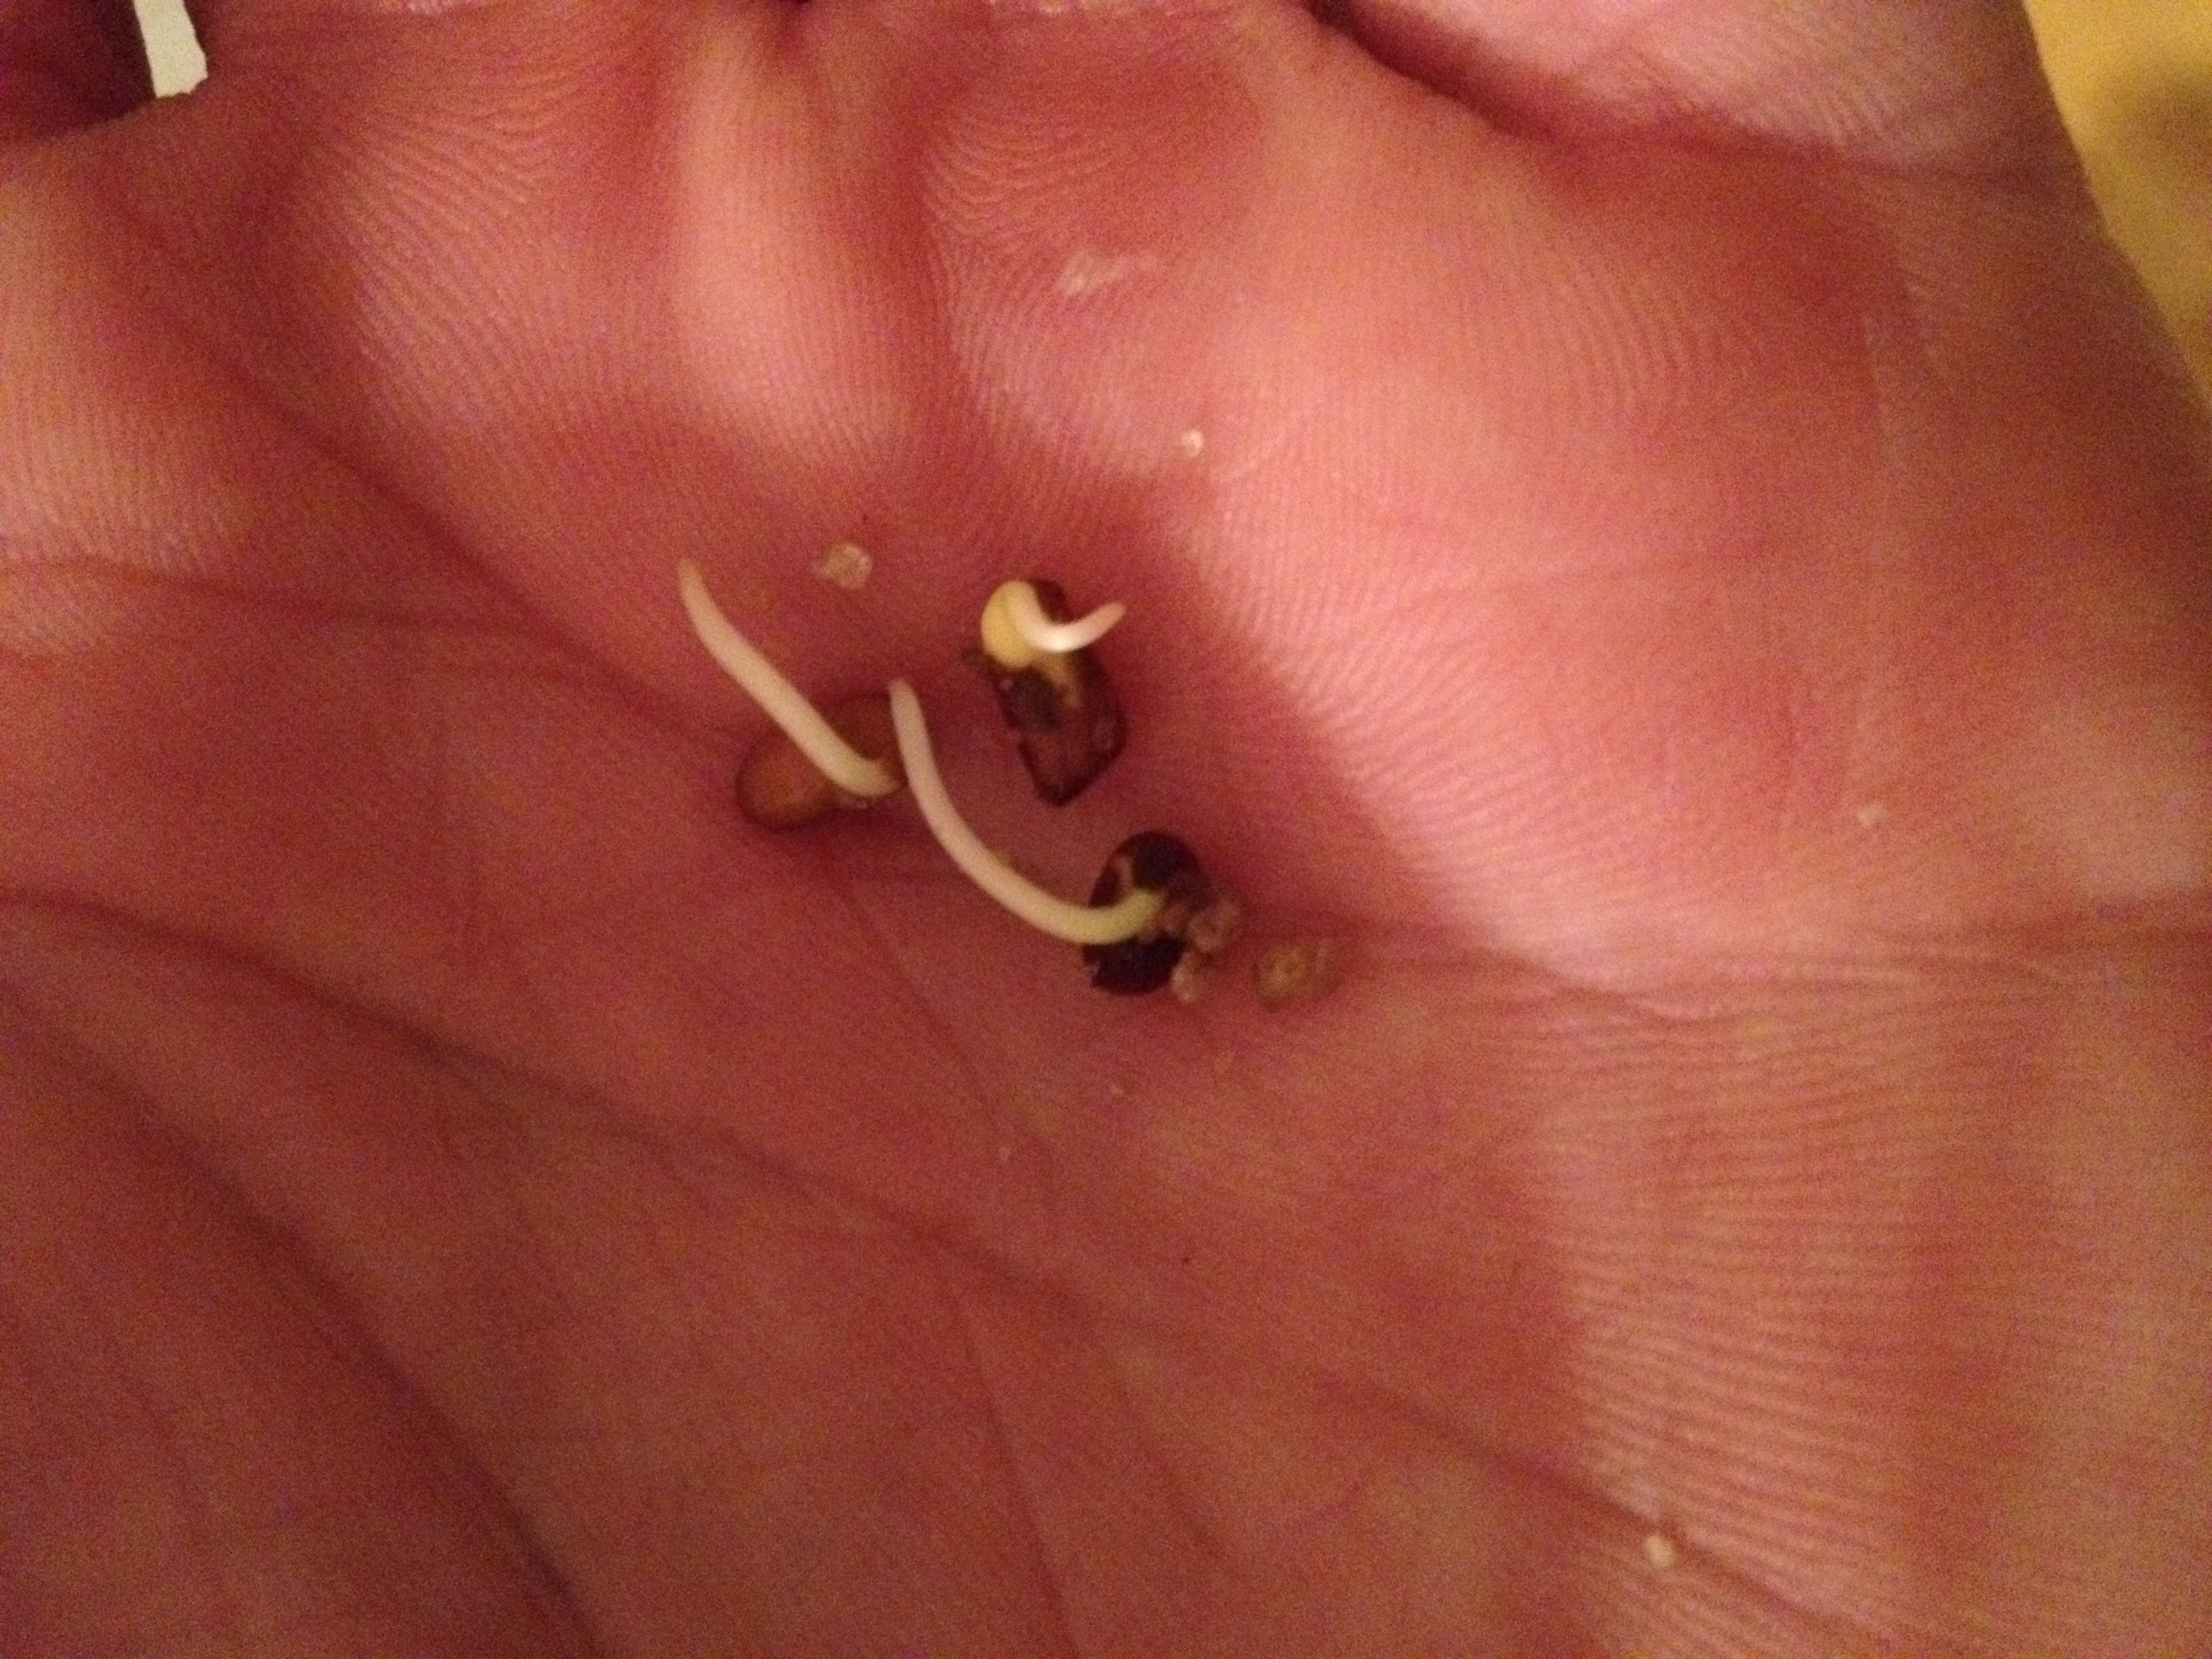
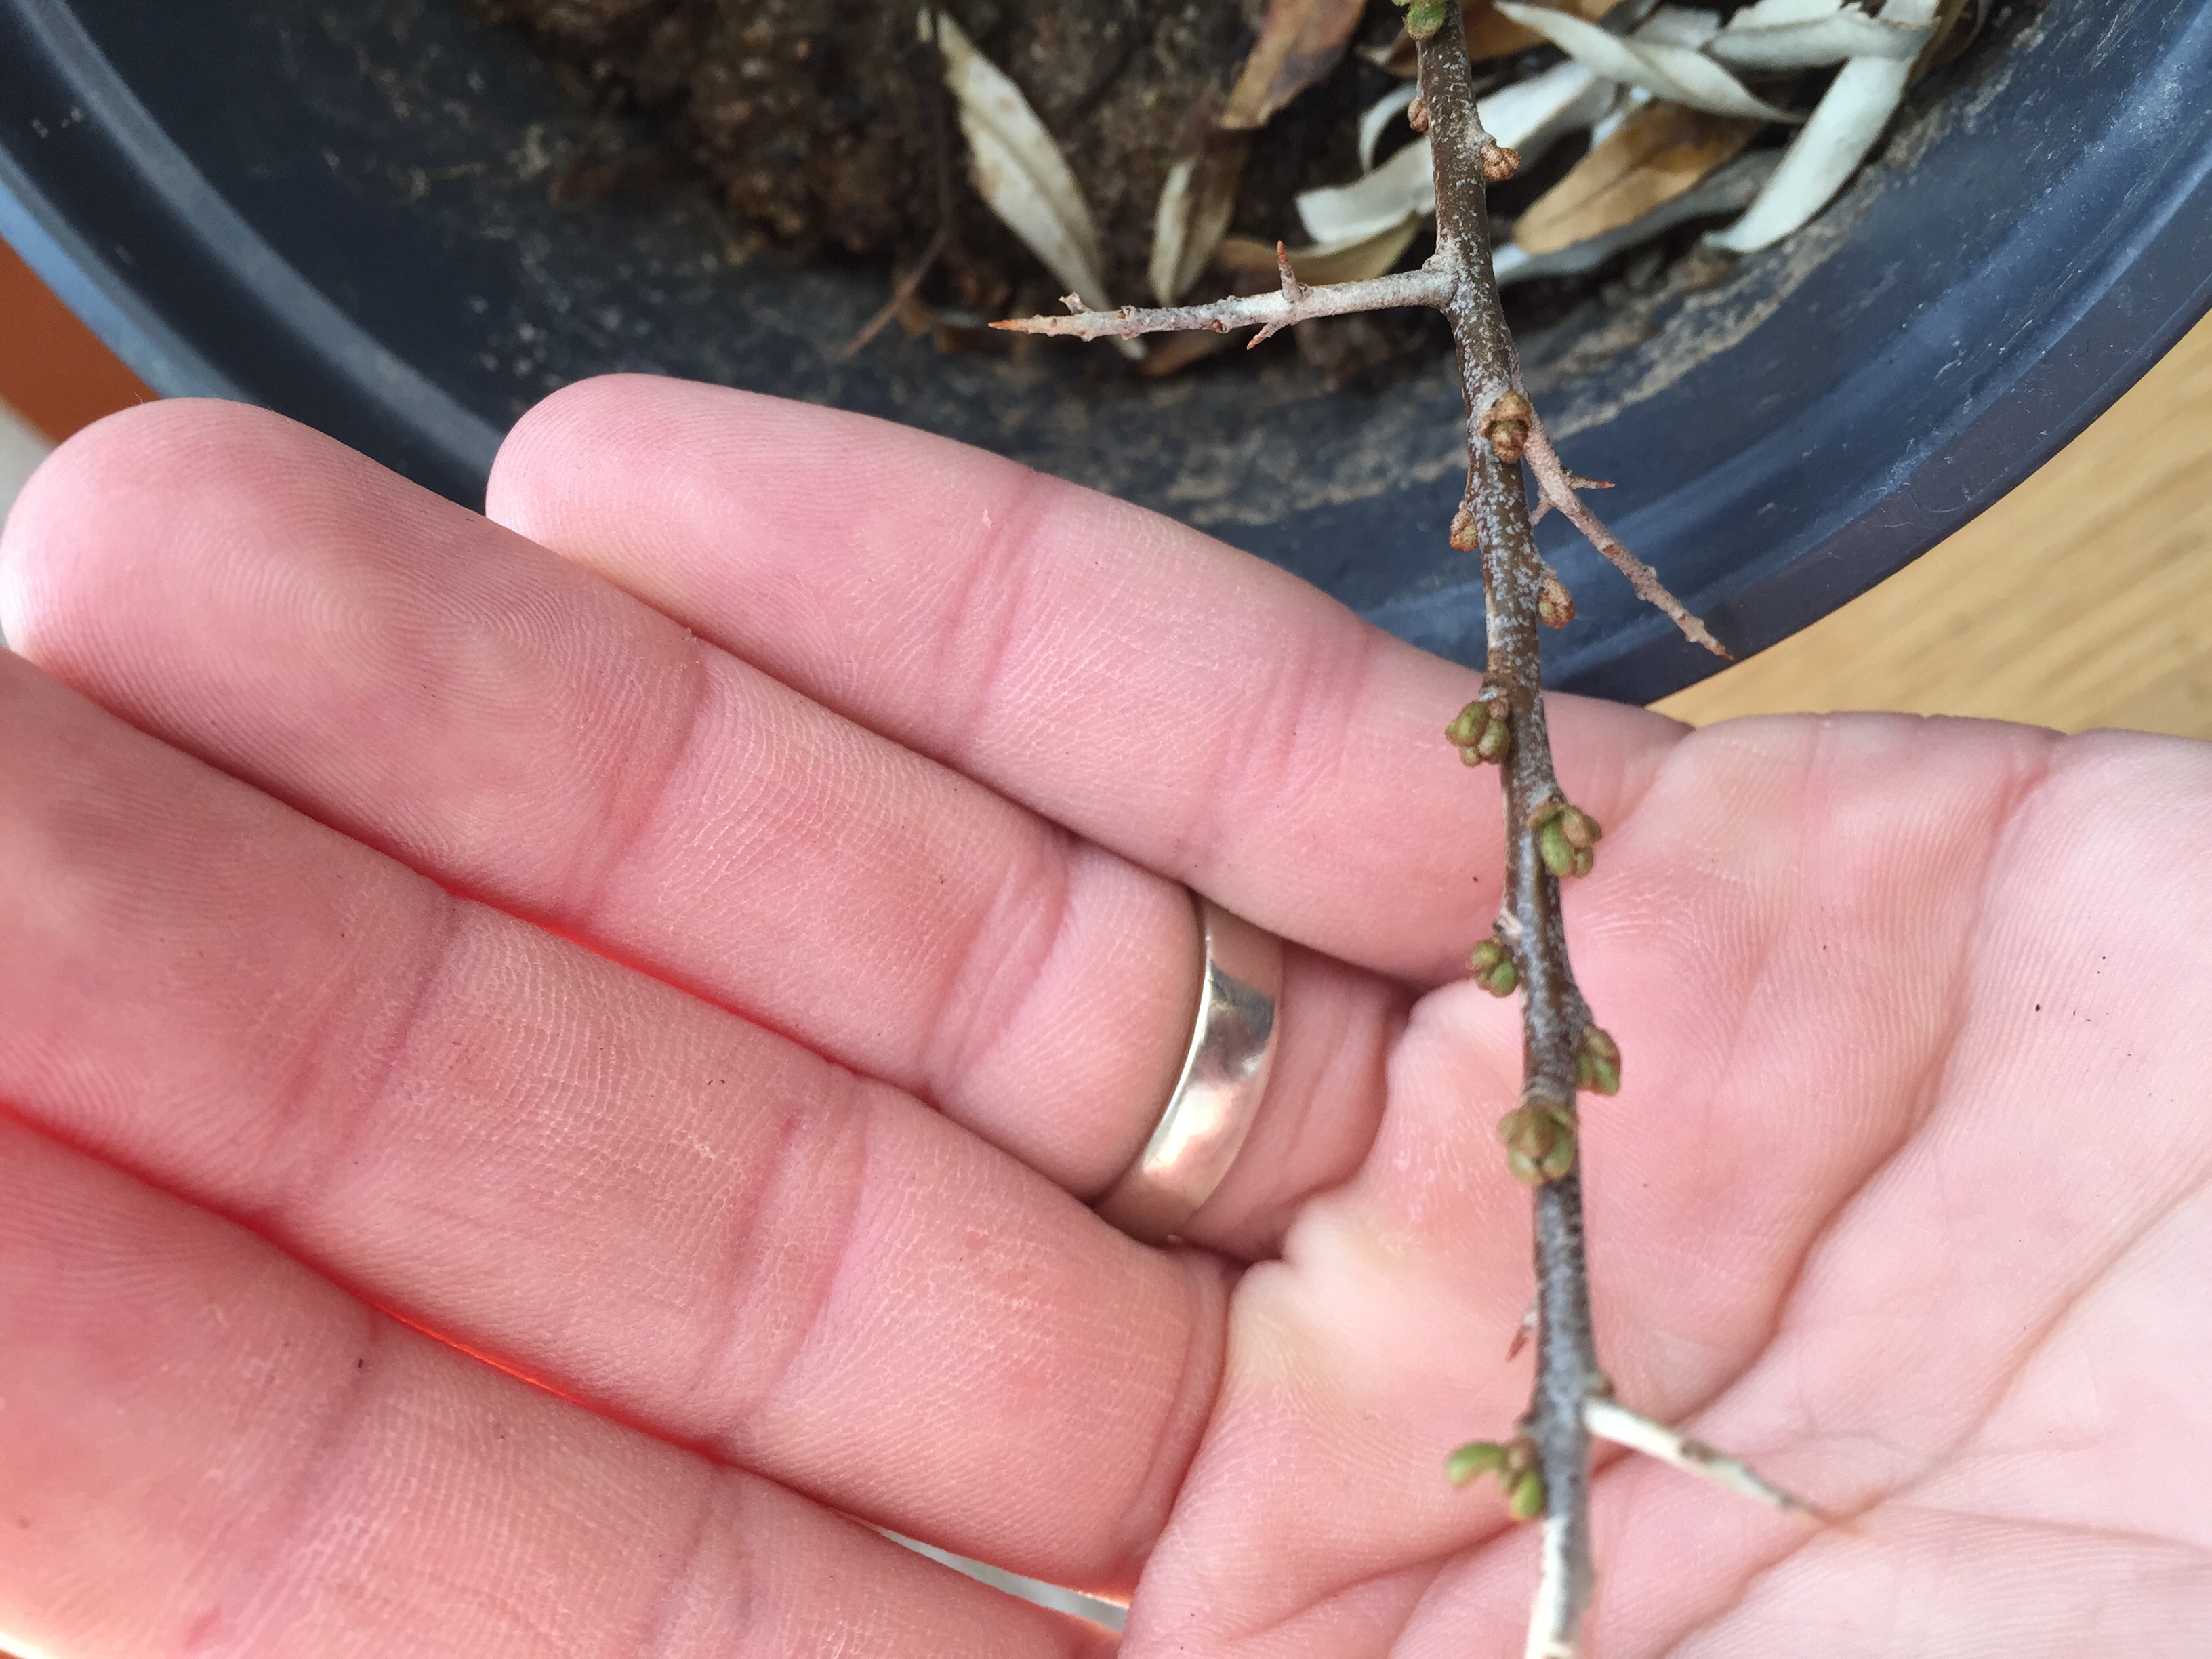
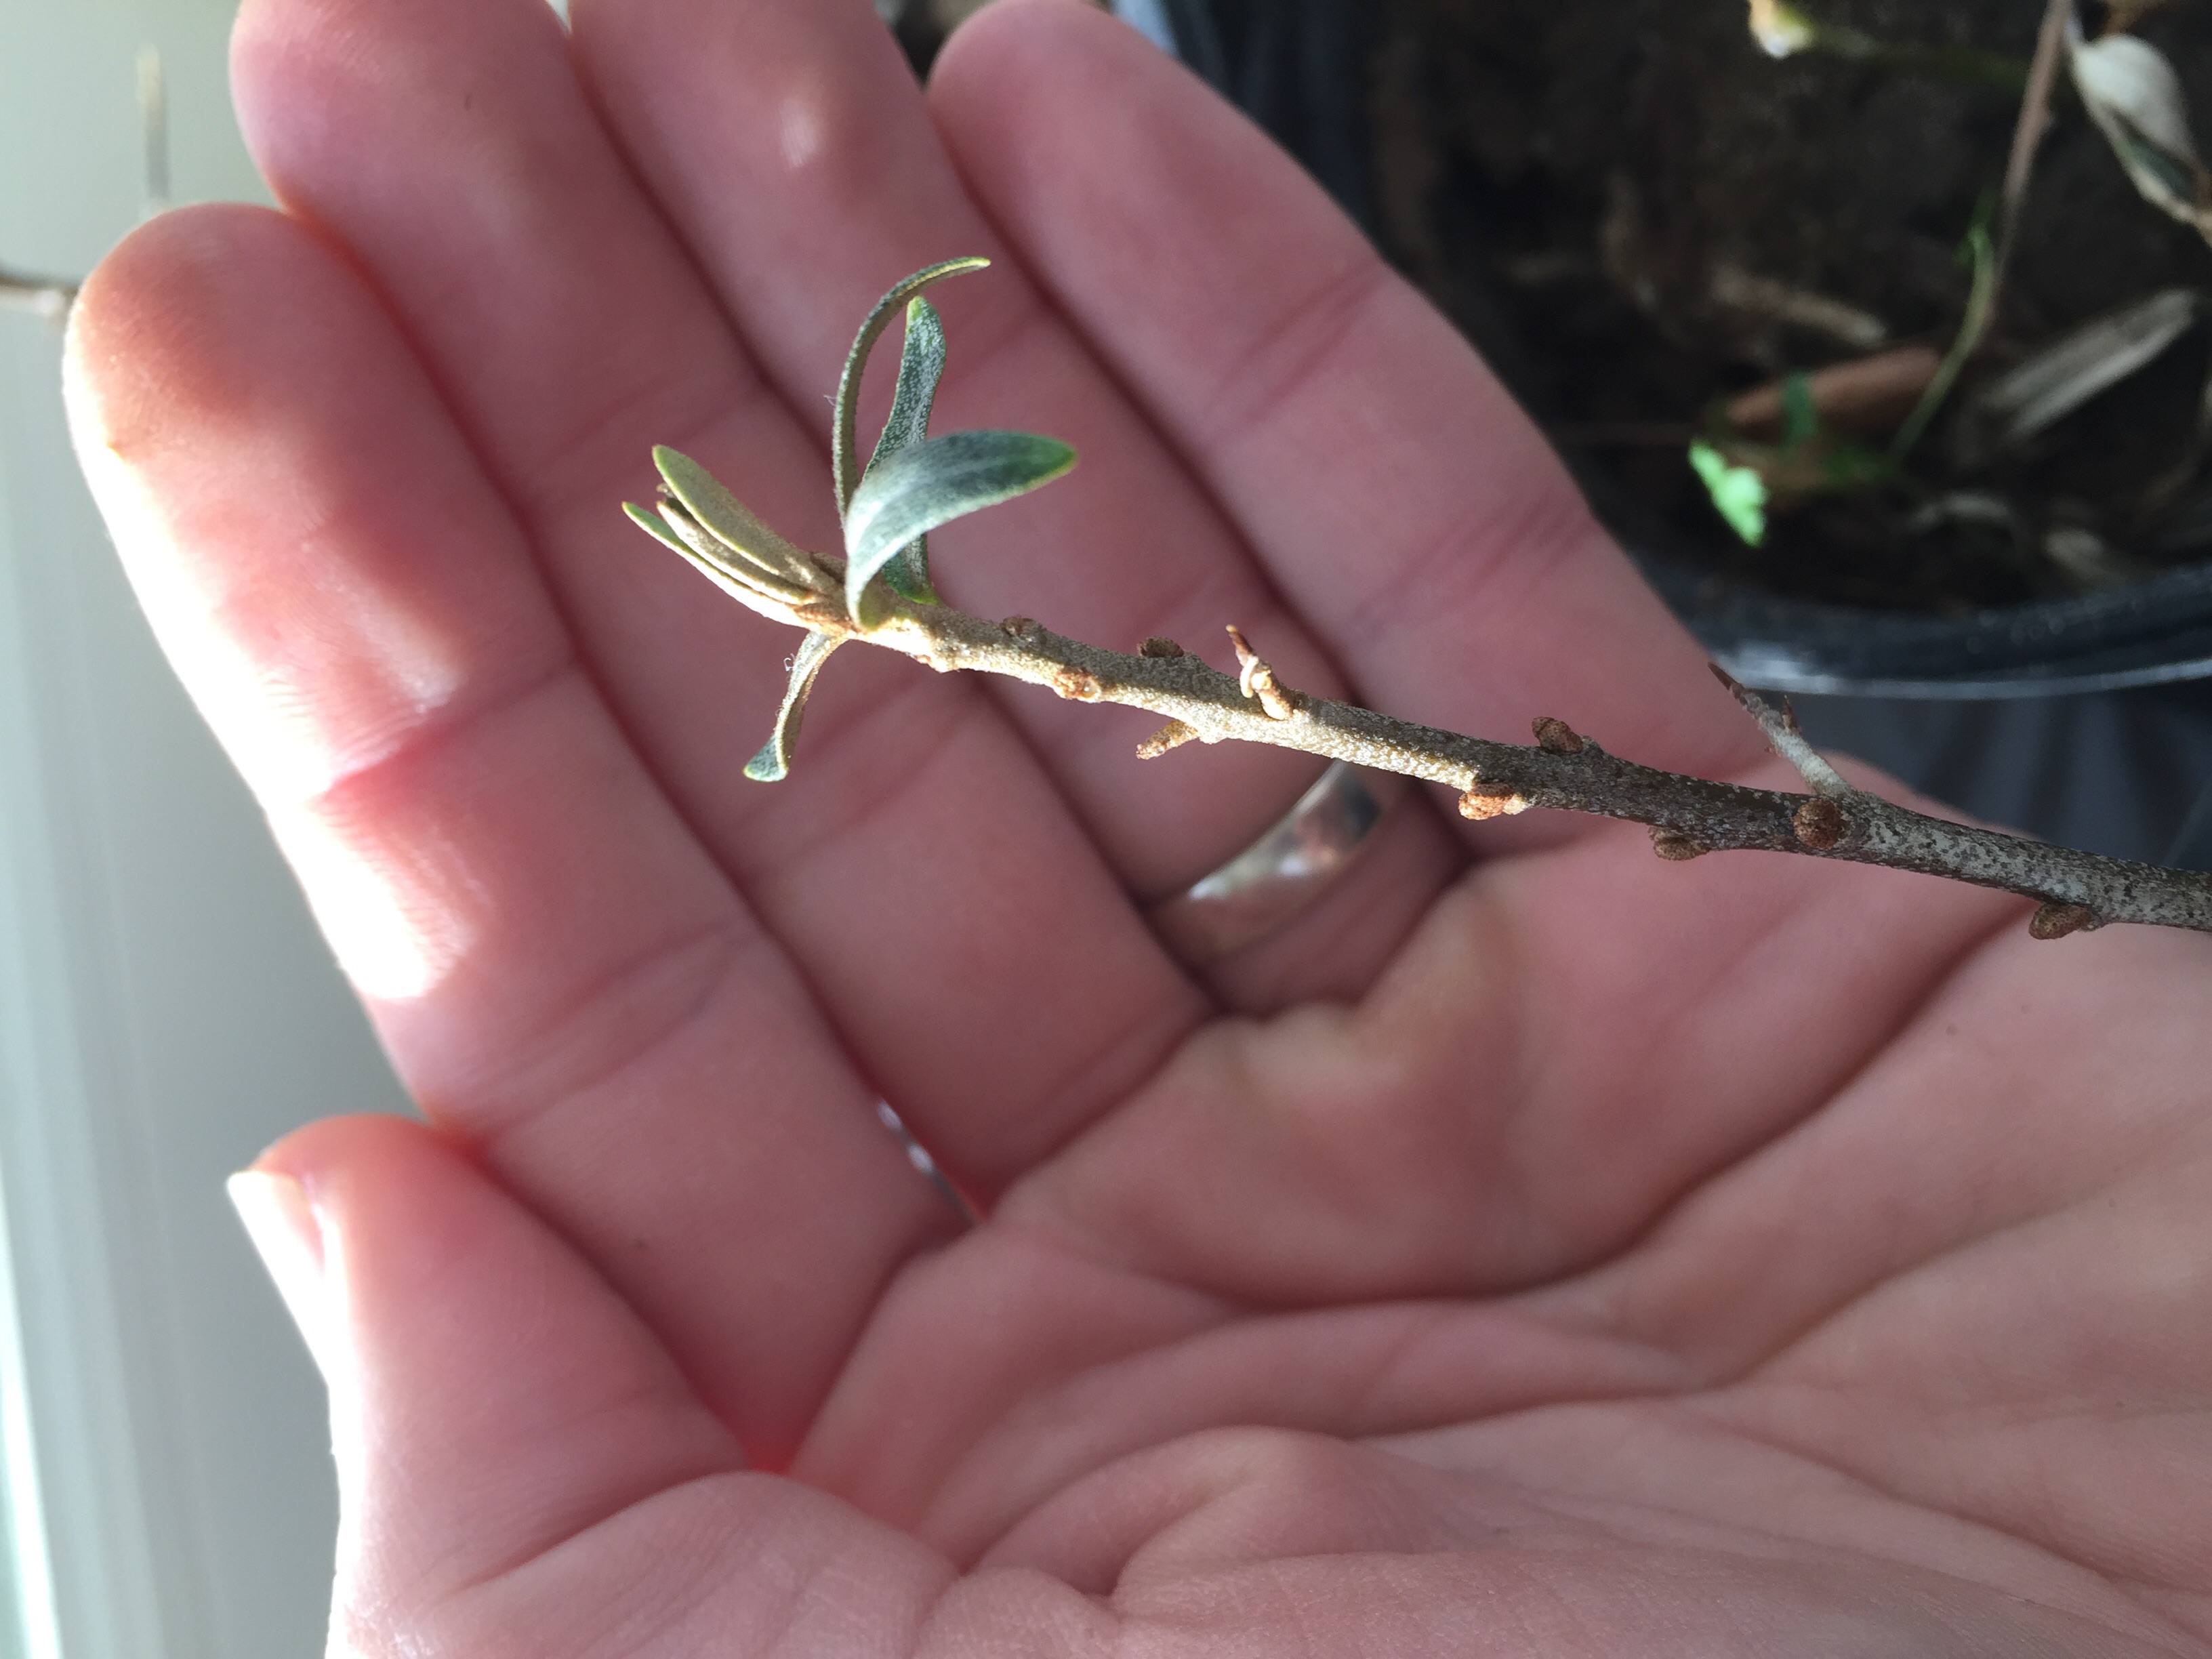
Below is some of the German Extra Hardy, Porcelain garlic we bought from KeenOrganics.com  She suggested the three types we bought for our Colorado climate and for storage length.

image
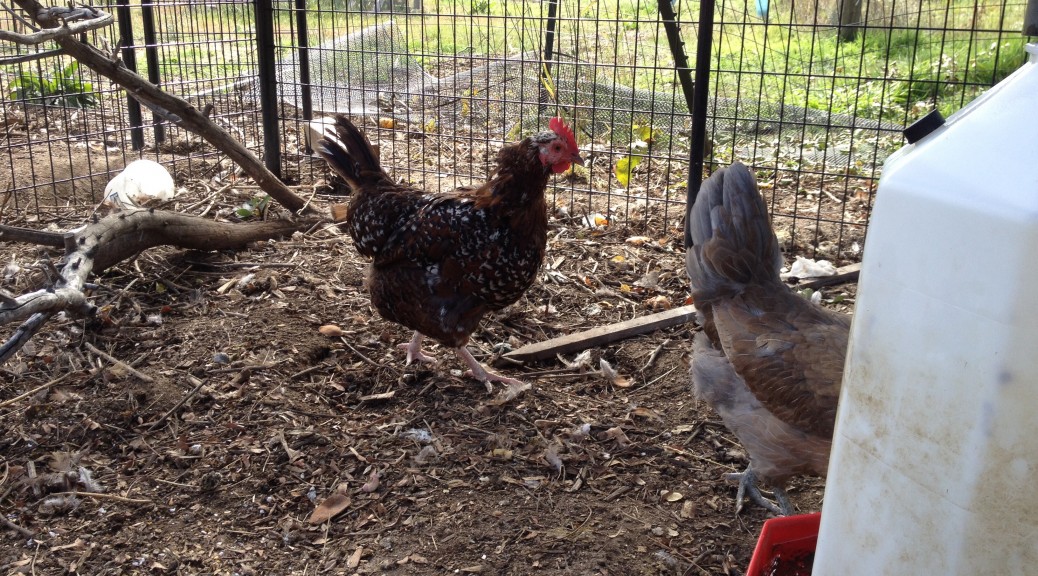
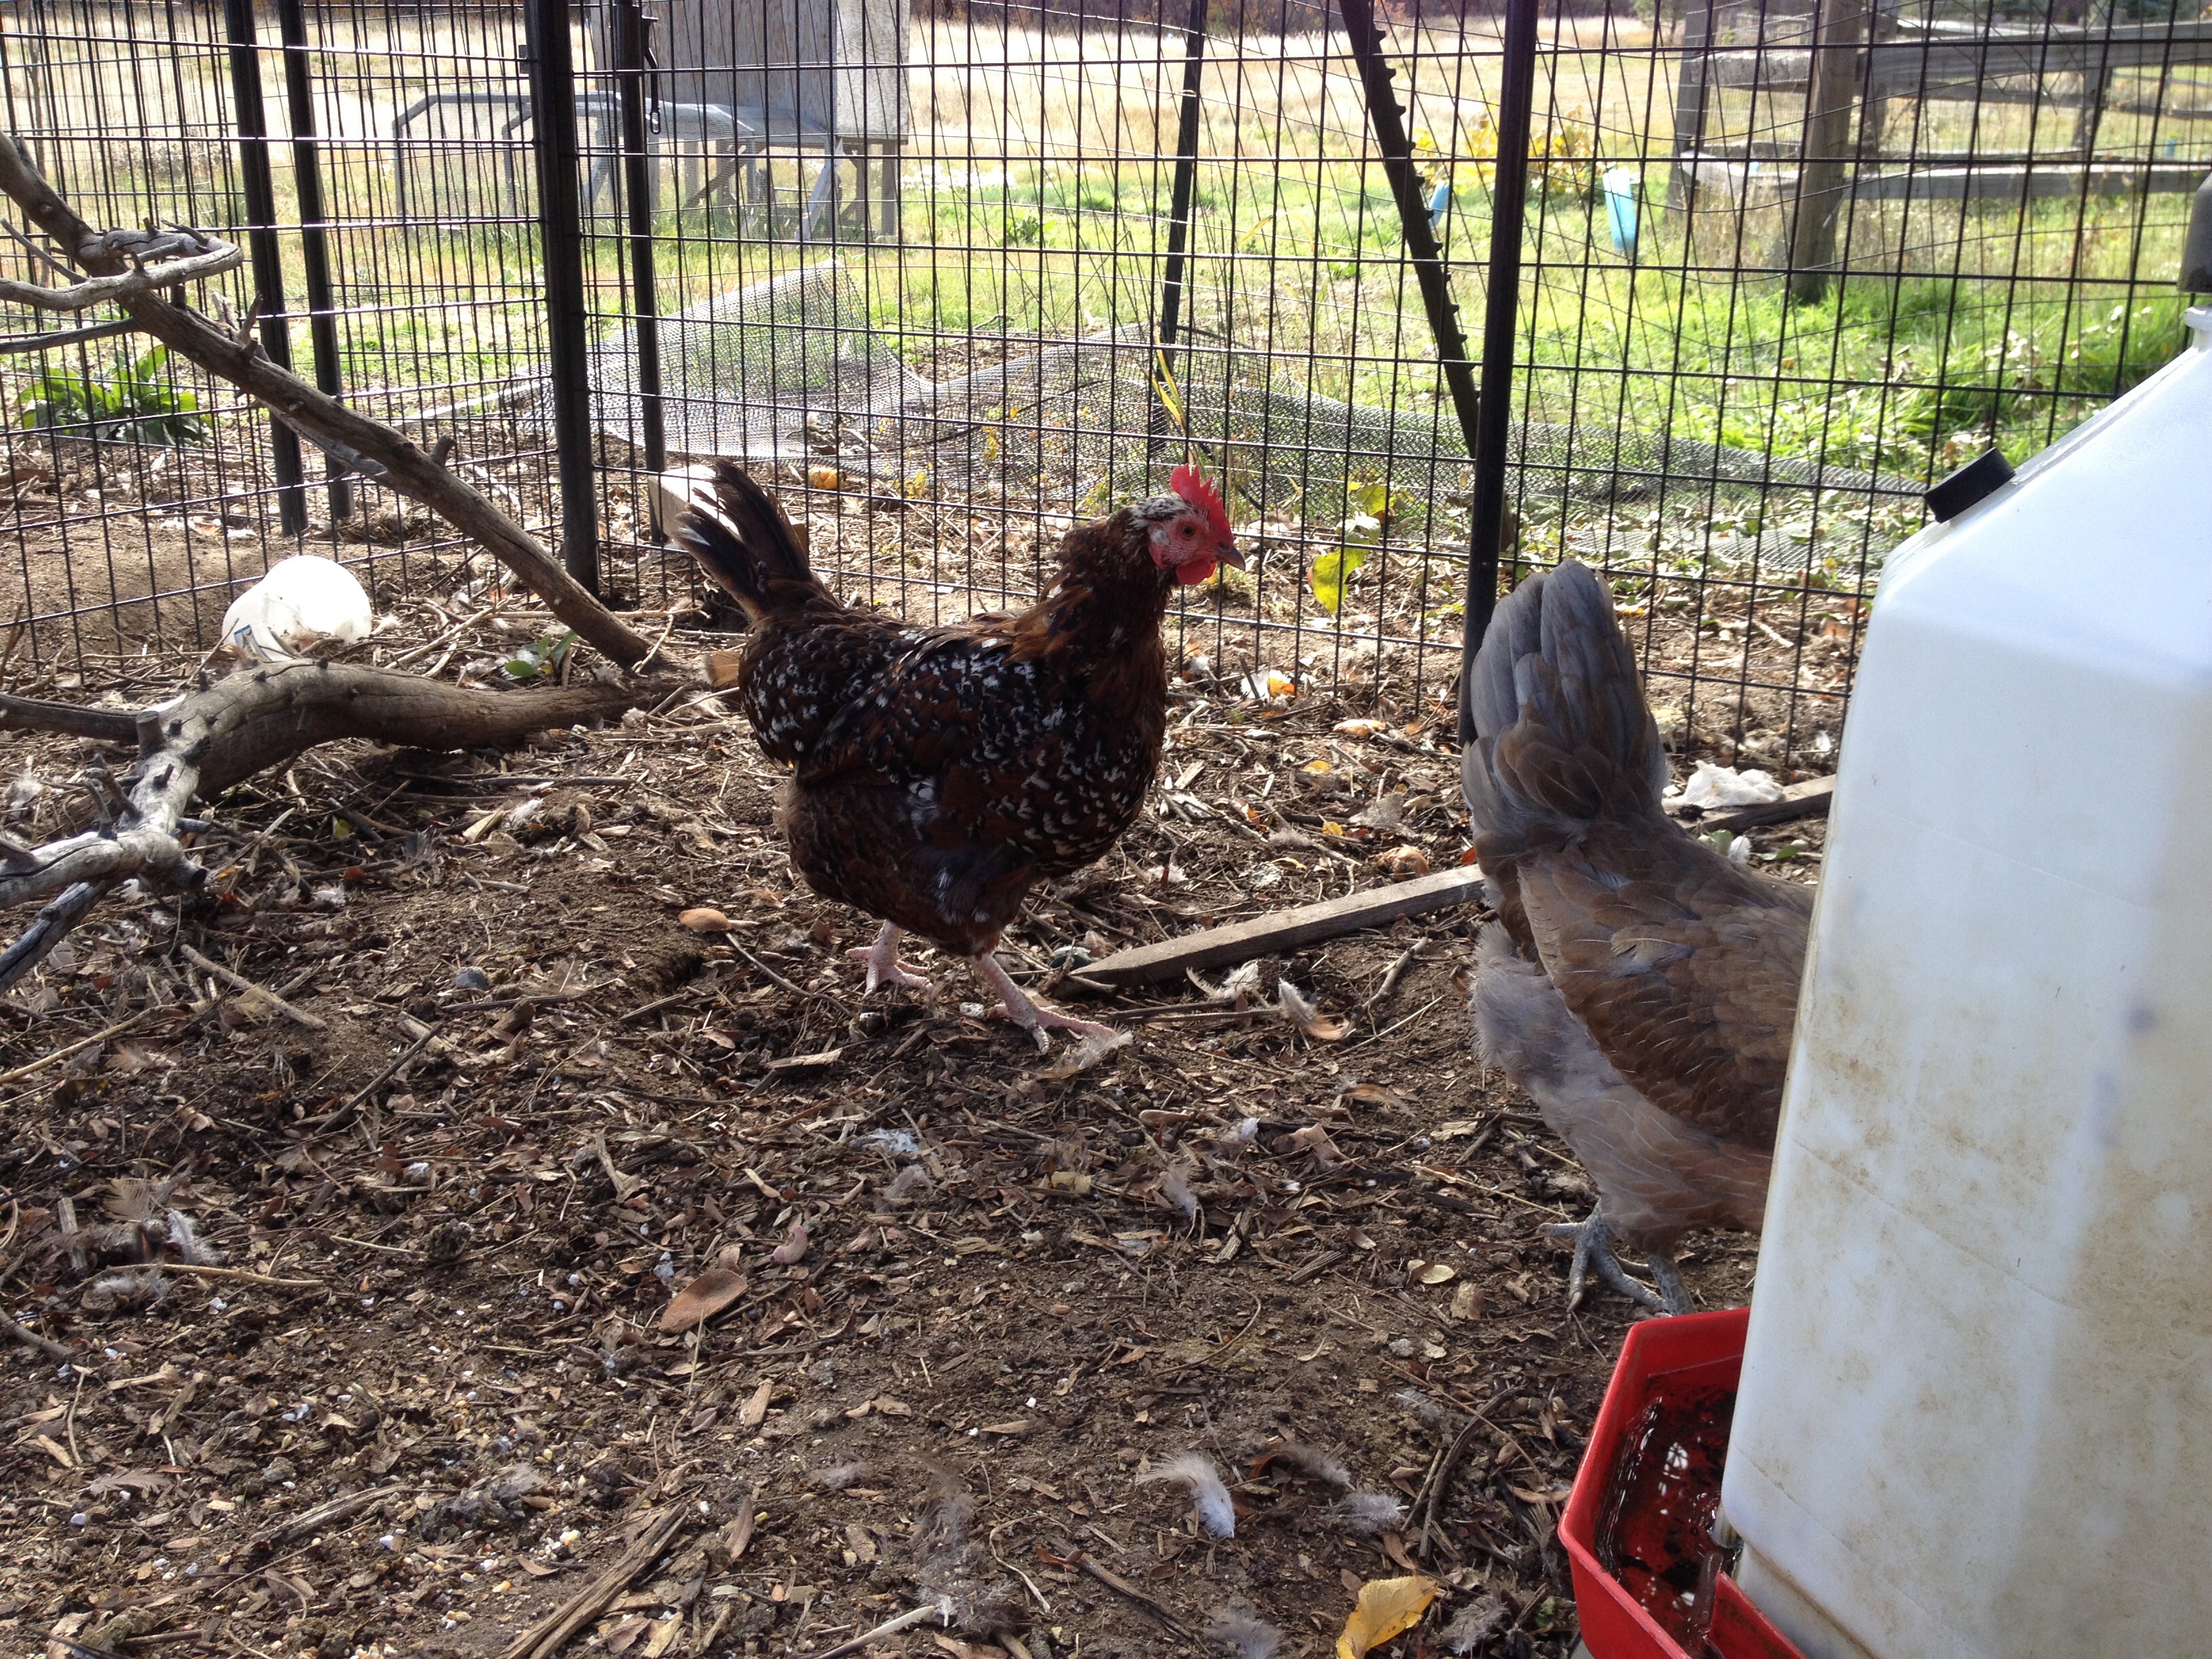
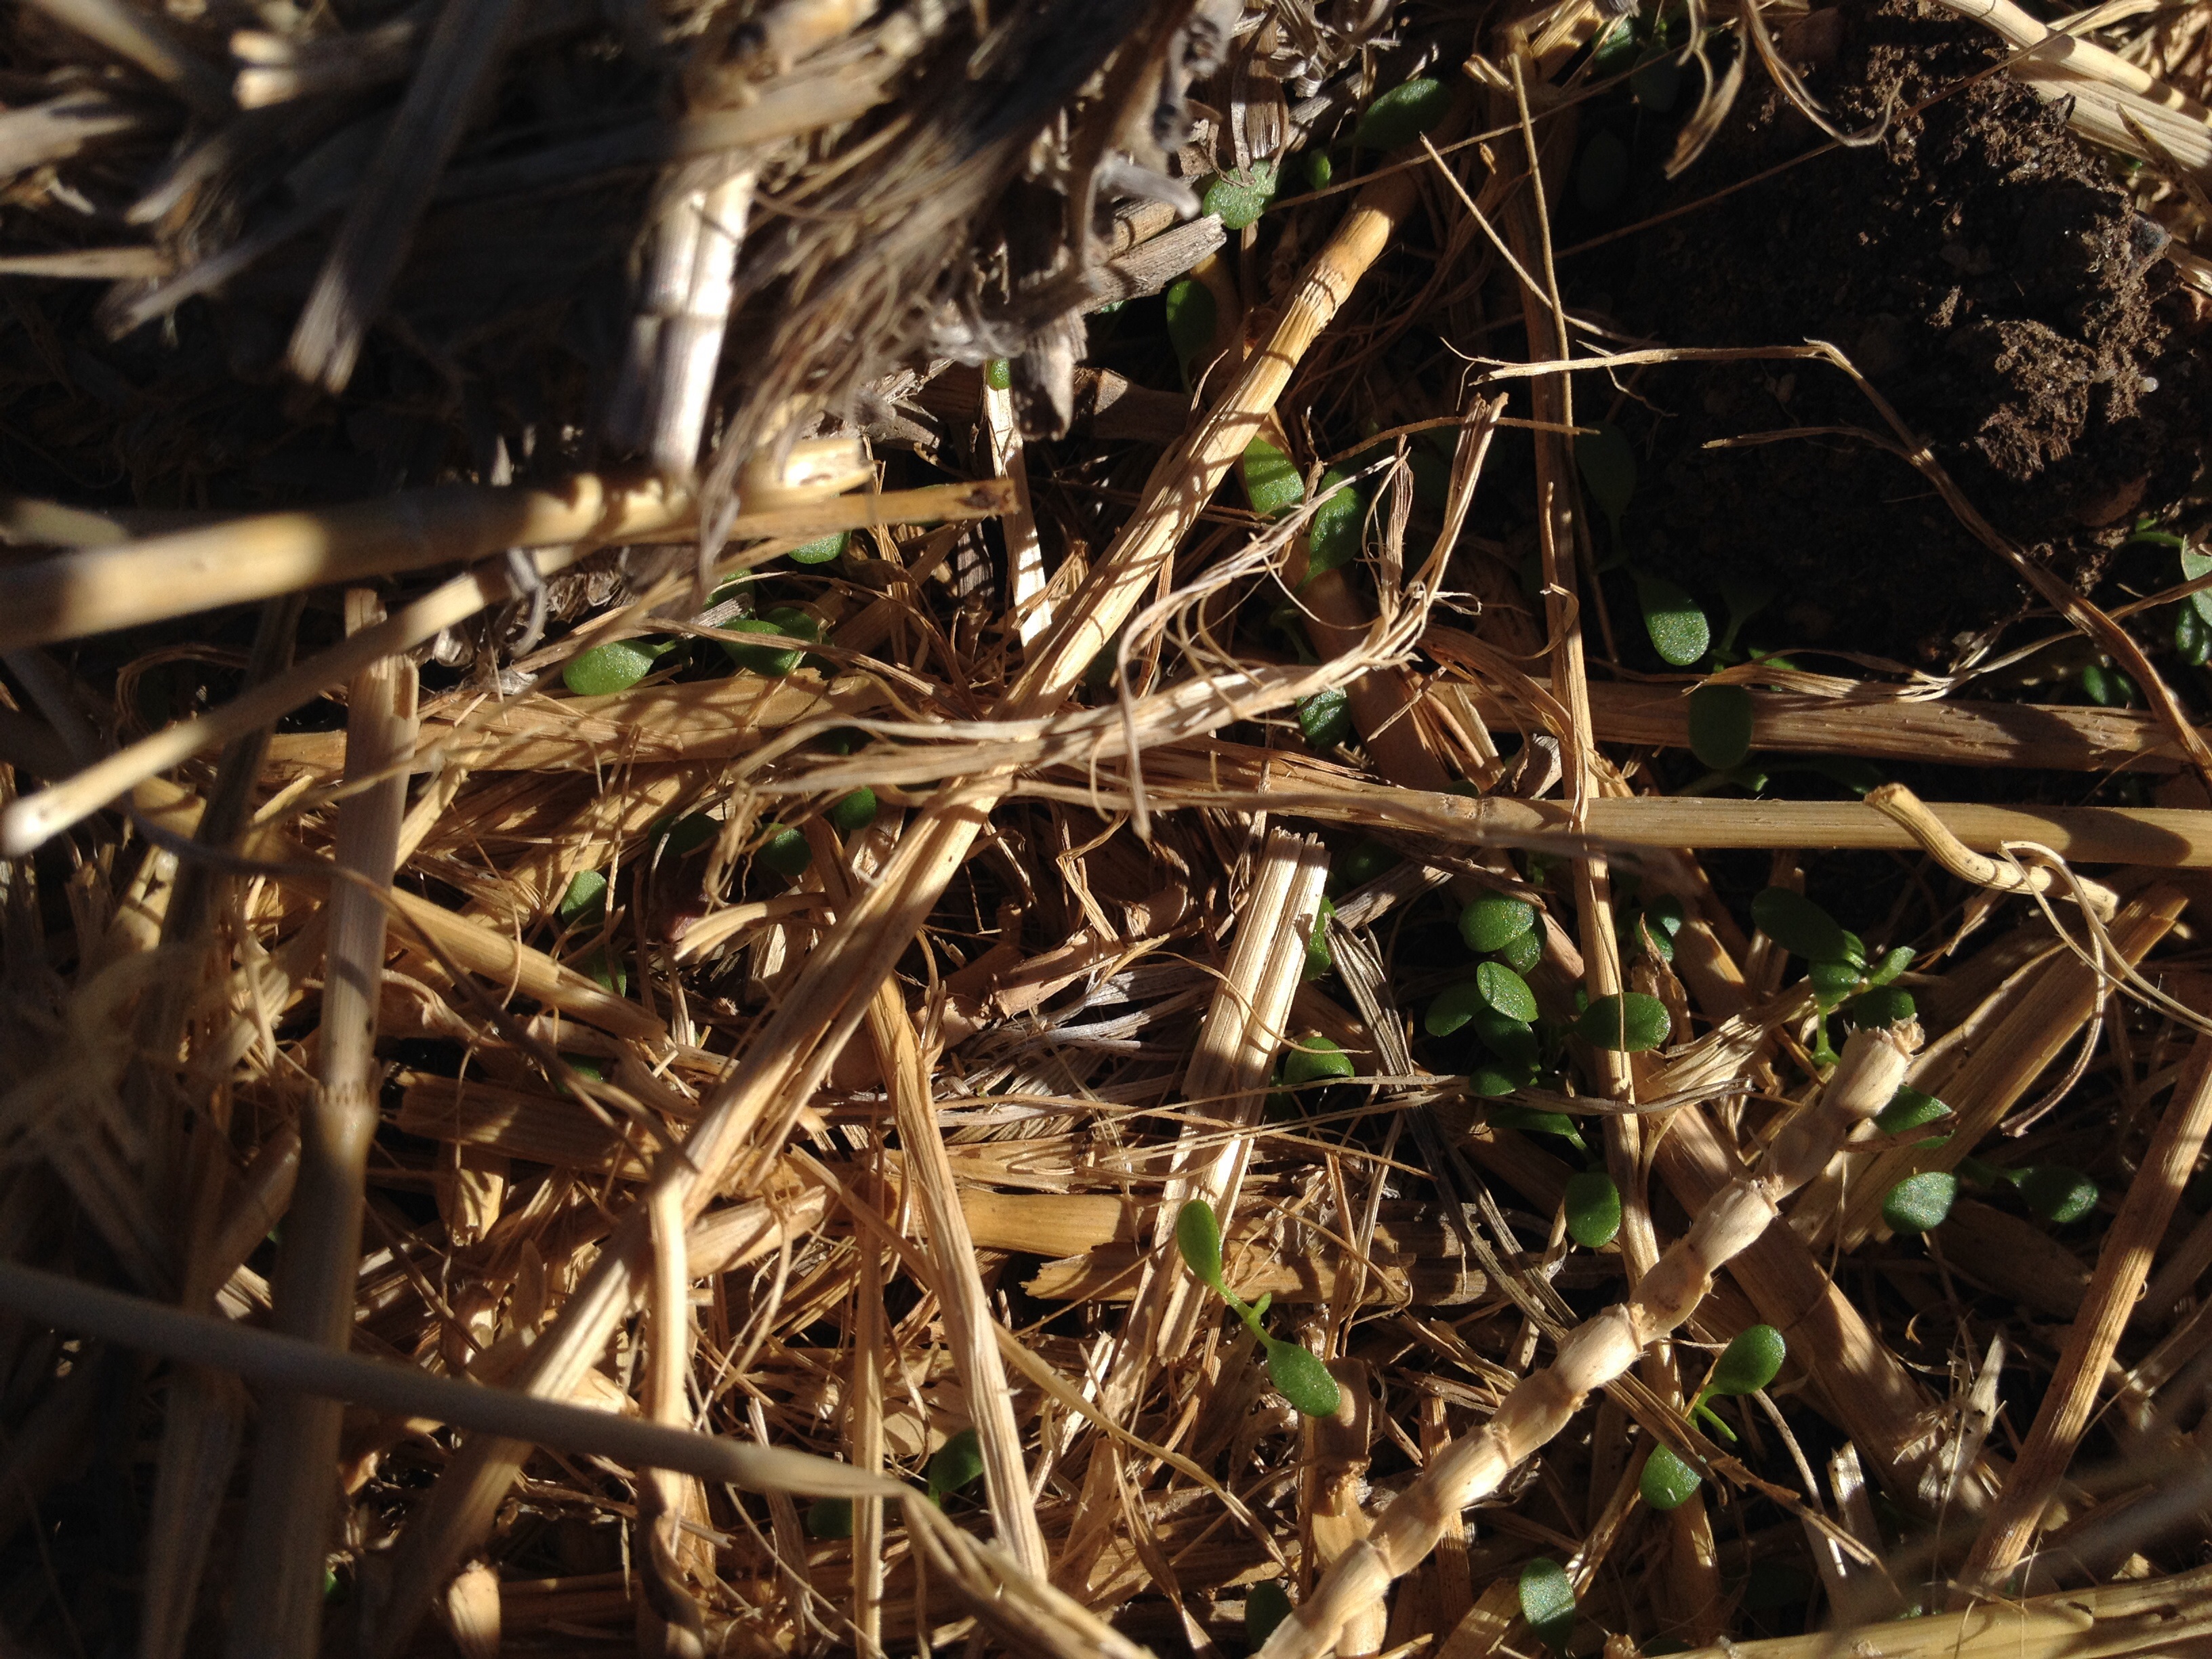
I wish I would have made a single or double only row so chickens in chicken tractors could be used to weed right up to the garlic.  The plans changed when I found out how hard it was to till the ground.  Might end up planting some of the garlic in the garden area where a small chicken tractor can do some weeding.  I’m a bit excited to make a small chicken tractor that could be moved around the garden to do a lot of the weeding I did by hand this year!

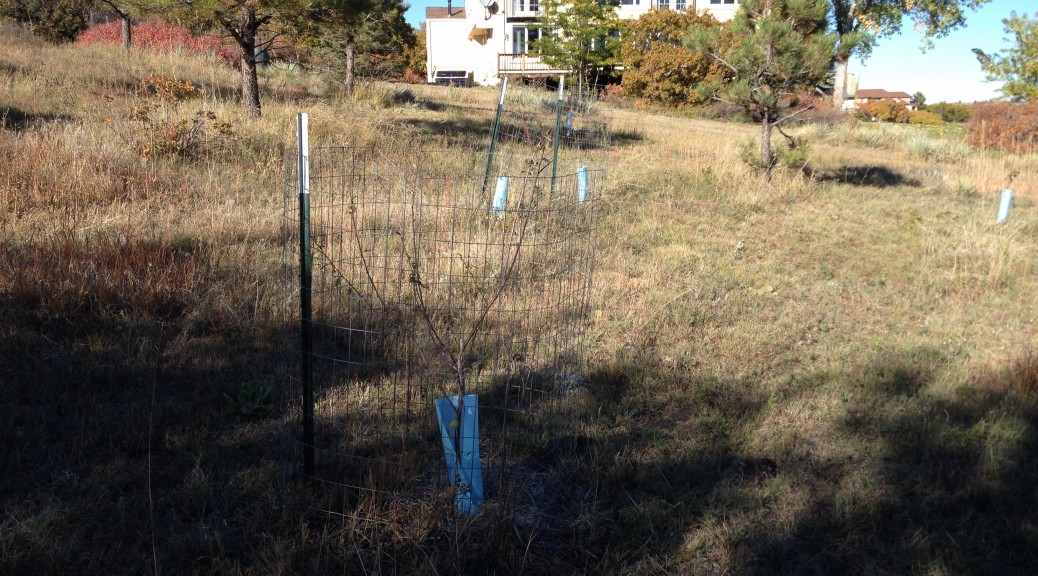
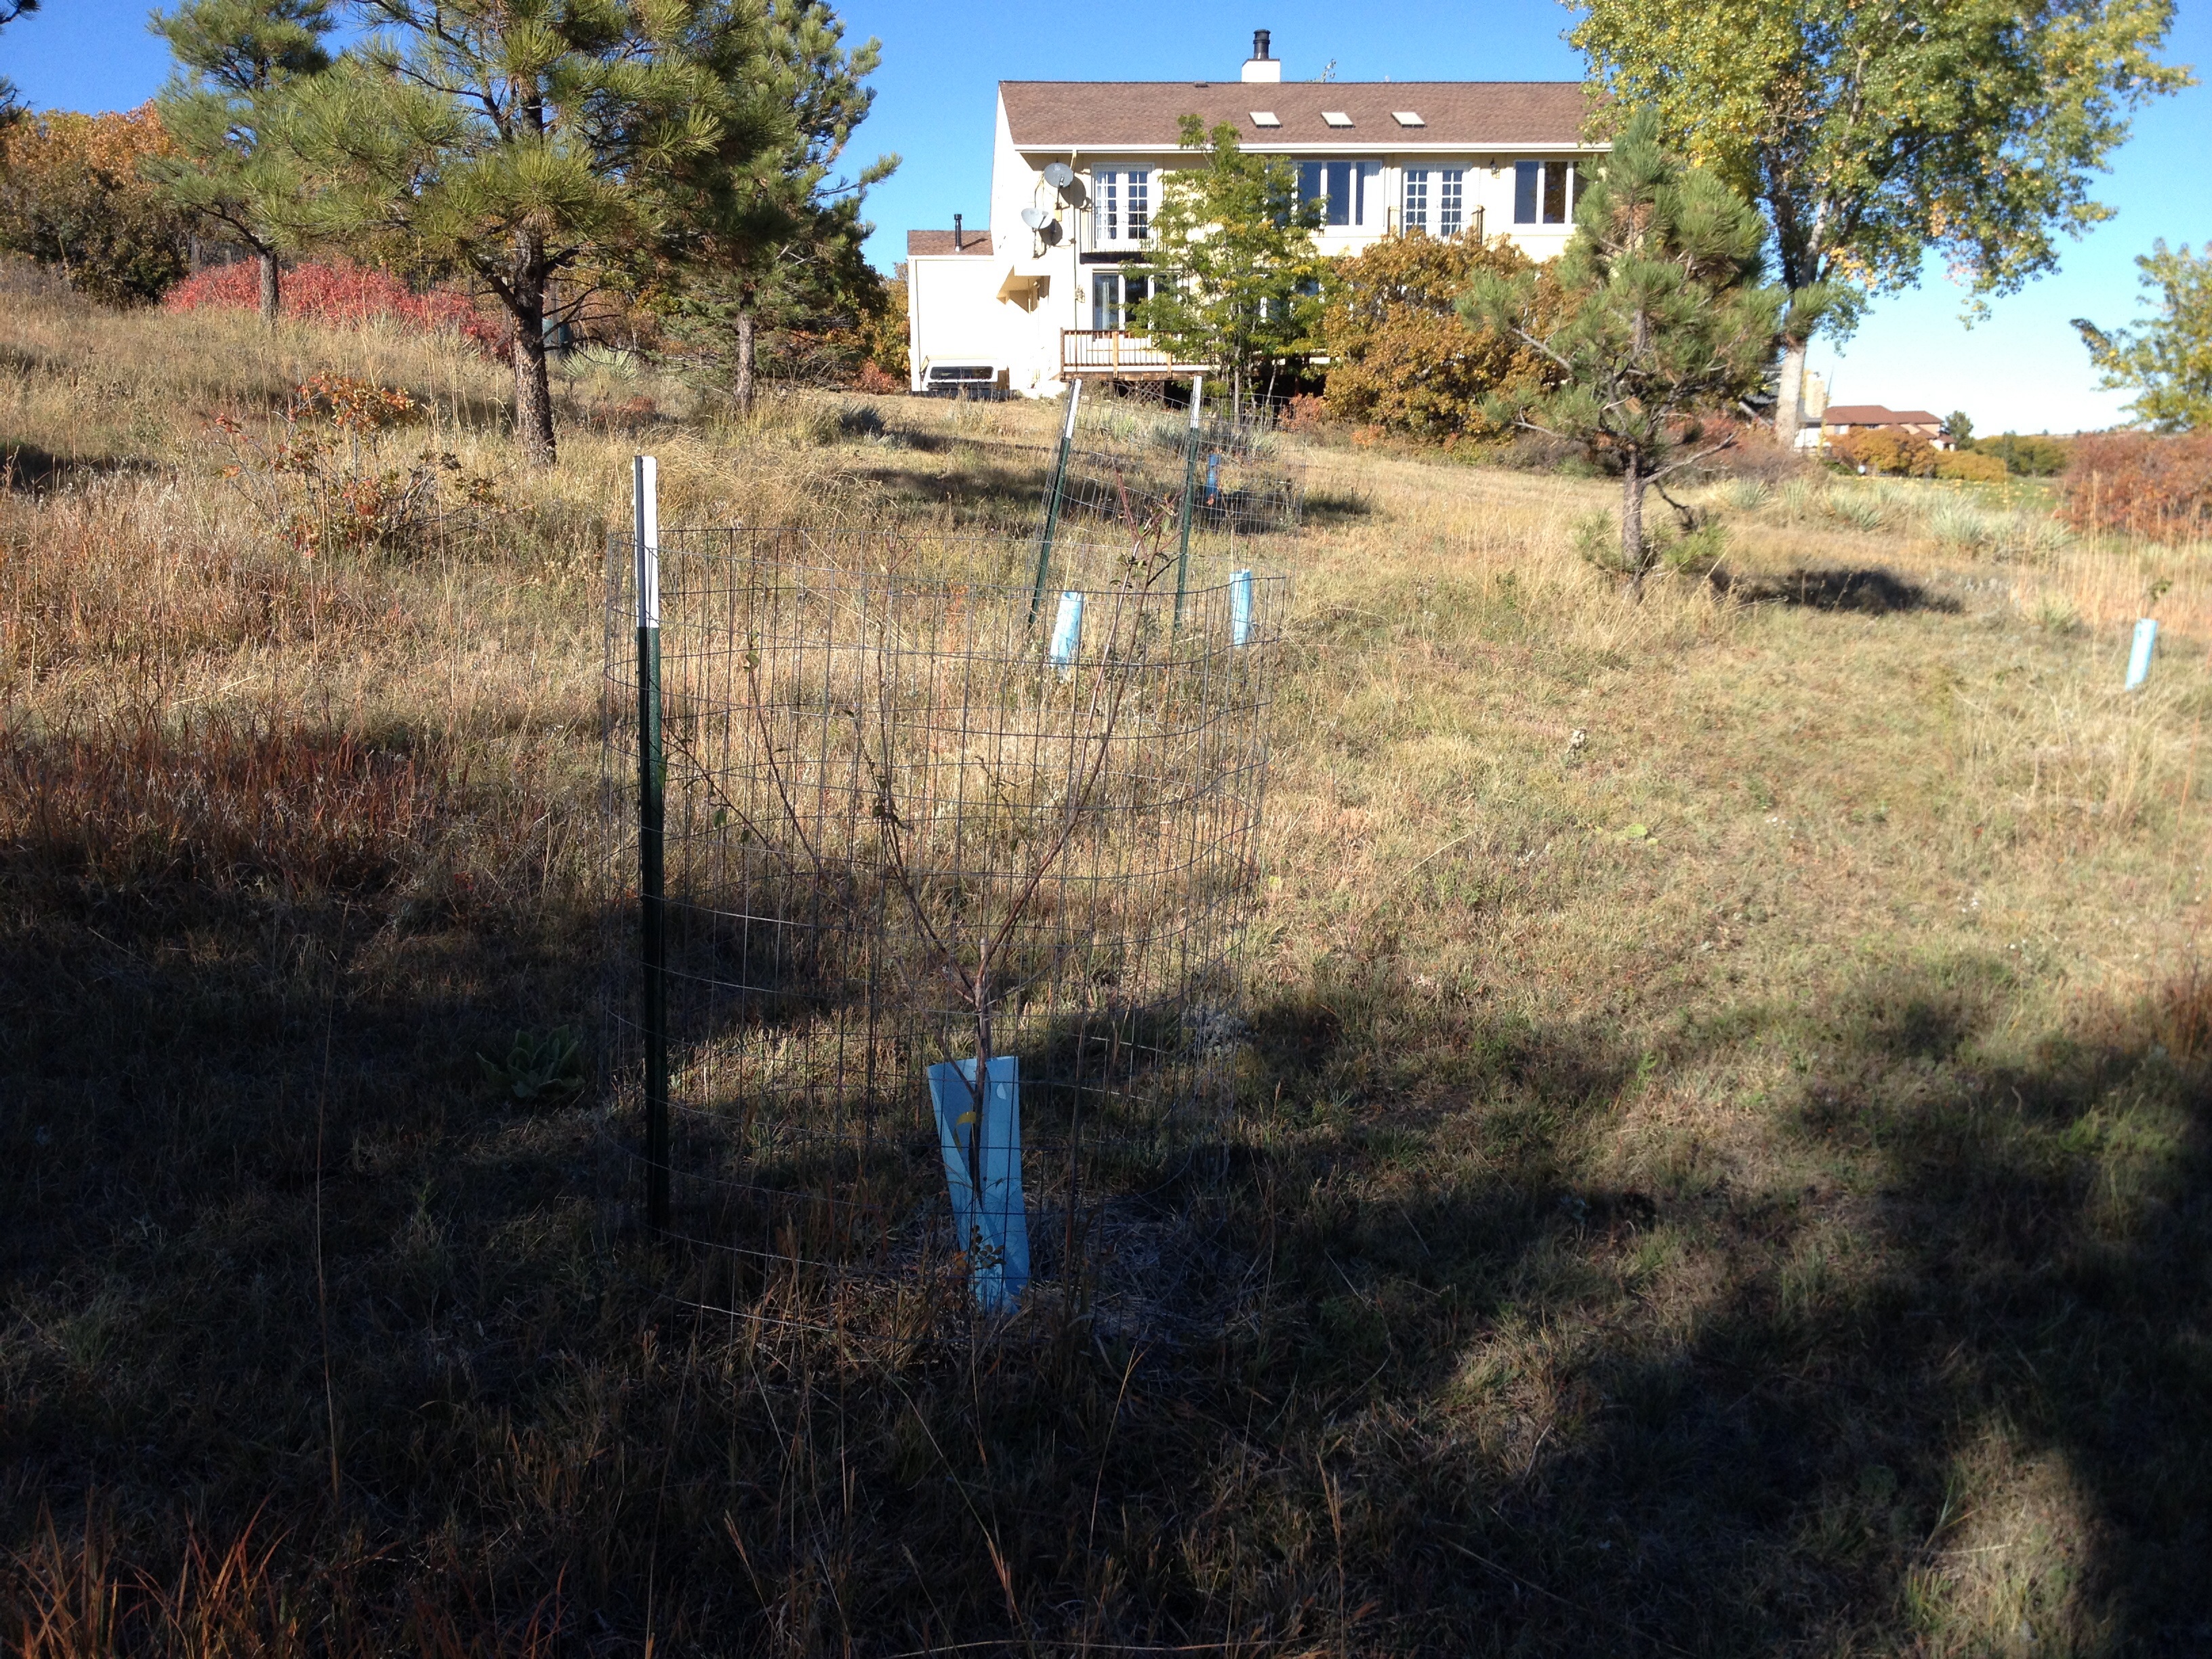
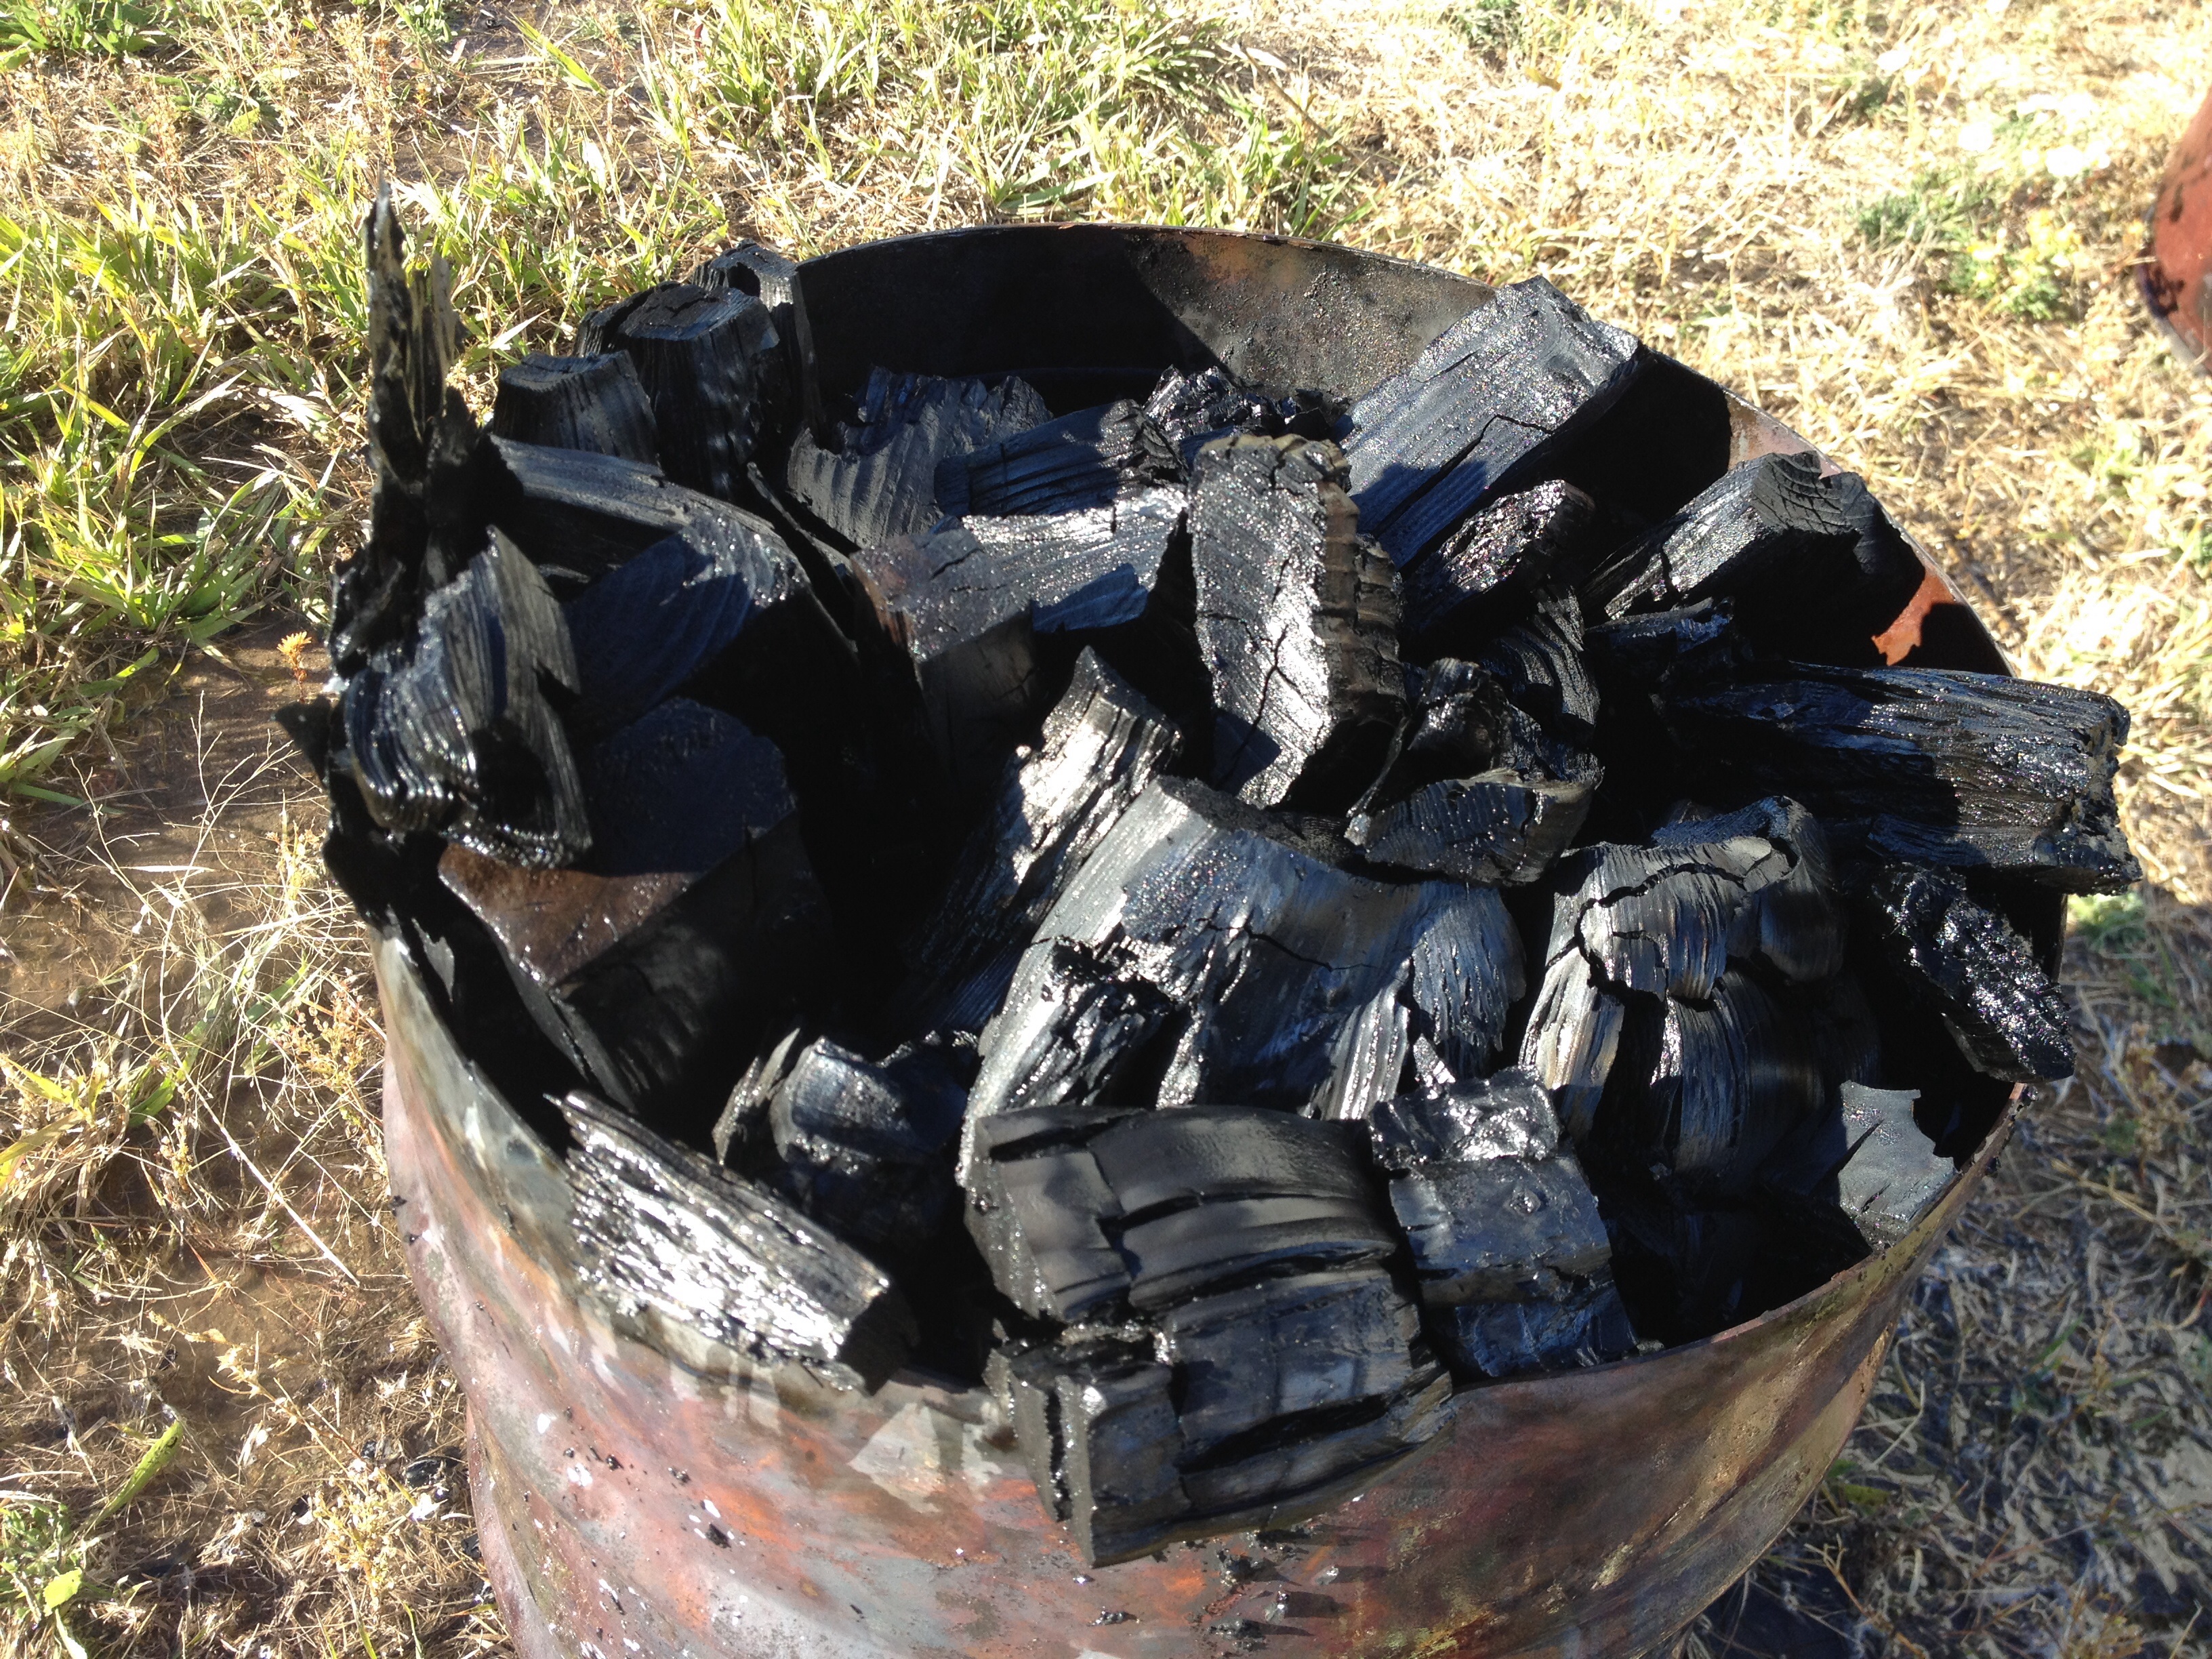
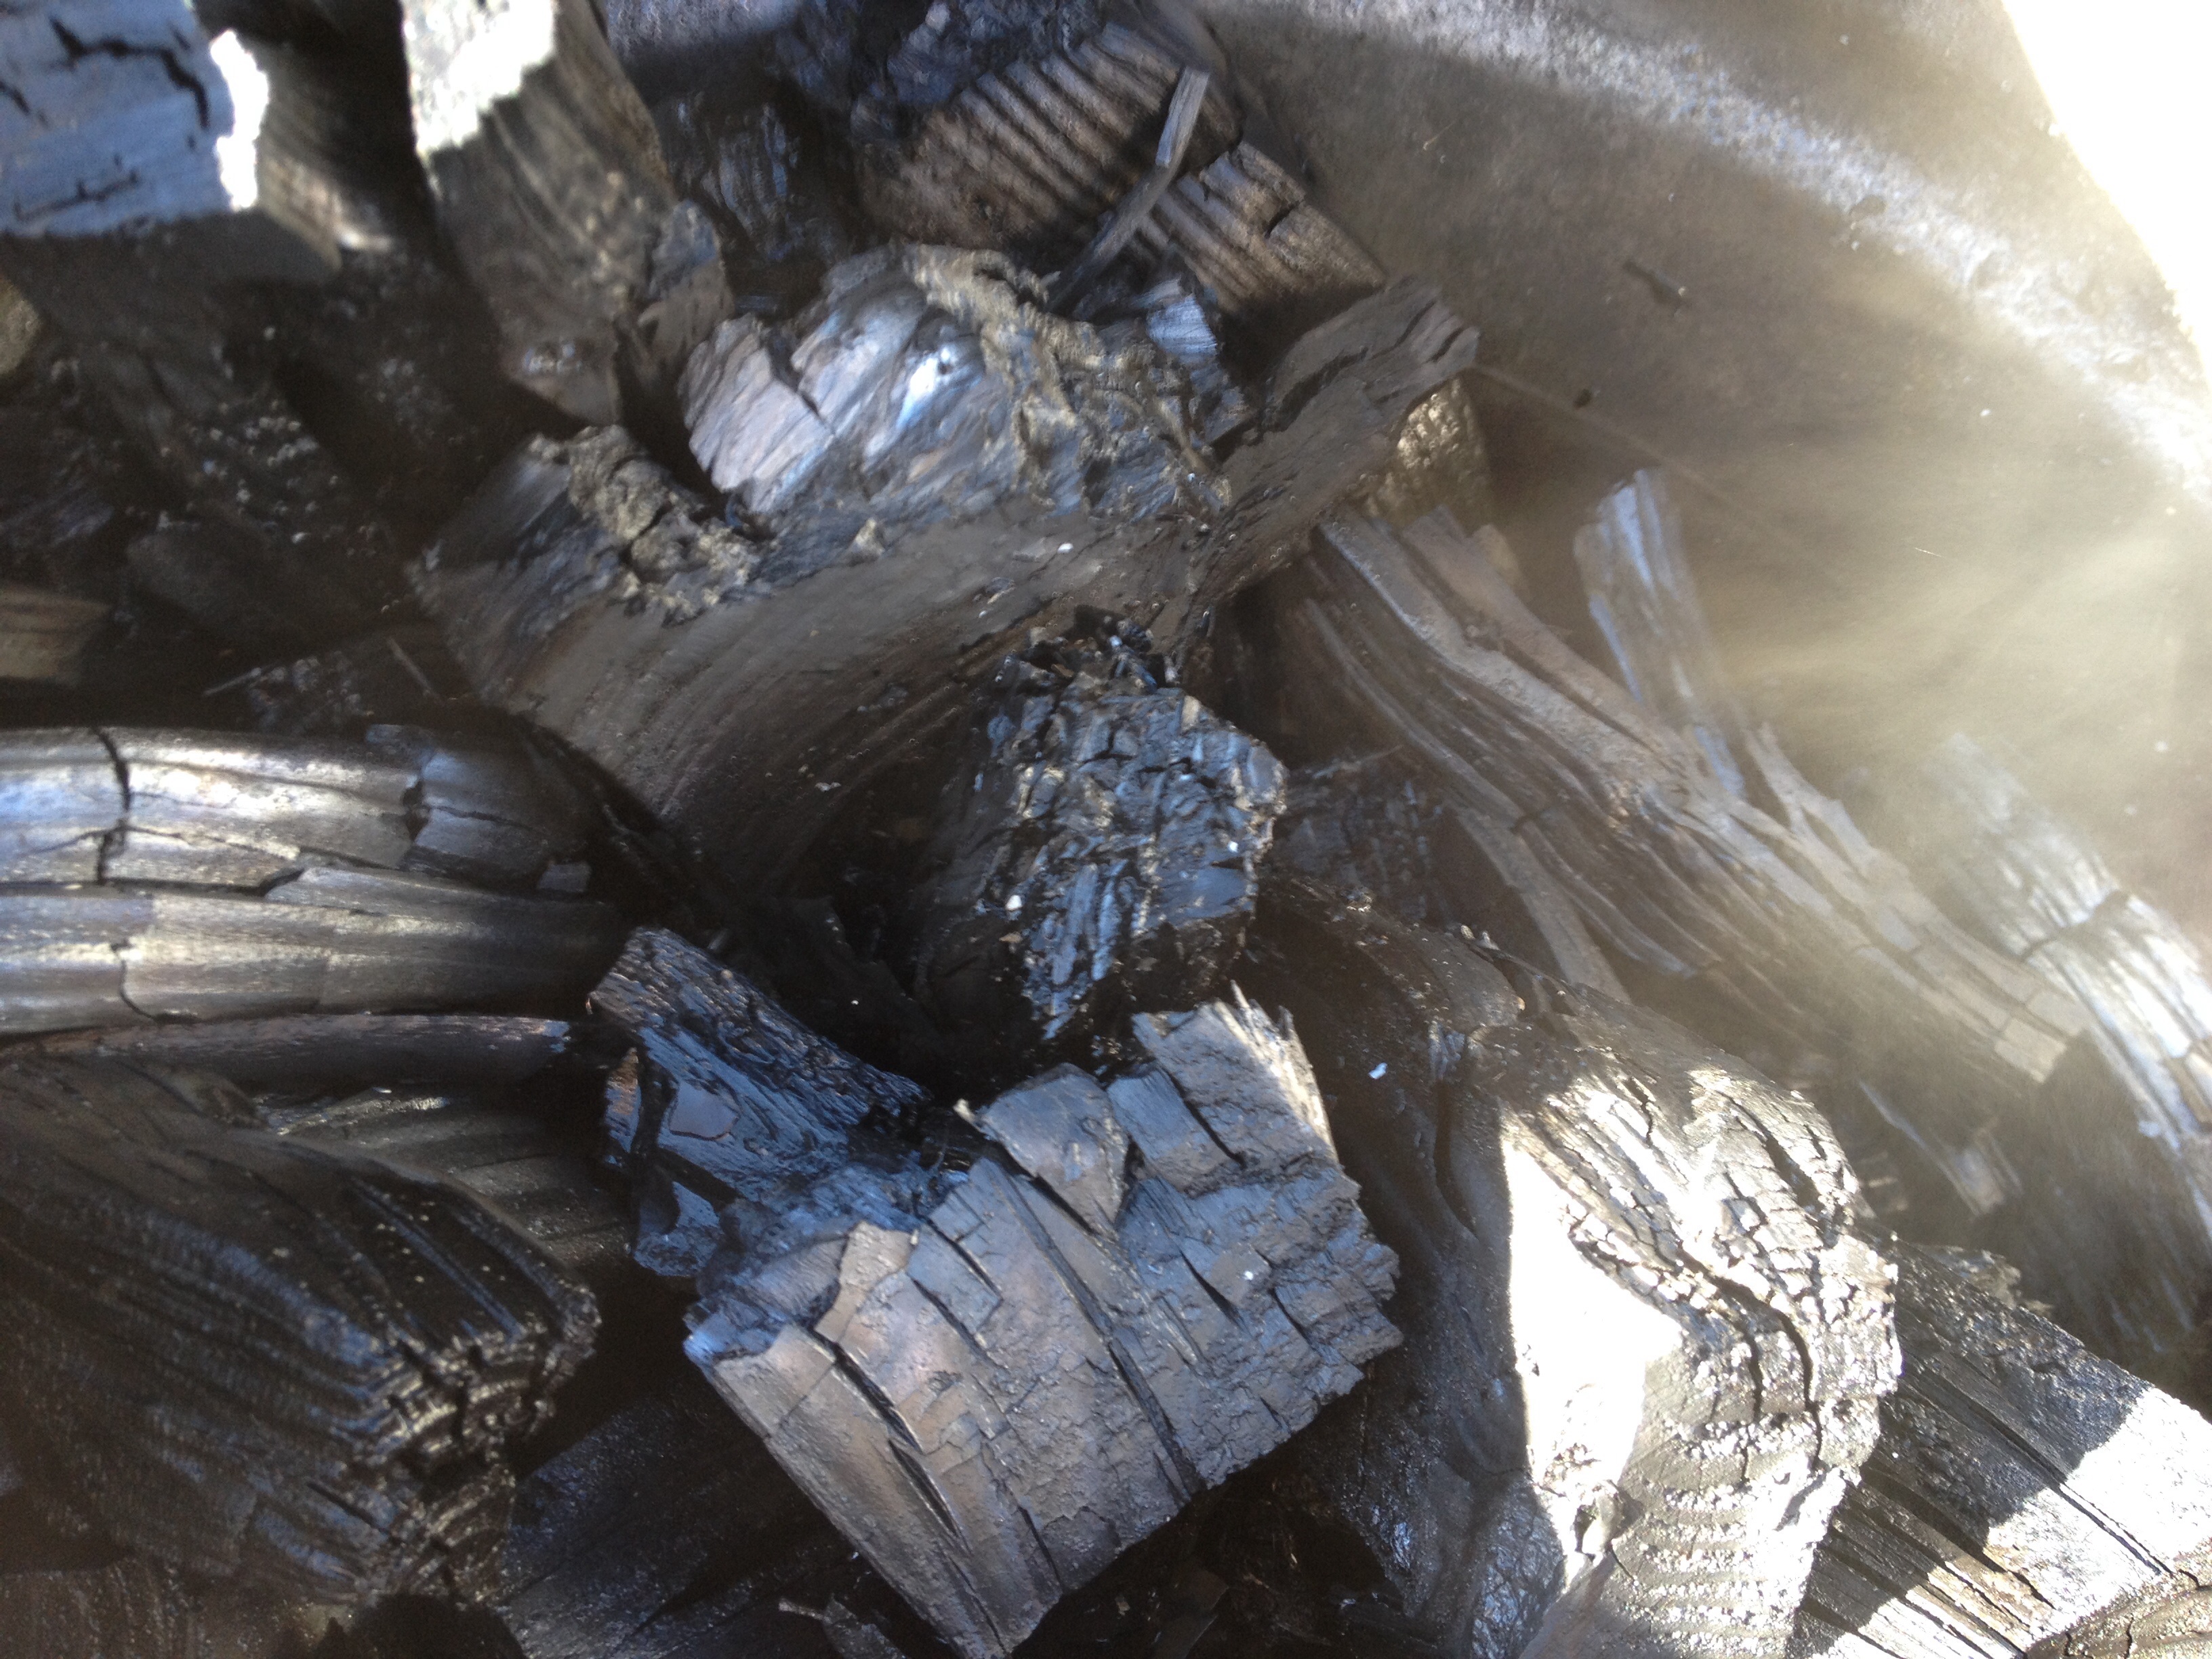
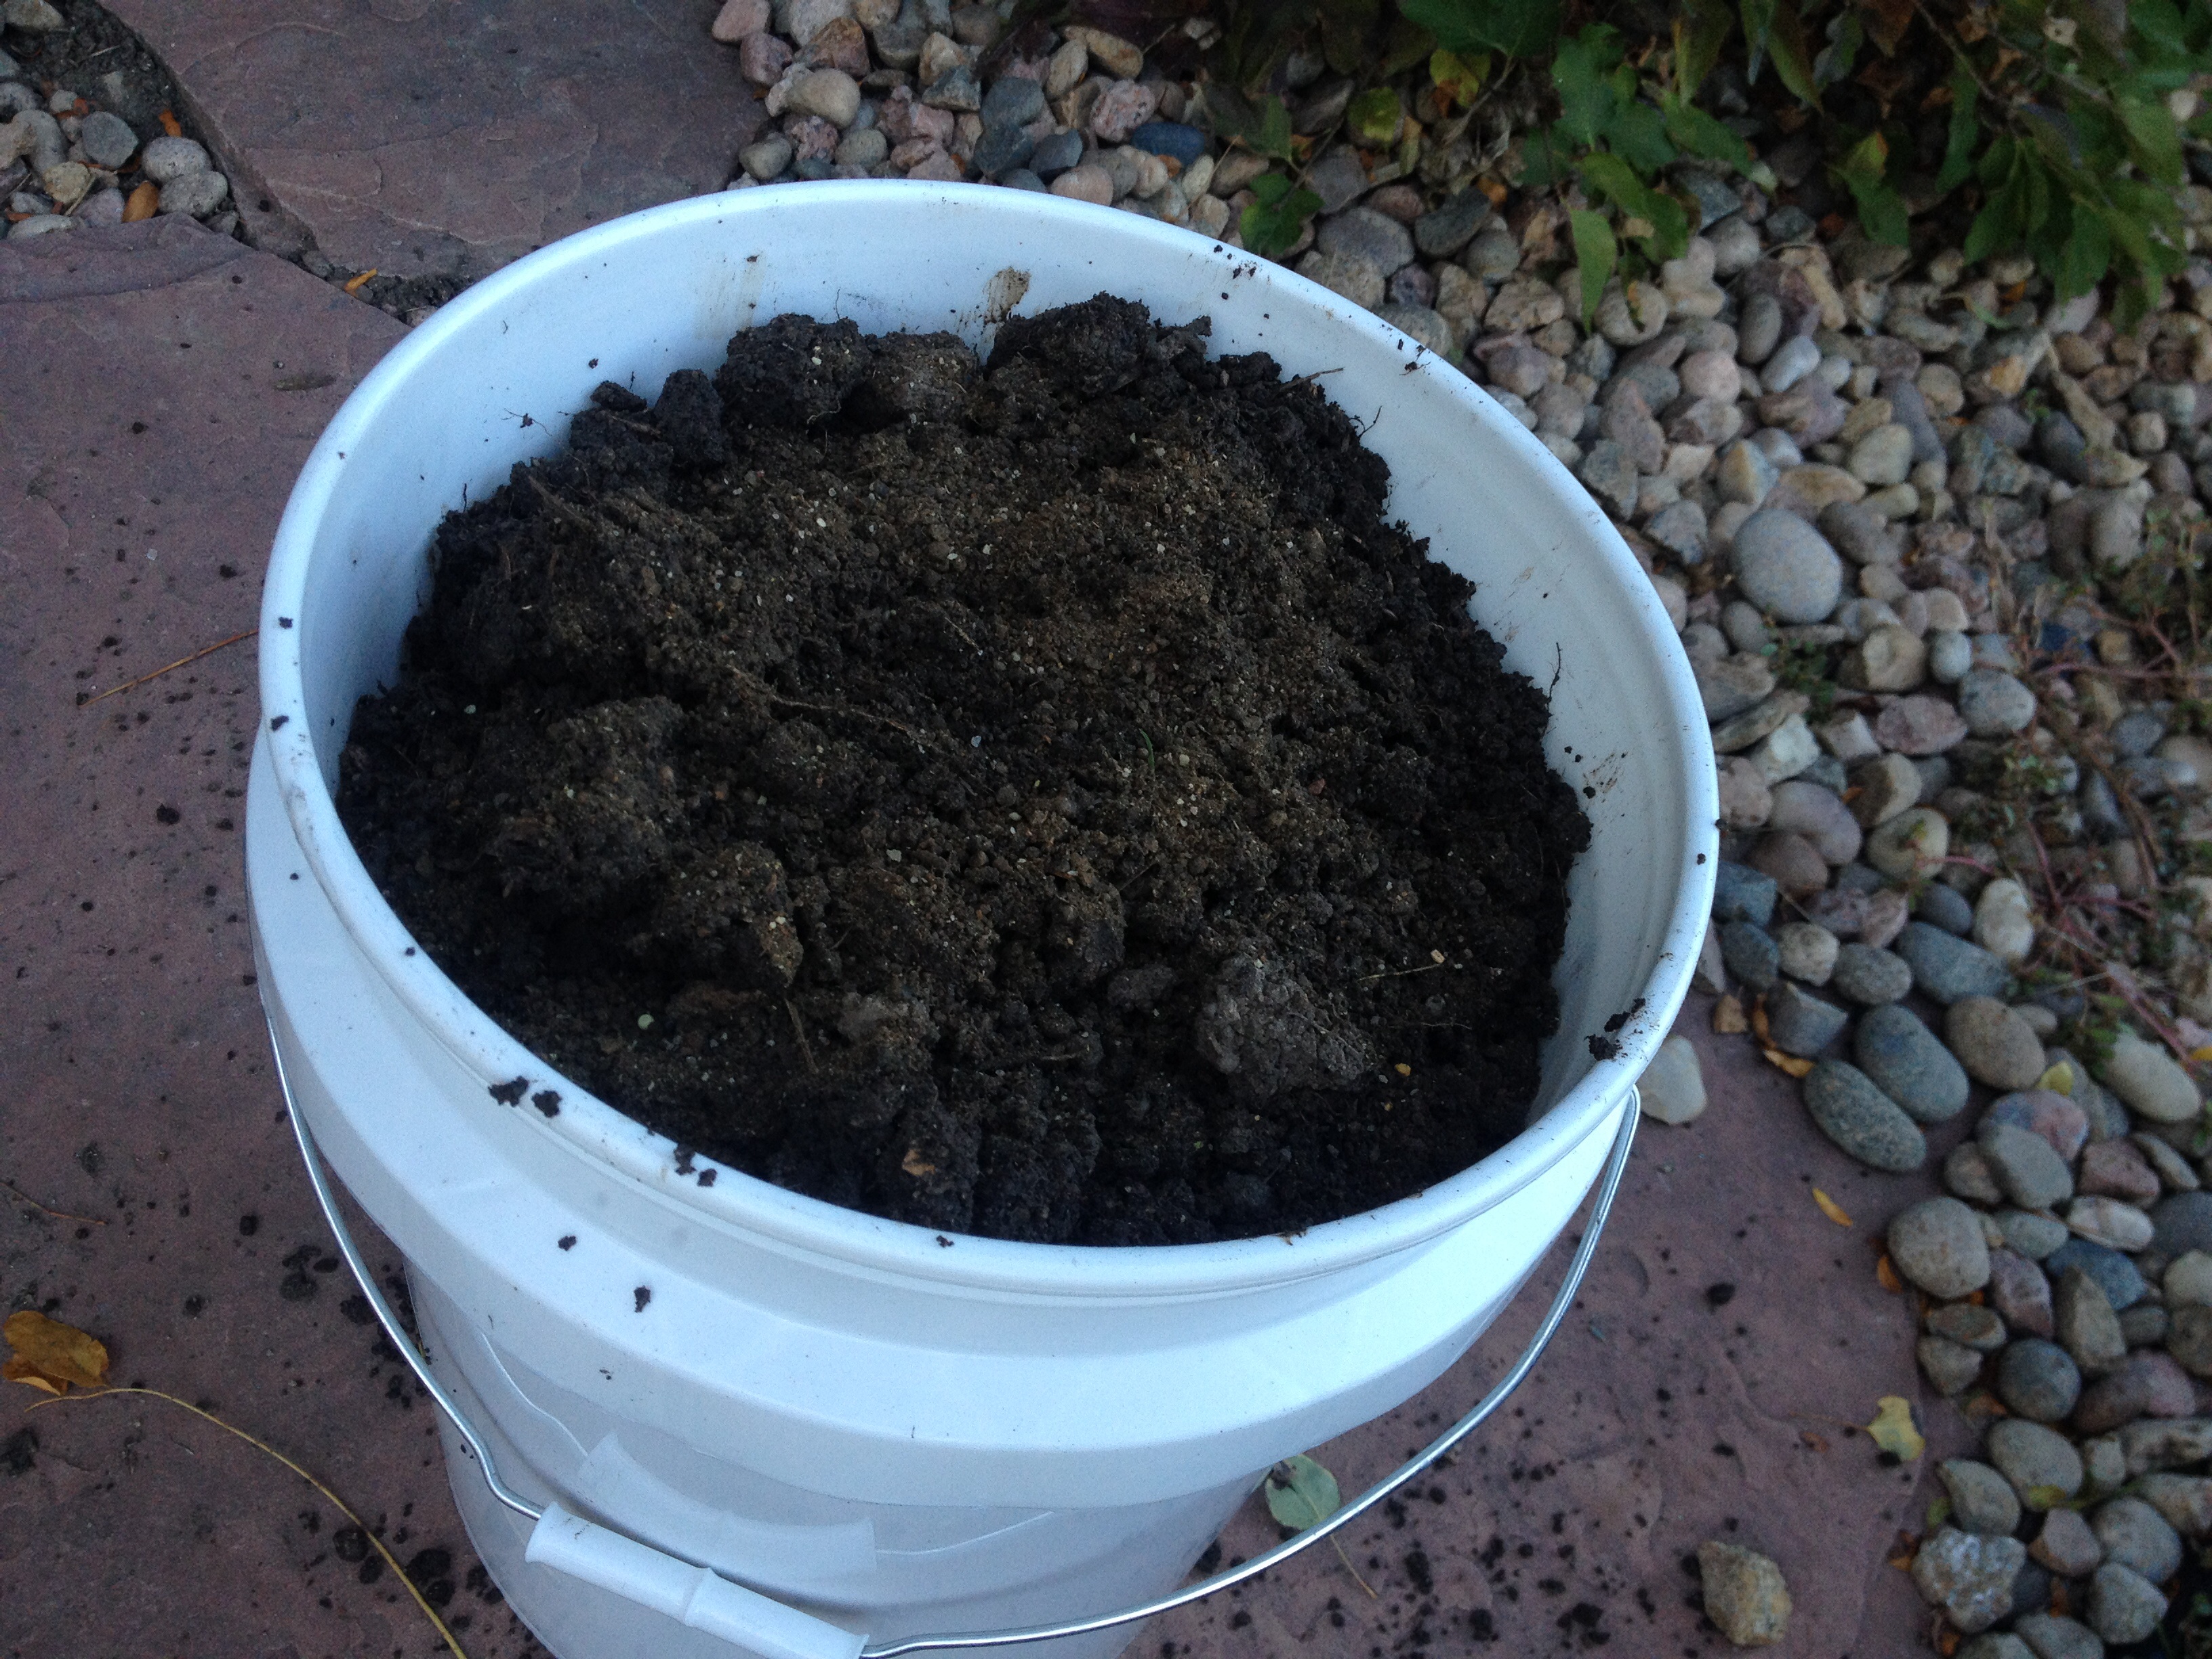
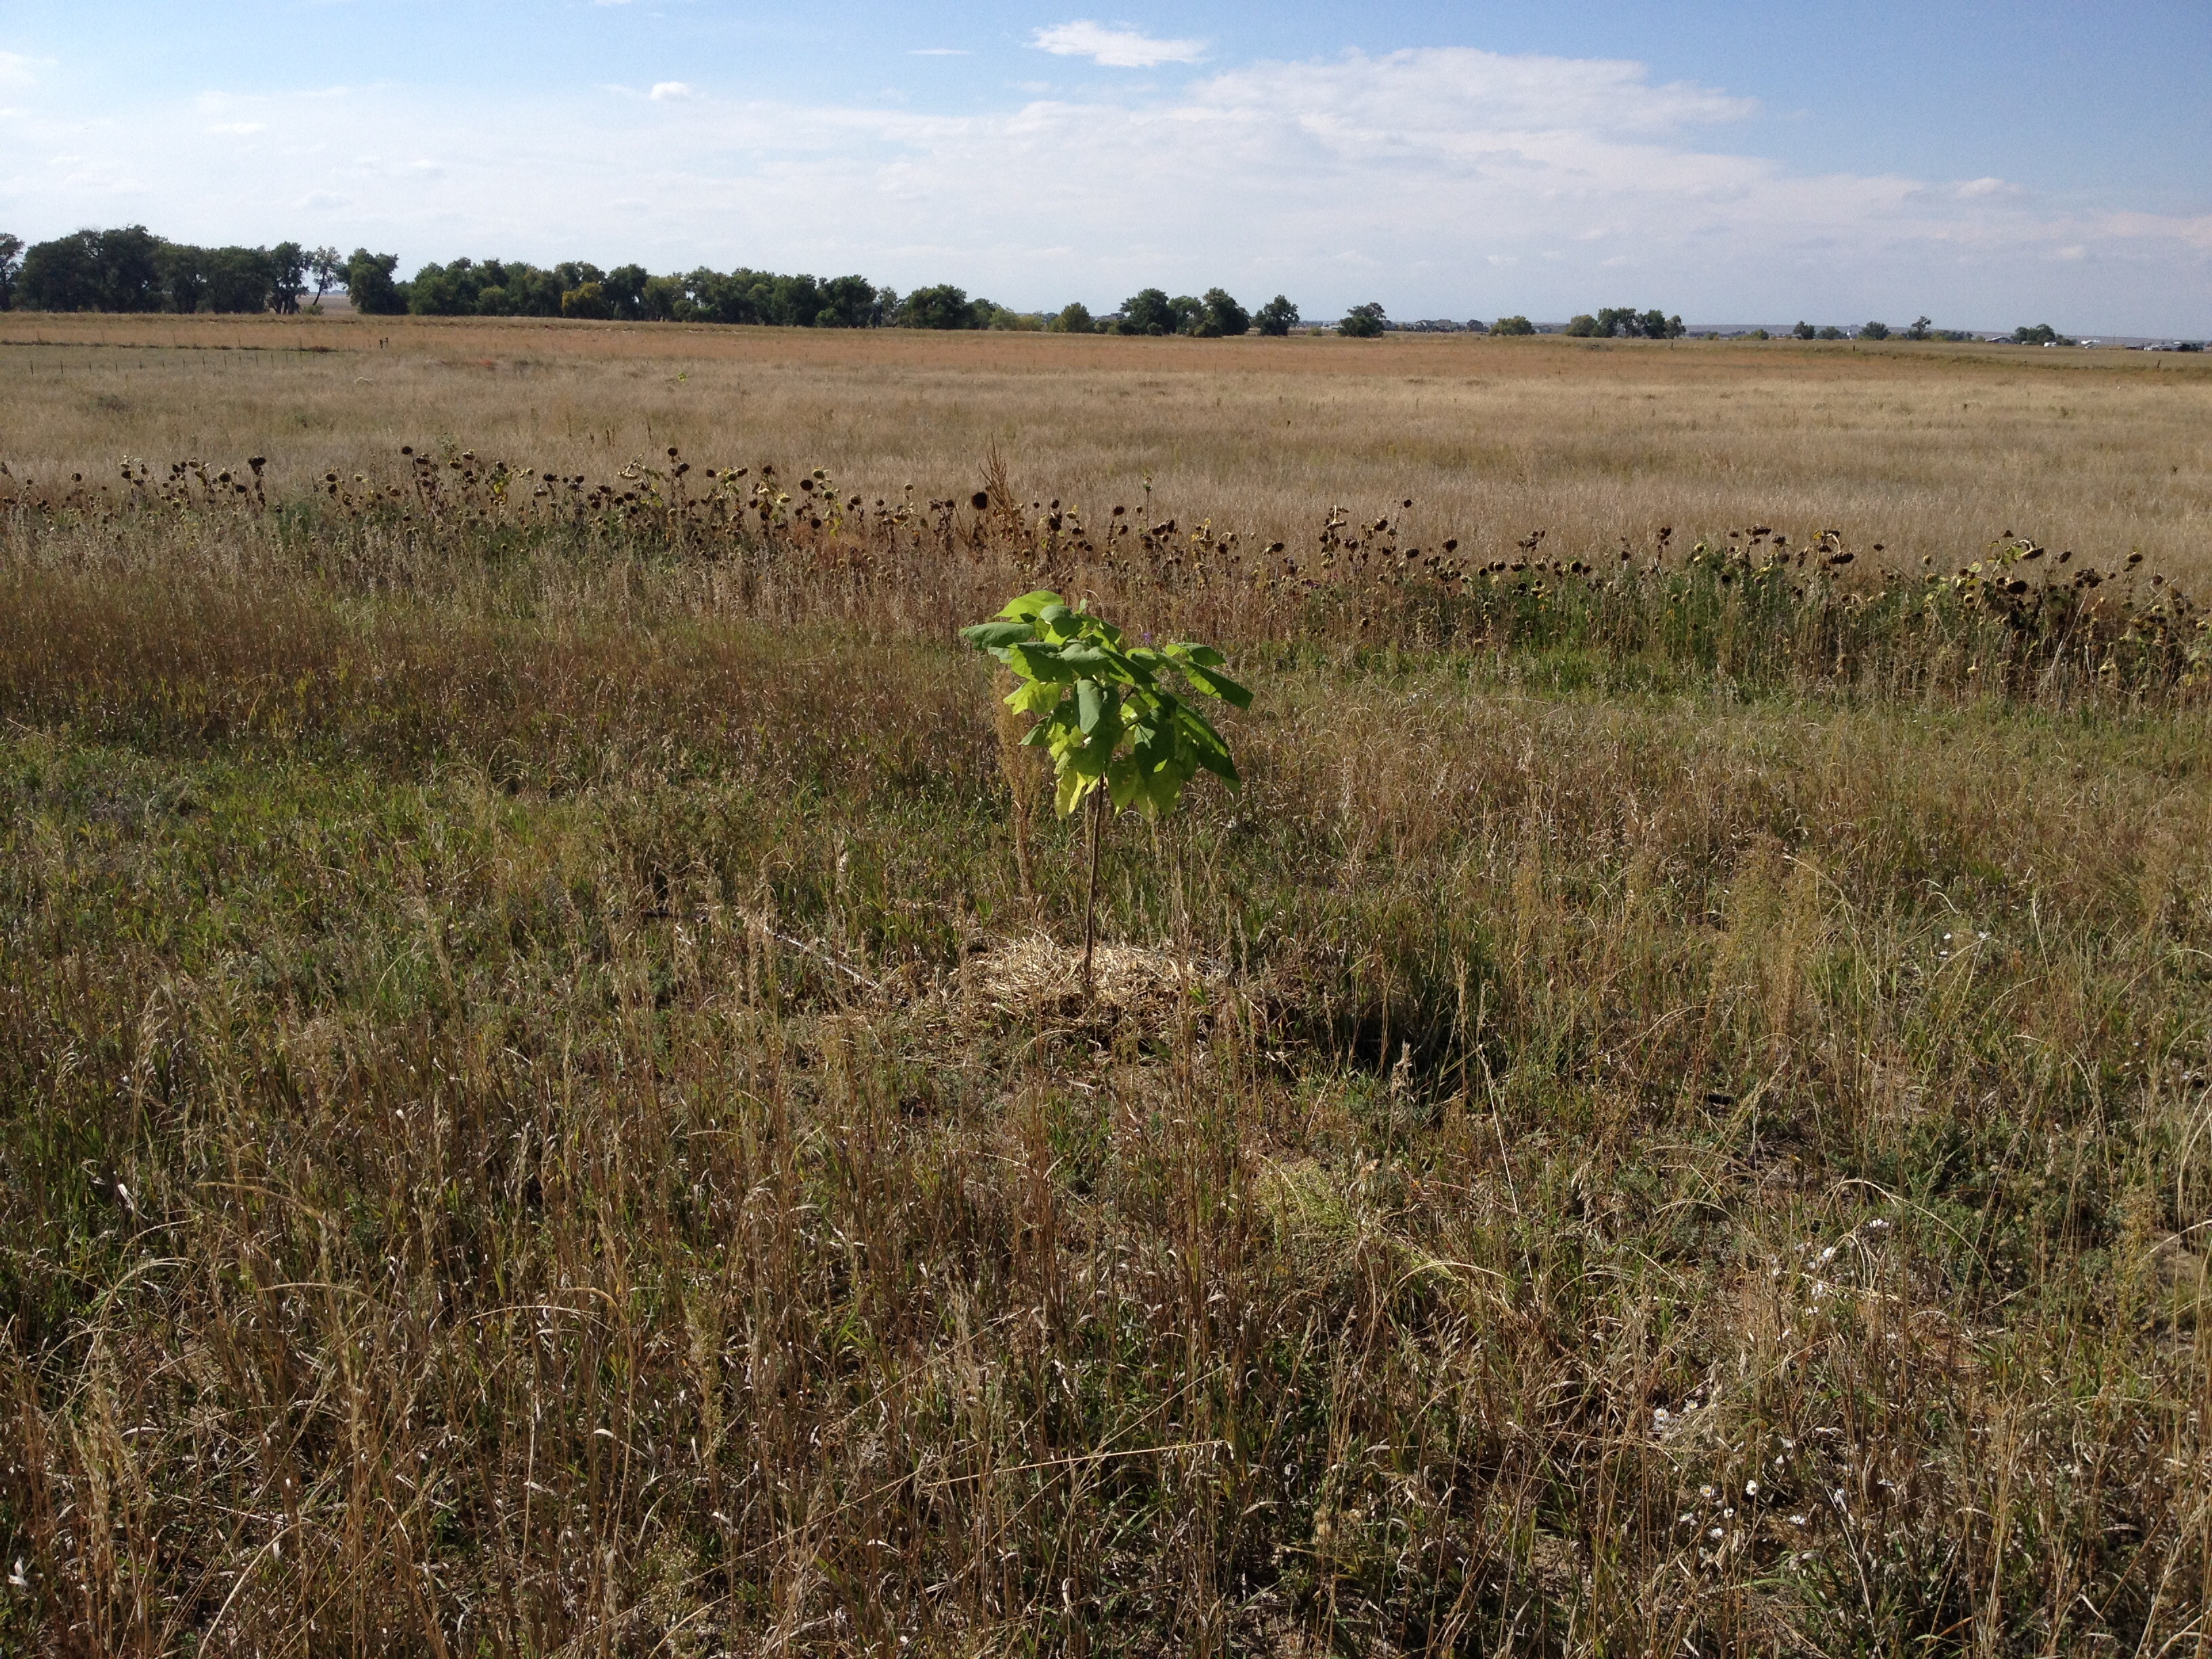
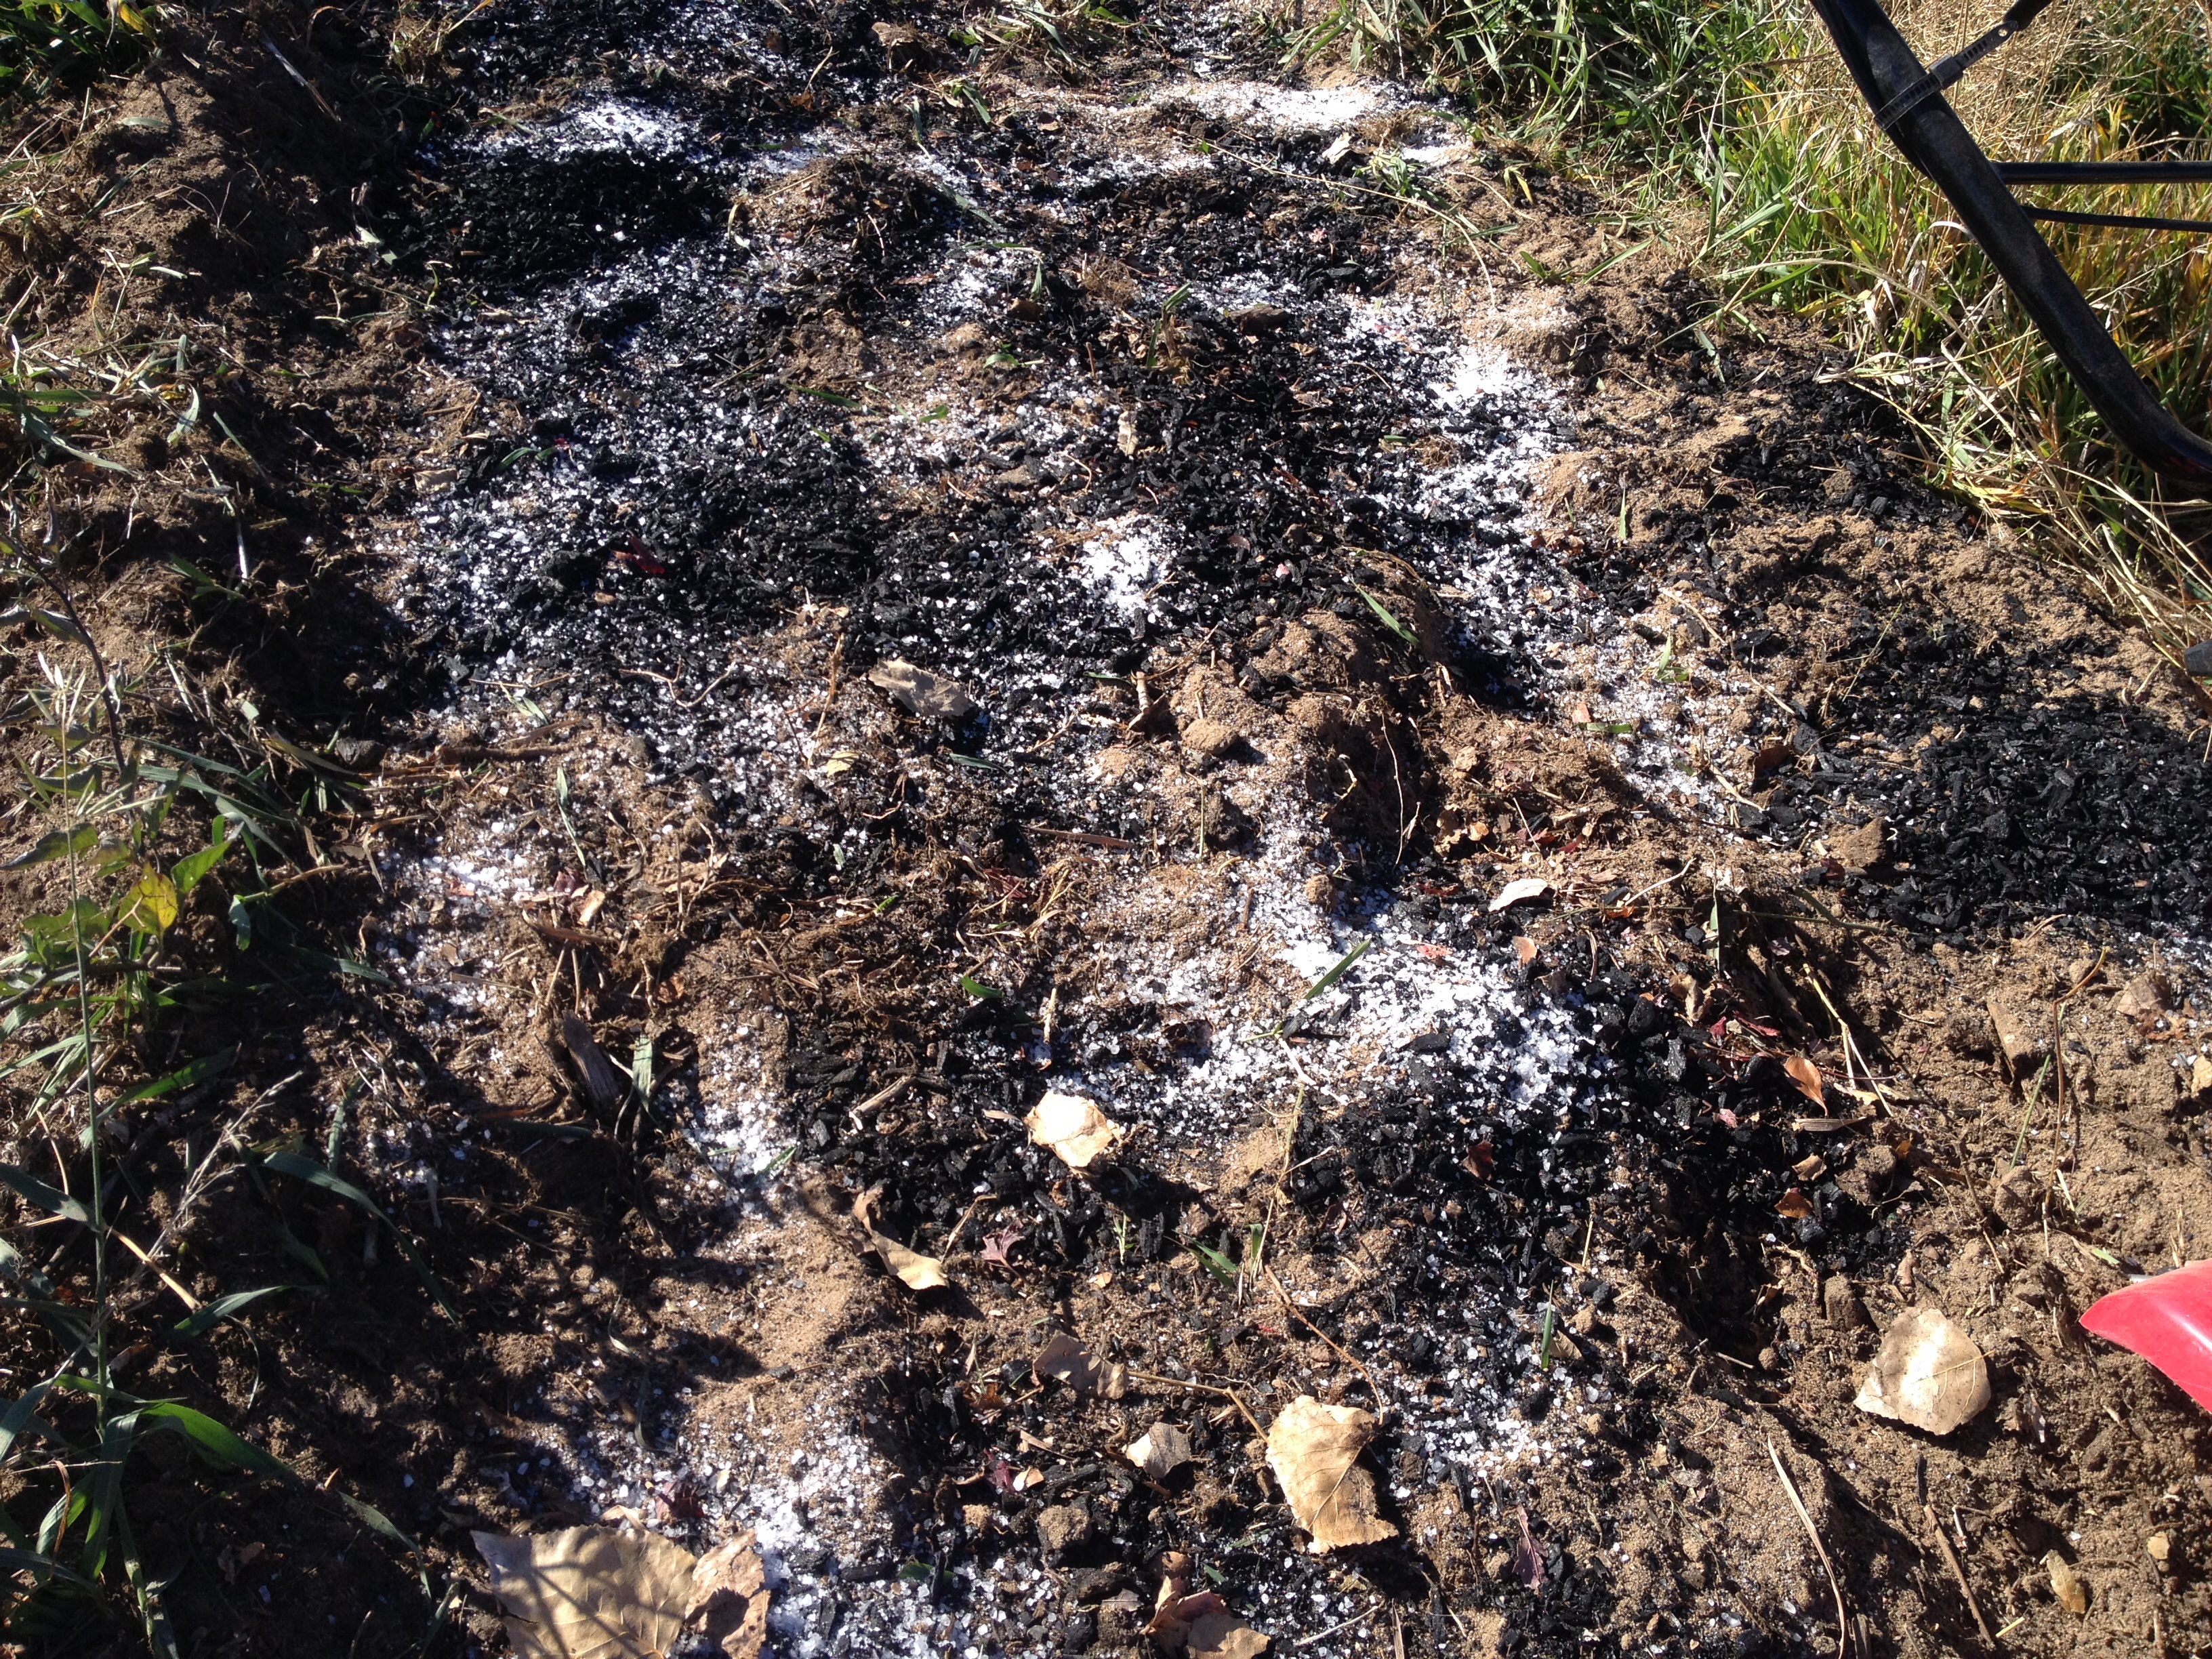
The soil was amended with biochar, sea minerals, and leaves from last year. This area also had some cow manure from last year which is one of the reasons whey it was selected. The garlic is in the 2013 food forest just to the North of the 1000 asparagus plants.
image

Hopfully I can convince, bribe or pay my kids to help break each of the garlic bulbs into the individual cloves.

Propagating Sea Buckthorn Sea Berry via cuttings and seeds

The sea berry (sea buckthorn) bare root plants that were planted this year at the farm are looking really good. Only a couple of them didn’t survive. The farm has rather sandy soils and this was a great year for rain. The seaberry plants growing at the homestead look unhealthy and only half of the six survived. The soil here has more clay, is black in color and actually has worms/life in it.
Hearing how easy it is to propagate sea berry from cuttings I took cuttings from the best looking plants. It is late October so the cuttings will be indoors until the greenhouse is built.

I started researching how to get the sea berry seeds to germinate since none of the hundred plus I planted grew.

Mistakes I made include:

  • planting in the spring (they need to be cold stratified (chiled) for 90 days)
  • after they have been cold stratisfied they should be soaked in water for two days
  • planting to deep (they should be exposed to sun light)

So this week I took some seeds out of the fridge (cold stratification). They have been in there for more than 90 days at this point. Soaked them in water for 2 days. Then placed them in zip lock bags with some wet sand from a stream (hearing that sand and water from a stream can help germination). Included a paper towel in one bag which helps to see the seeds and made sure the bags remain moist. Set these bags on a counter top exposed to the sun and on the second day some of the seeds have already germinated!! I moved some of the germinated seeds to the pots with the sea berry cuttings since that is the sandy soil they grew well in this year.

Sea berry on high plains east of Denver
Sea berry sea buckthorn cuttings
Sea buckthorn cutting for propagation
Hope you had a great meeting
Germinating sea Bert sea buckthorn seeds
Sprouted sea Berry  sea buckthorn seeds
Sprouted sea Berry sea buckthorn seeds

Update mid December.
Looks like most of the cuttings are alive. Some have green leaves on top and another looks like it will soon produce leaves many places. The seedlings are still growing and are now developing a tougher central stock. They are about two inches tall.

Sea berry cutting taking root
Sea berry cutting taking root and looking like it will have many leaves

Chicken food thief

Update 2nd week of December, I caught and moved him out of the coop, about 1/2 a mile away. He kept hiding the chicken feed.

Chicken feed thieving mouse
This is the mouse who was hiding all the chicken feed and living in the chicken coop.

Something is taking the chicken food and storing it in the walls of the chicken coop. I noticed some near a window and then discovered several cups worth of food in about a one inch gap in the walls. It also looked like the critter wanted to make a nest in the food box. There were sticks feathers and poop all over it. Yesterday I discovered sticks, leaves, feathers and an old bagel in a slit between the walls.

Stolen chicken feed found
Critter packing materials chicken food thief


an look who I found in the coop.

Mouse stealing chicken food

Chicken molting and losing feathers

Chicken molting is losing feathers at about 16 to 18 months of age or a multiple of that. It is obvious when your chickens are going through a molt because many of their feathers fall out and the egg production stops. The chickens look really bad when their neck feathers fall out.  She is missing neck and tail feathers.  It will be interesting to see how much the egg production decreased after this molt.  A good reason to have different age chickens is to always have some producing eggs.

Chicken molting and losing feathers

Pine trees with dead brown needles

This year I noticed most all the pine trees have dead brown needles. It has been a great year for moisture. My research said that every couple of years pine trees lose some of their needles. As you can see in the close up photo the dead needles are on the part of the limbs nearest the trunk. Looks like the trees are dropping their needles as the limbs grow.

Pine tree with brown dead needles
Pine tree with brown dead needles close up

Adding deer protection for the fruit trees at the homestead

Now that it is fall the deer are more aggressively eating some of the new trees. Originally I planned to run electric tape on both sides of the trees but didn’t figuring the neighbors who are selling their home might not like the look. So I’ve wrapped the trees with 4 foot metal fence. Right now I’m only using a single t-post to hold each one. Time and wind may require a 2nd or 3rd post to hold them in place.

Fruit trees with wire for deer protection

And another example

Fruit tree with wire for deer protection

Food forest Swale cover crops common vetch, clover, biochar, leaves and worms.

Made a batch of biochar today since I could be there long enough for it to surely finish which took at least 3 hours. I always make sure and cool it off by filling the keg with water. Just spraying water on it will not cool it off enough to keep the biochar from burning up leaving you only ash.

Most of the hazel nut bushes have survived so I put tree guards around all of them that showed some life. Most are loosing their leaves now. They really have not grown much with many of them growing a new stem after the original one dropped its leaves.

Biochar in keg retort

Bio char steaming after a water spray.

Bio char steaming after a water spray

2014 food forest swale that was seeded and covered weeks ago. I spread a bit more straw today and looked for signs of sprouted clover that was seeded weeks ago.

2014 food forest swale that was seeded and covered weeks ago.

And look what I found down in the moist straw.

Clover sprouting for food forest swale cover

On the 2014 original swale and the extensions I made on the 2013 Swales I planted a seed mix that included common vetch which is growing really well late into the season and still has flowers.

Common vetch on food forest swale

Year old leaf pile with worms on backside of the upper 2013 food forest swale. I added some worms to this early in the year and I was very pleased to dig down and find worms living in the pile. Except for the garden area the soil is worm free so I’ve been adding them to compost and leaf piles all around. Hopefully we will have some mini Hereford cows to help the soil and worms.

Year old leaf pile with worms on backside of swale

Planting fall vegetables in 5 gallon buckets

A tomato plant before being transplanted to a container for the winter. We bought the homestead later in the season so the plant is just beginning to produce. Time will tell if it will grow indoors.

The buckets will be both indoor and out depending on the weather. The lettuce plant is in a 15 gallon or larger container so it will not move as often.
Tomato before transplant

5 gallon bucket and some of the seedling lettuce plants.  The plan is to put the bucket with plants in a bucket without holes when I bring them indoors.  I ended up finding BPA free buckets at lowes.   I did not know they existed.  I bought the lettuce , broccoli and other veggies online since I’ve not found a local company with any this time of year (October).
5 gallon bucket for winter growing


We drilled holes in the bottom of the 5 gallon buckets.

Holes

An inch or two of rocks in the bottom of the bucket. I don’t think the side of the driveway will miss them. A few sticks, mulch and a worm tossed in for happy soil.
image

Dirt added almost to the top. The dirt will probably settle a few inches. Some of the dirt is from the chicken run and some steer manure was mixed in since I had it. The worms love the soil in the chicken run so there are worms in each bucket. The chickens also enjoy the worms who share the run.

5 gallon bucket ready for winter veggies

CSA tour and more Catalpa trees

This past weekend we went to the Chatfield CSA to get a few vegies and to check the place out.  They have a total of 5 acres of crops.  This first photo is part of a one acre section of the CSA.  Seeing an acre fenced in really made an acre seem large.  You could run a small csa with an acre like this.  I believe this CSA supports 400 members with the 5 acres.  For the RegenFarm site I could see the farm having an acre of annuals on irrigation along with the fruit from the trees.

For many years the area between the two 2013 swales would work as a great place for annuals.  Adding perennials like berries and asparagus should make the inputs lower for some of the produce.
Chatfield CSA garden

Here is a photo I took to remember how they use steel rods in the ground with pvc pipe and cloth to cover the crops.
Crop frost protection heating

This time I planted some of the catalpa trees in places where other trees had died on the upper 2013 food forest and above the 2014 food forest swale where many of the mulberry trees never survived. As I plan for cows and animals in general I’d like some trees all across the farm for shade and shelter. Remembering that I learned that adding 10% trees to any field/pasture will not reduce production.
Catalpa Trees on the high plains of colorado