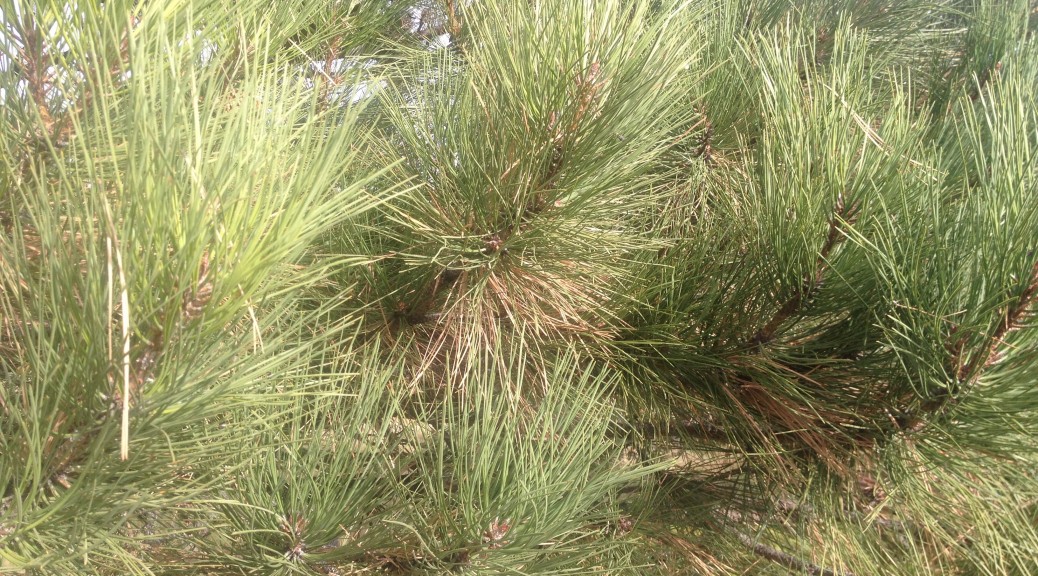
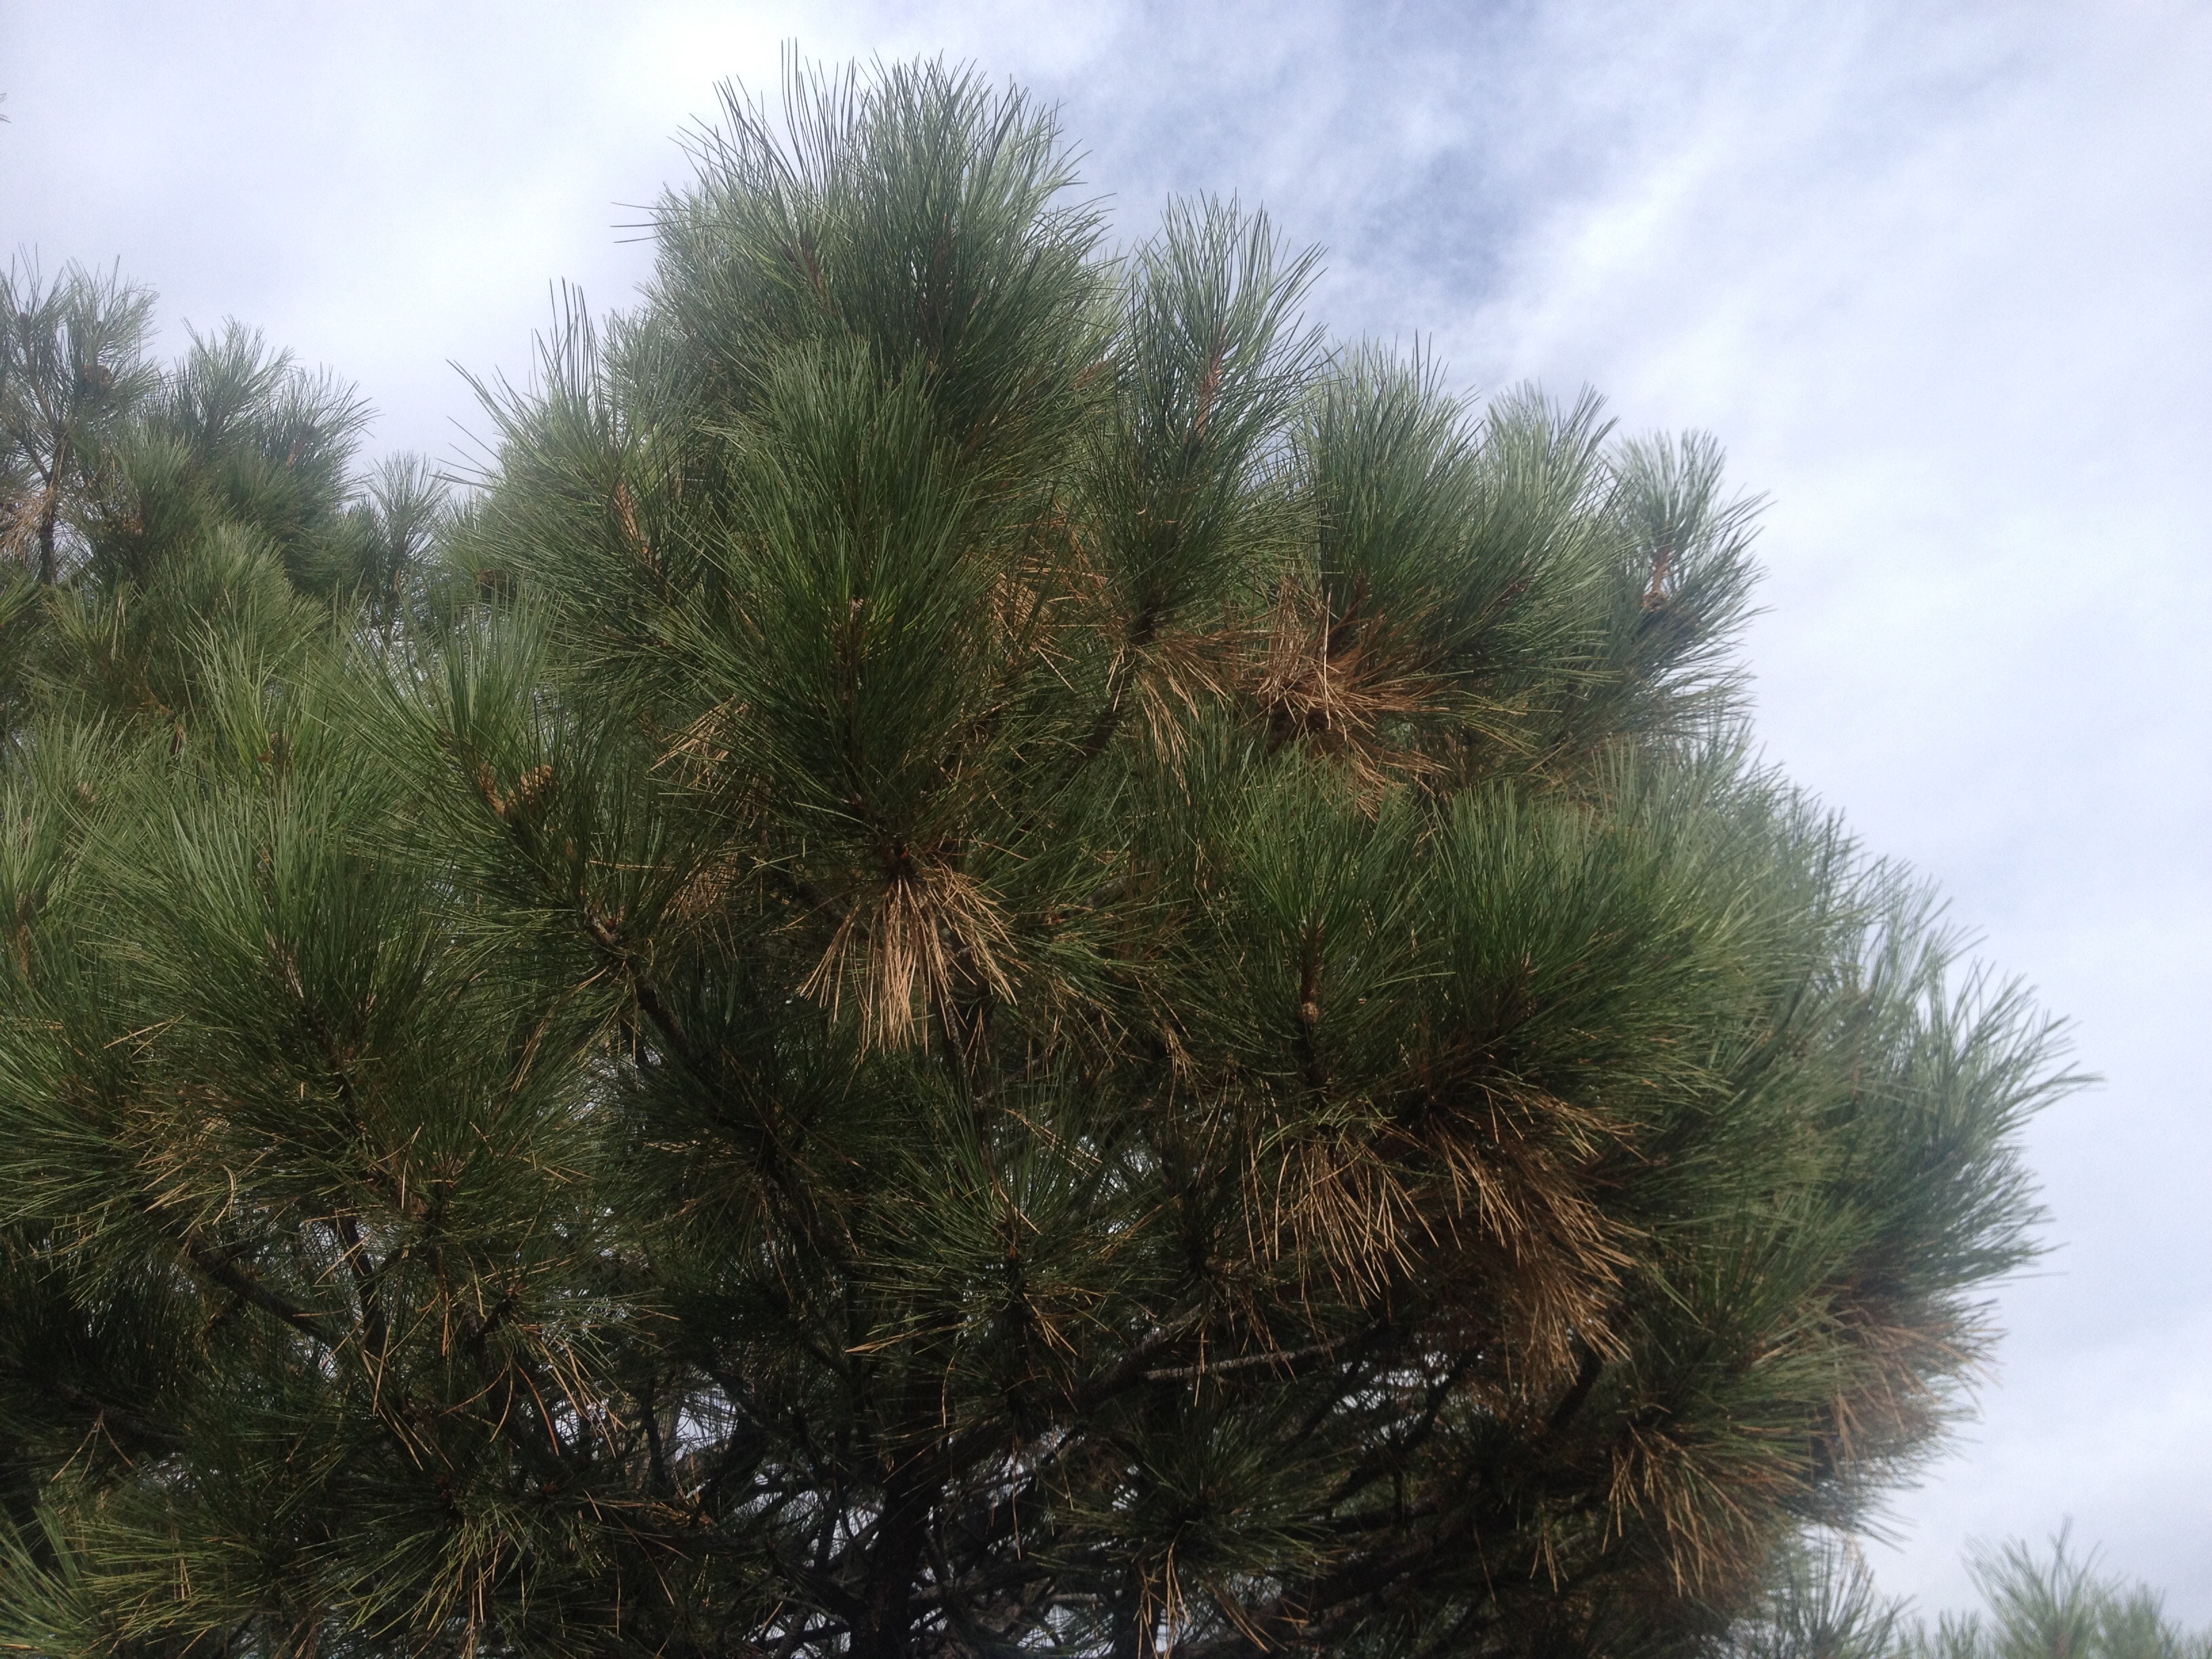
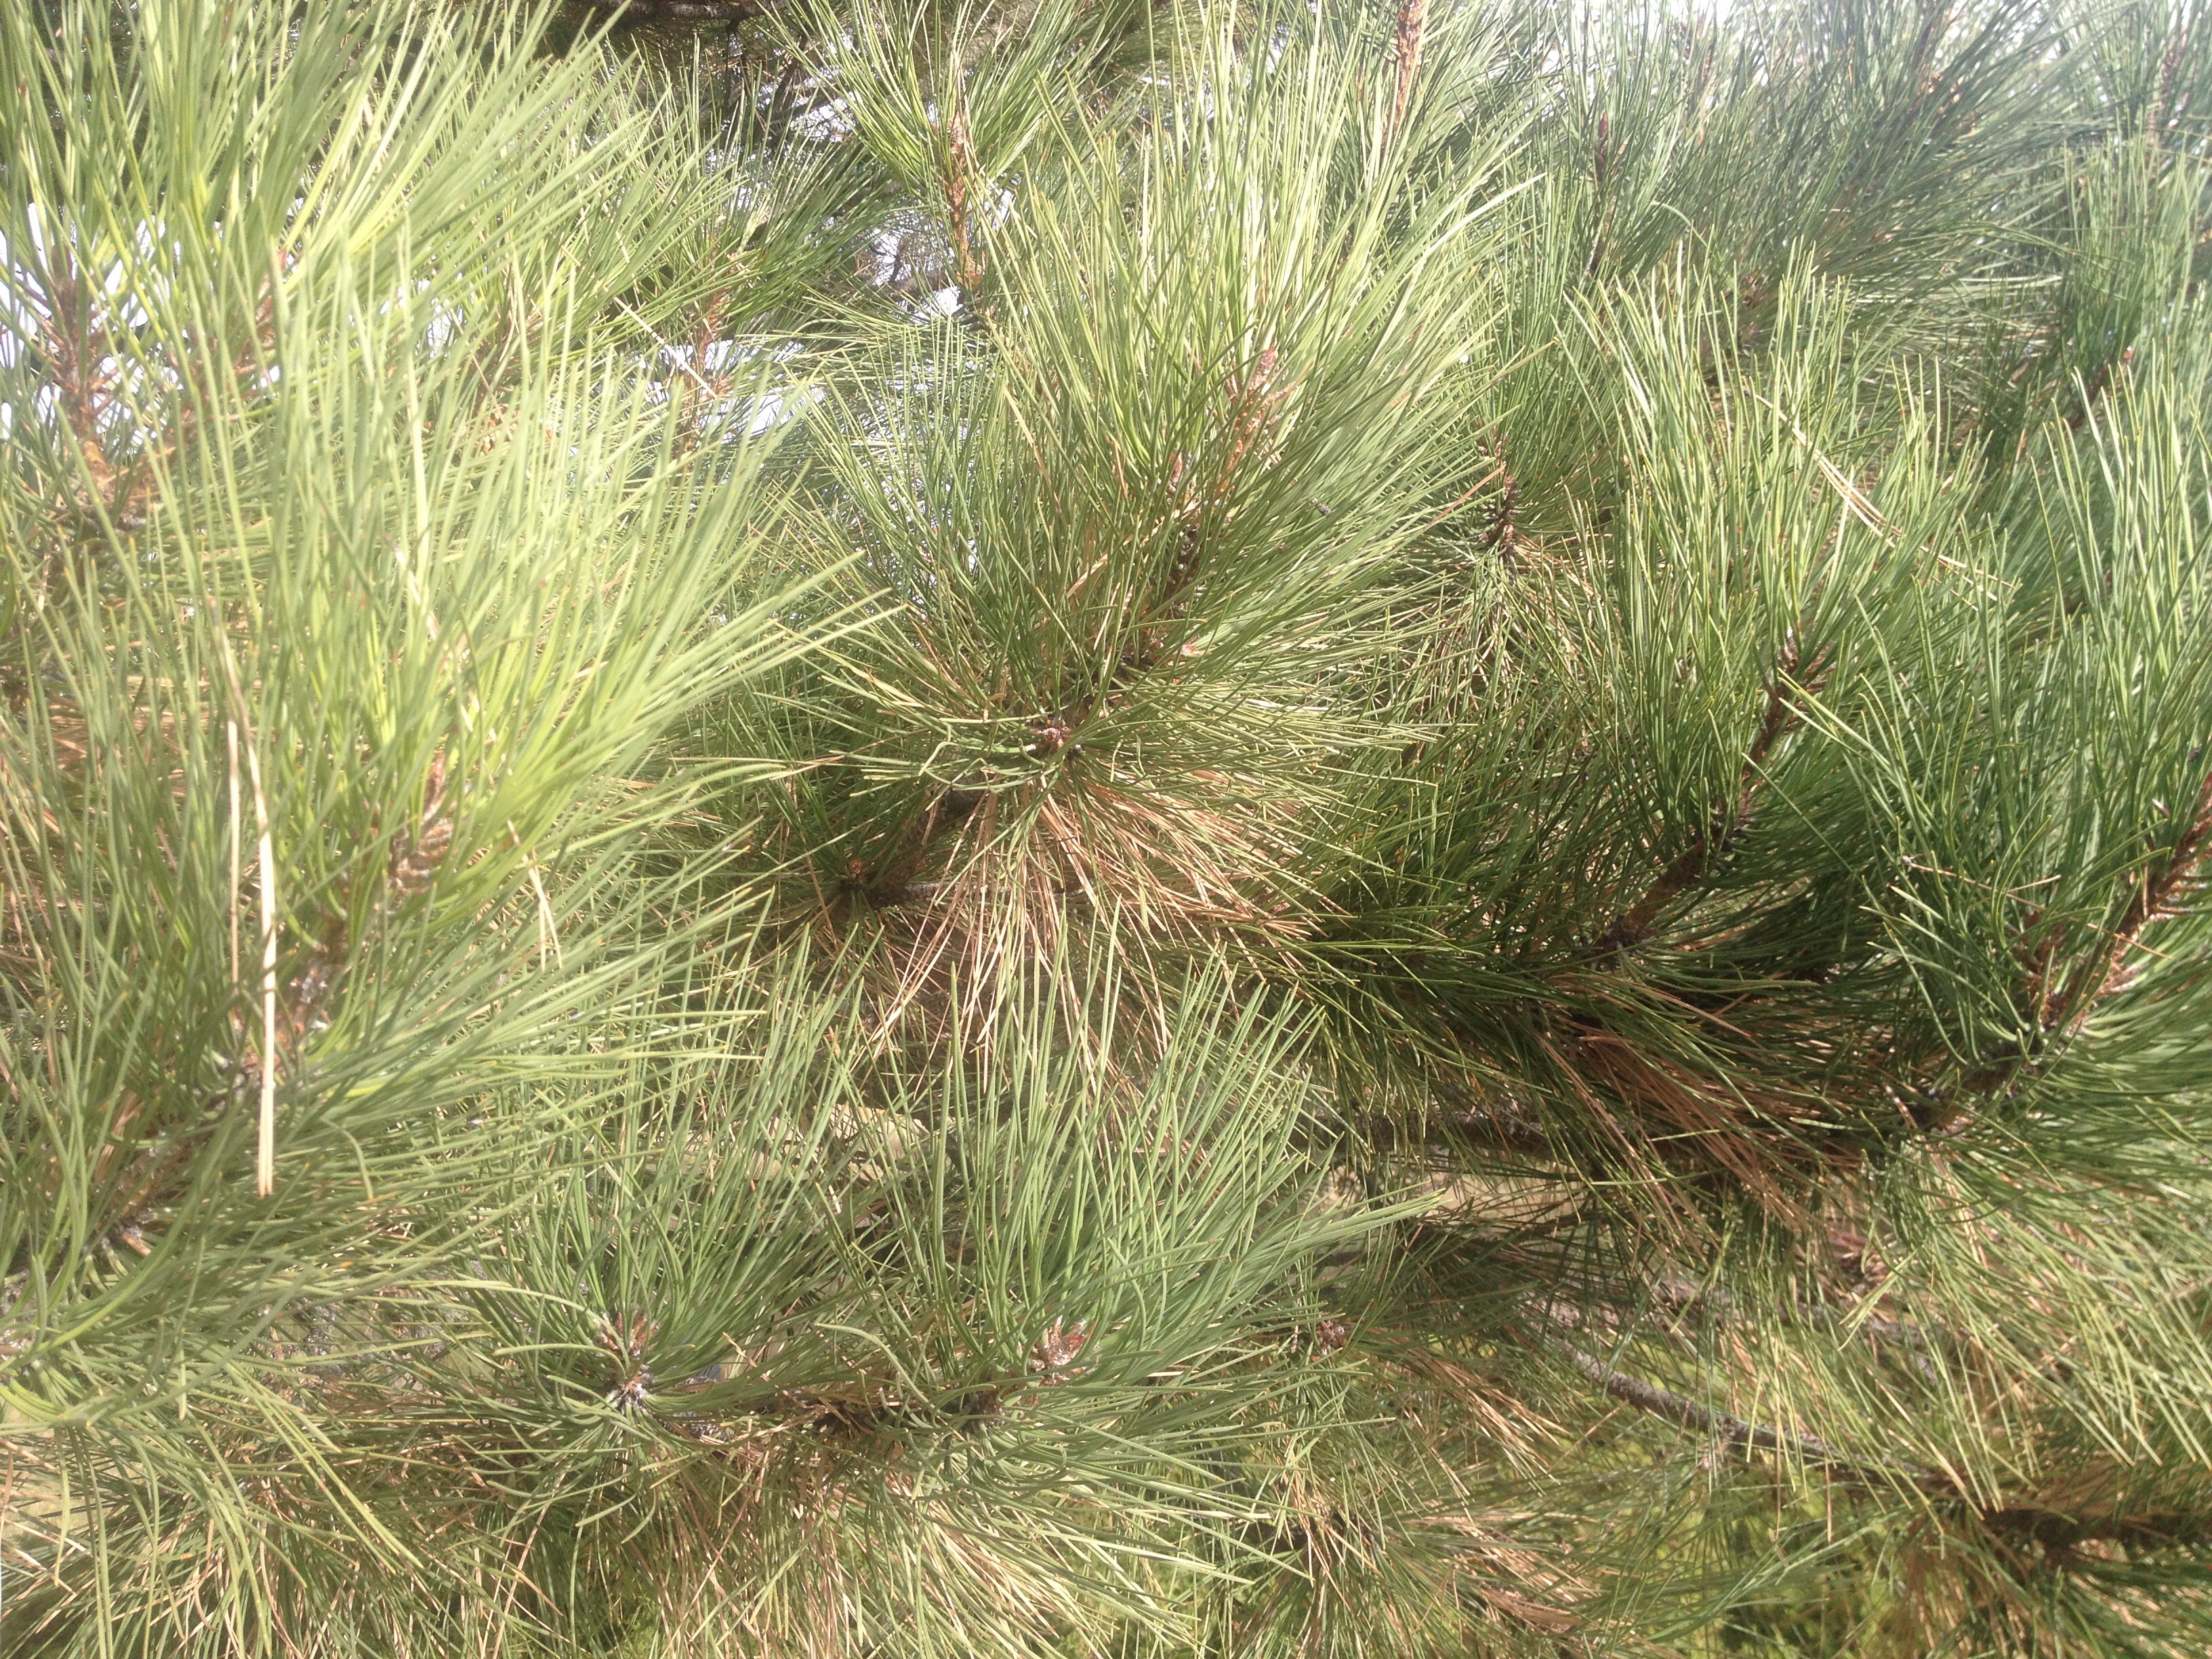
This year I noticed most all the pine trees have dead brown needles. It has been a great year for moisture. My research said that every couple of years pine trees lose some of their needles. As you can see in the close up photo the dead needles are on the part of the limbs nearest the trunk. Looks like the trees are dropping their needles as the limbs grow.
Pine tree with brown dead needlesPine tree with brown dead needles close up
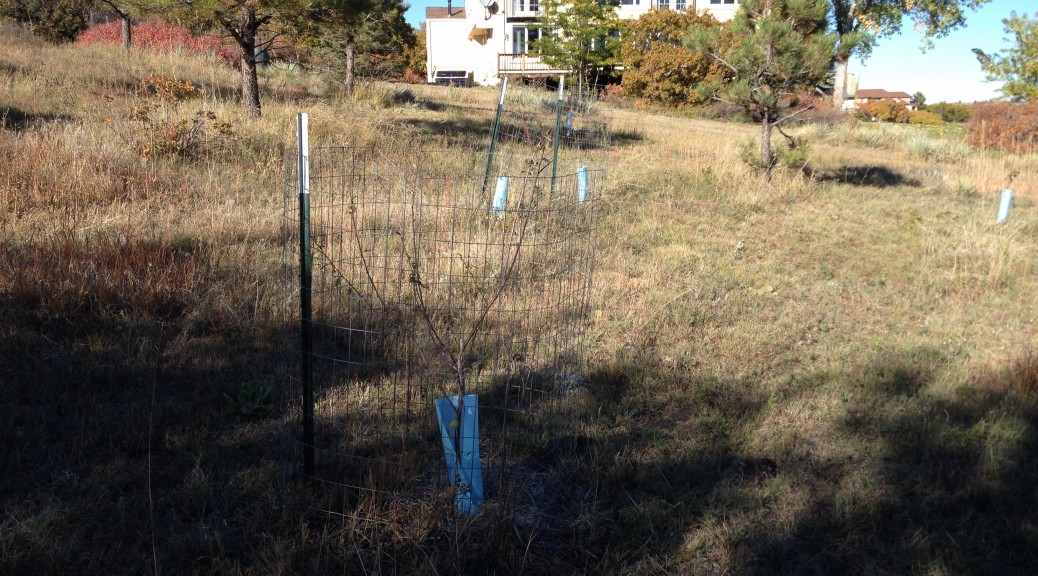
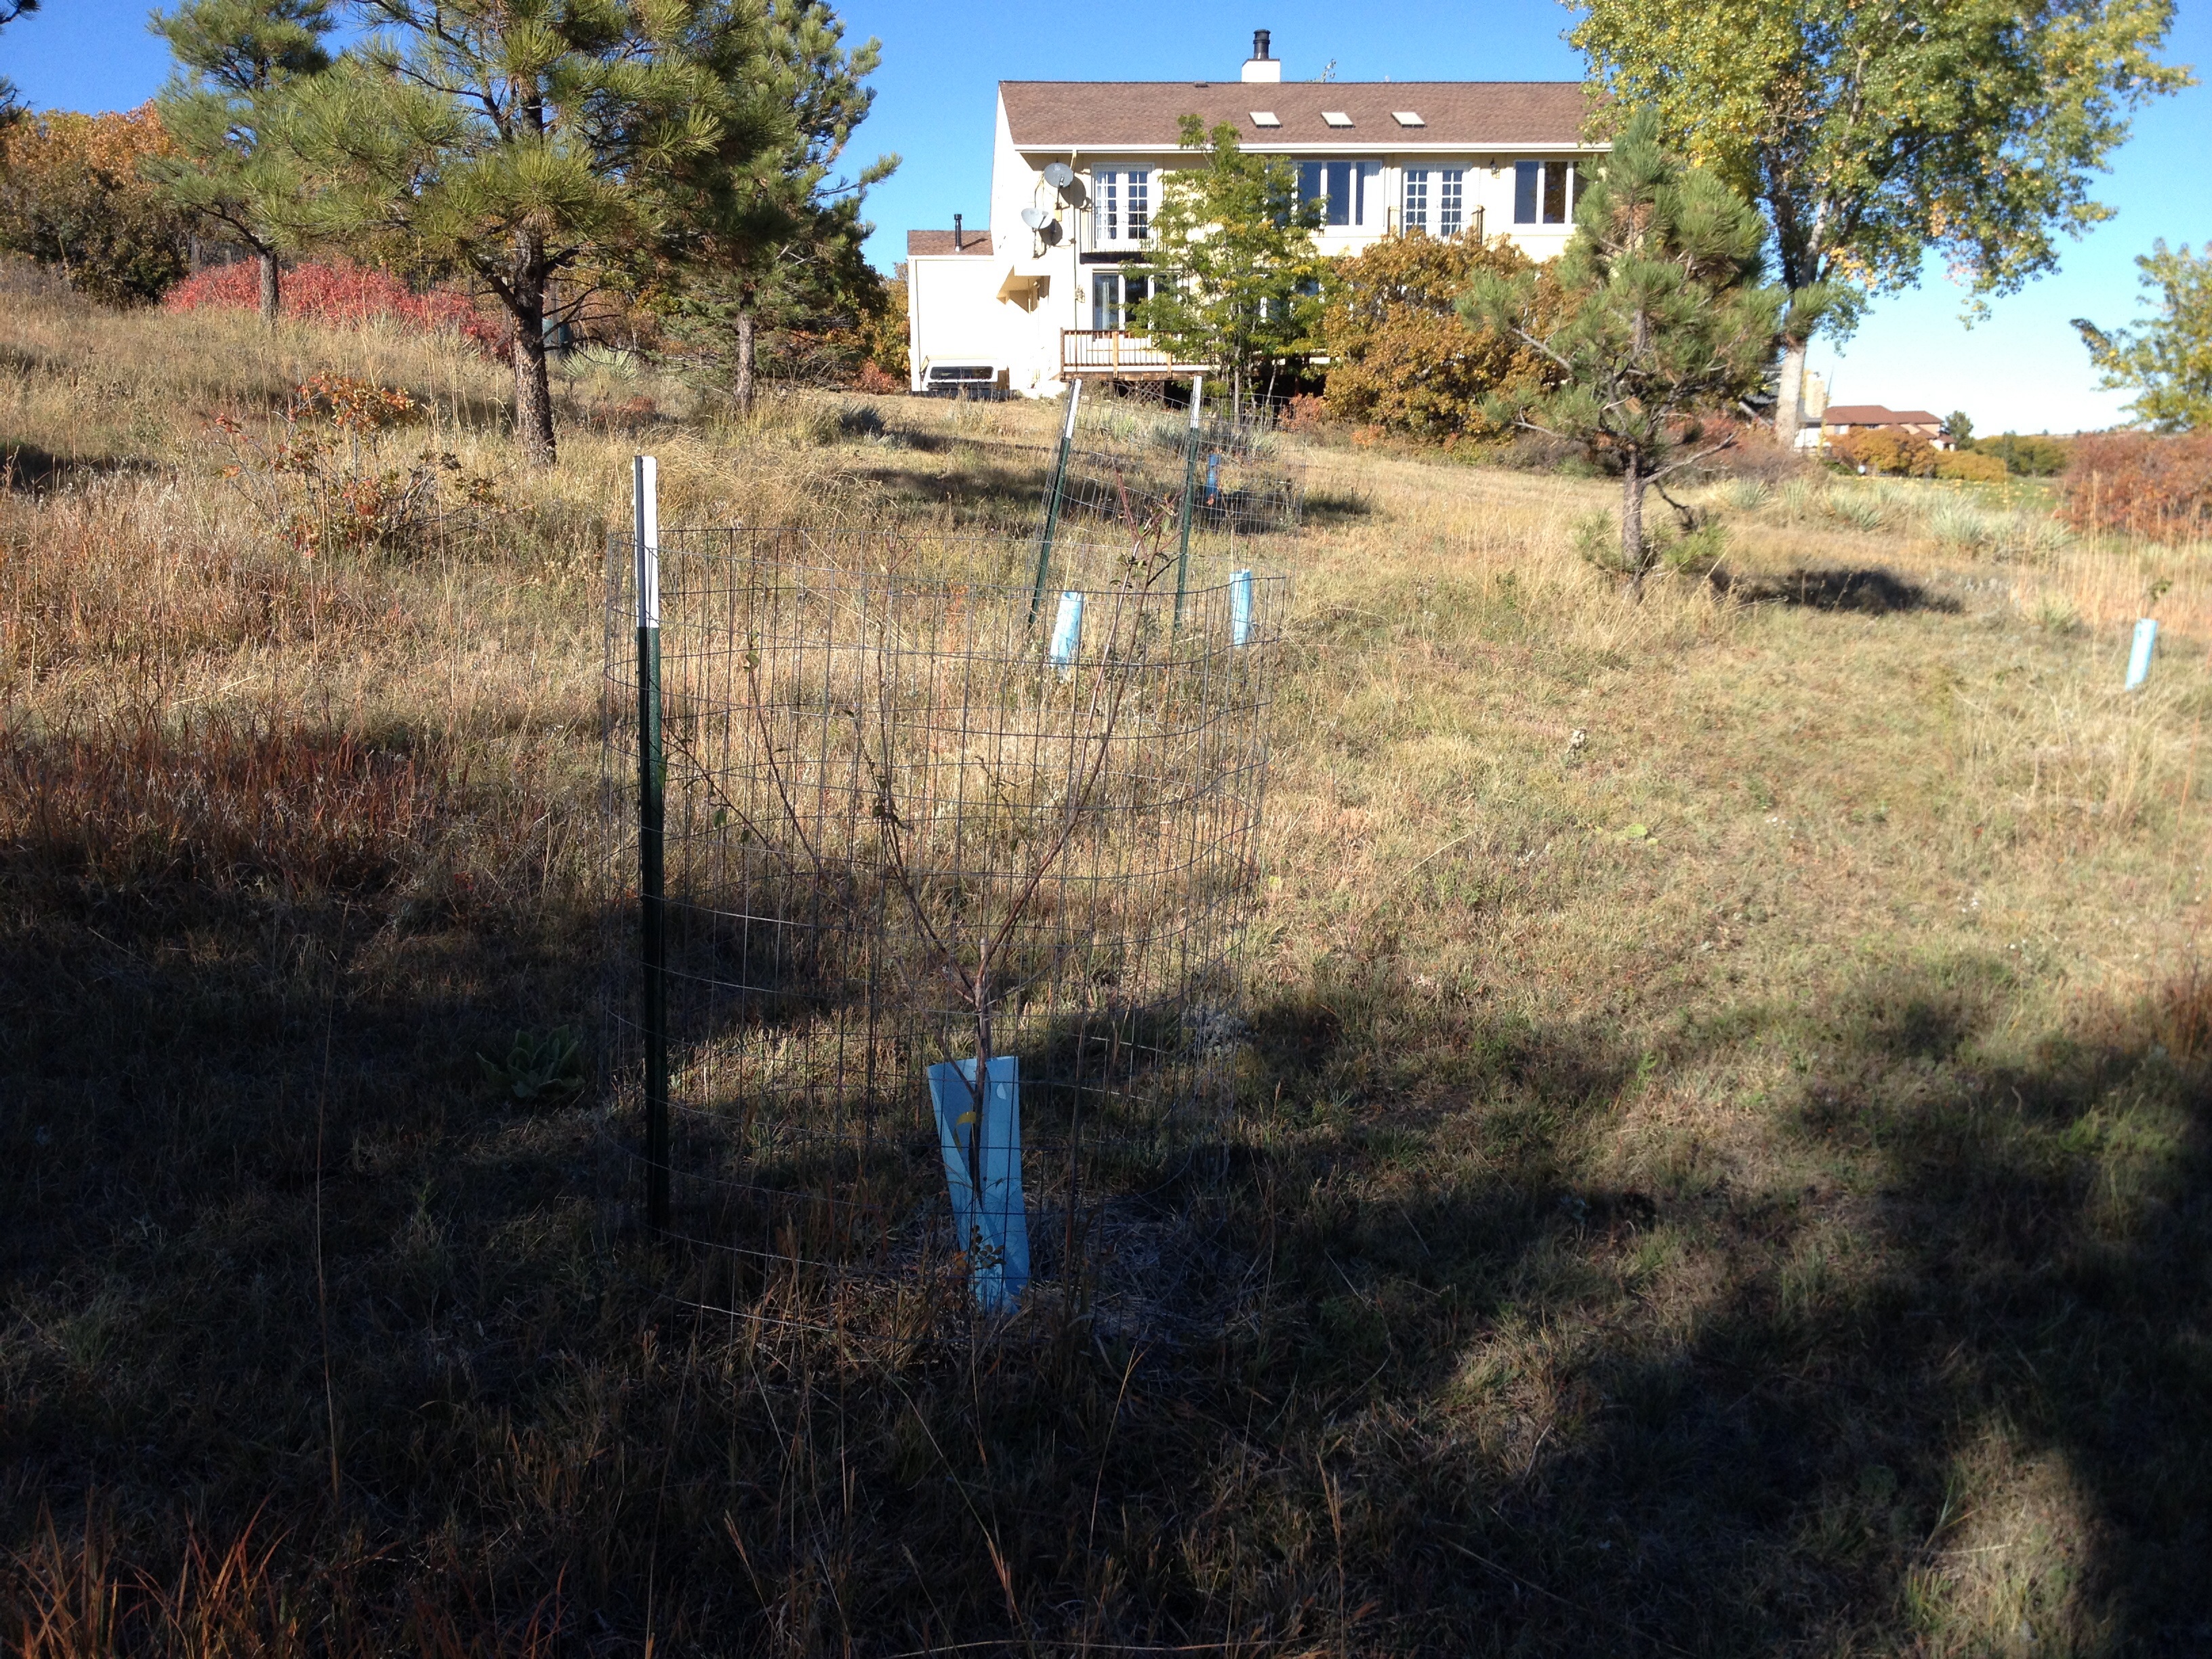
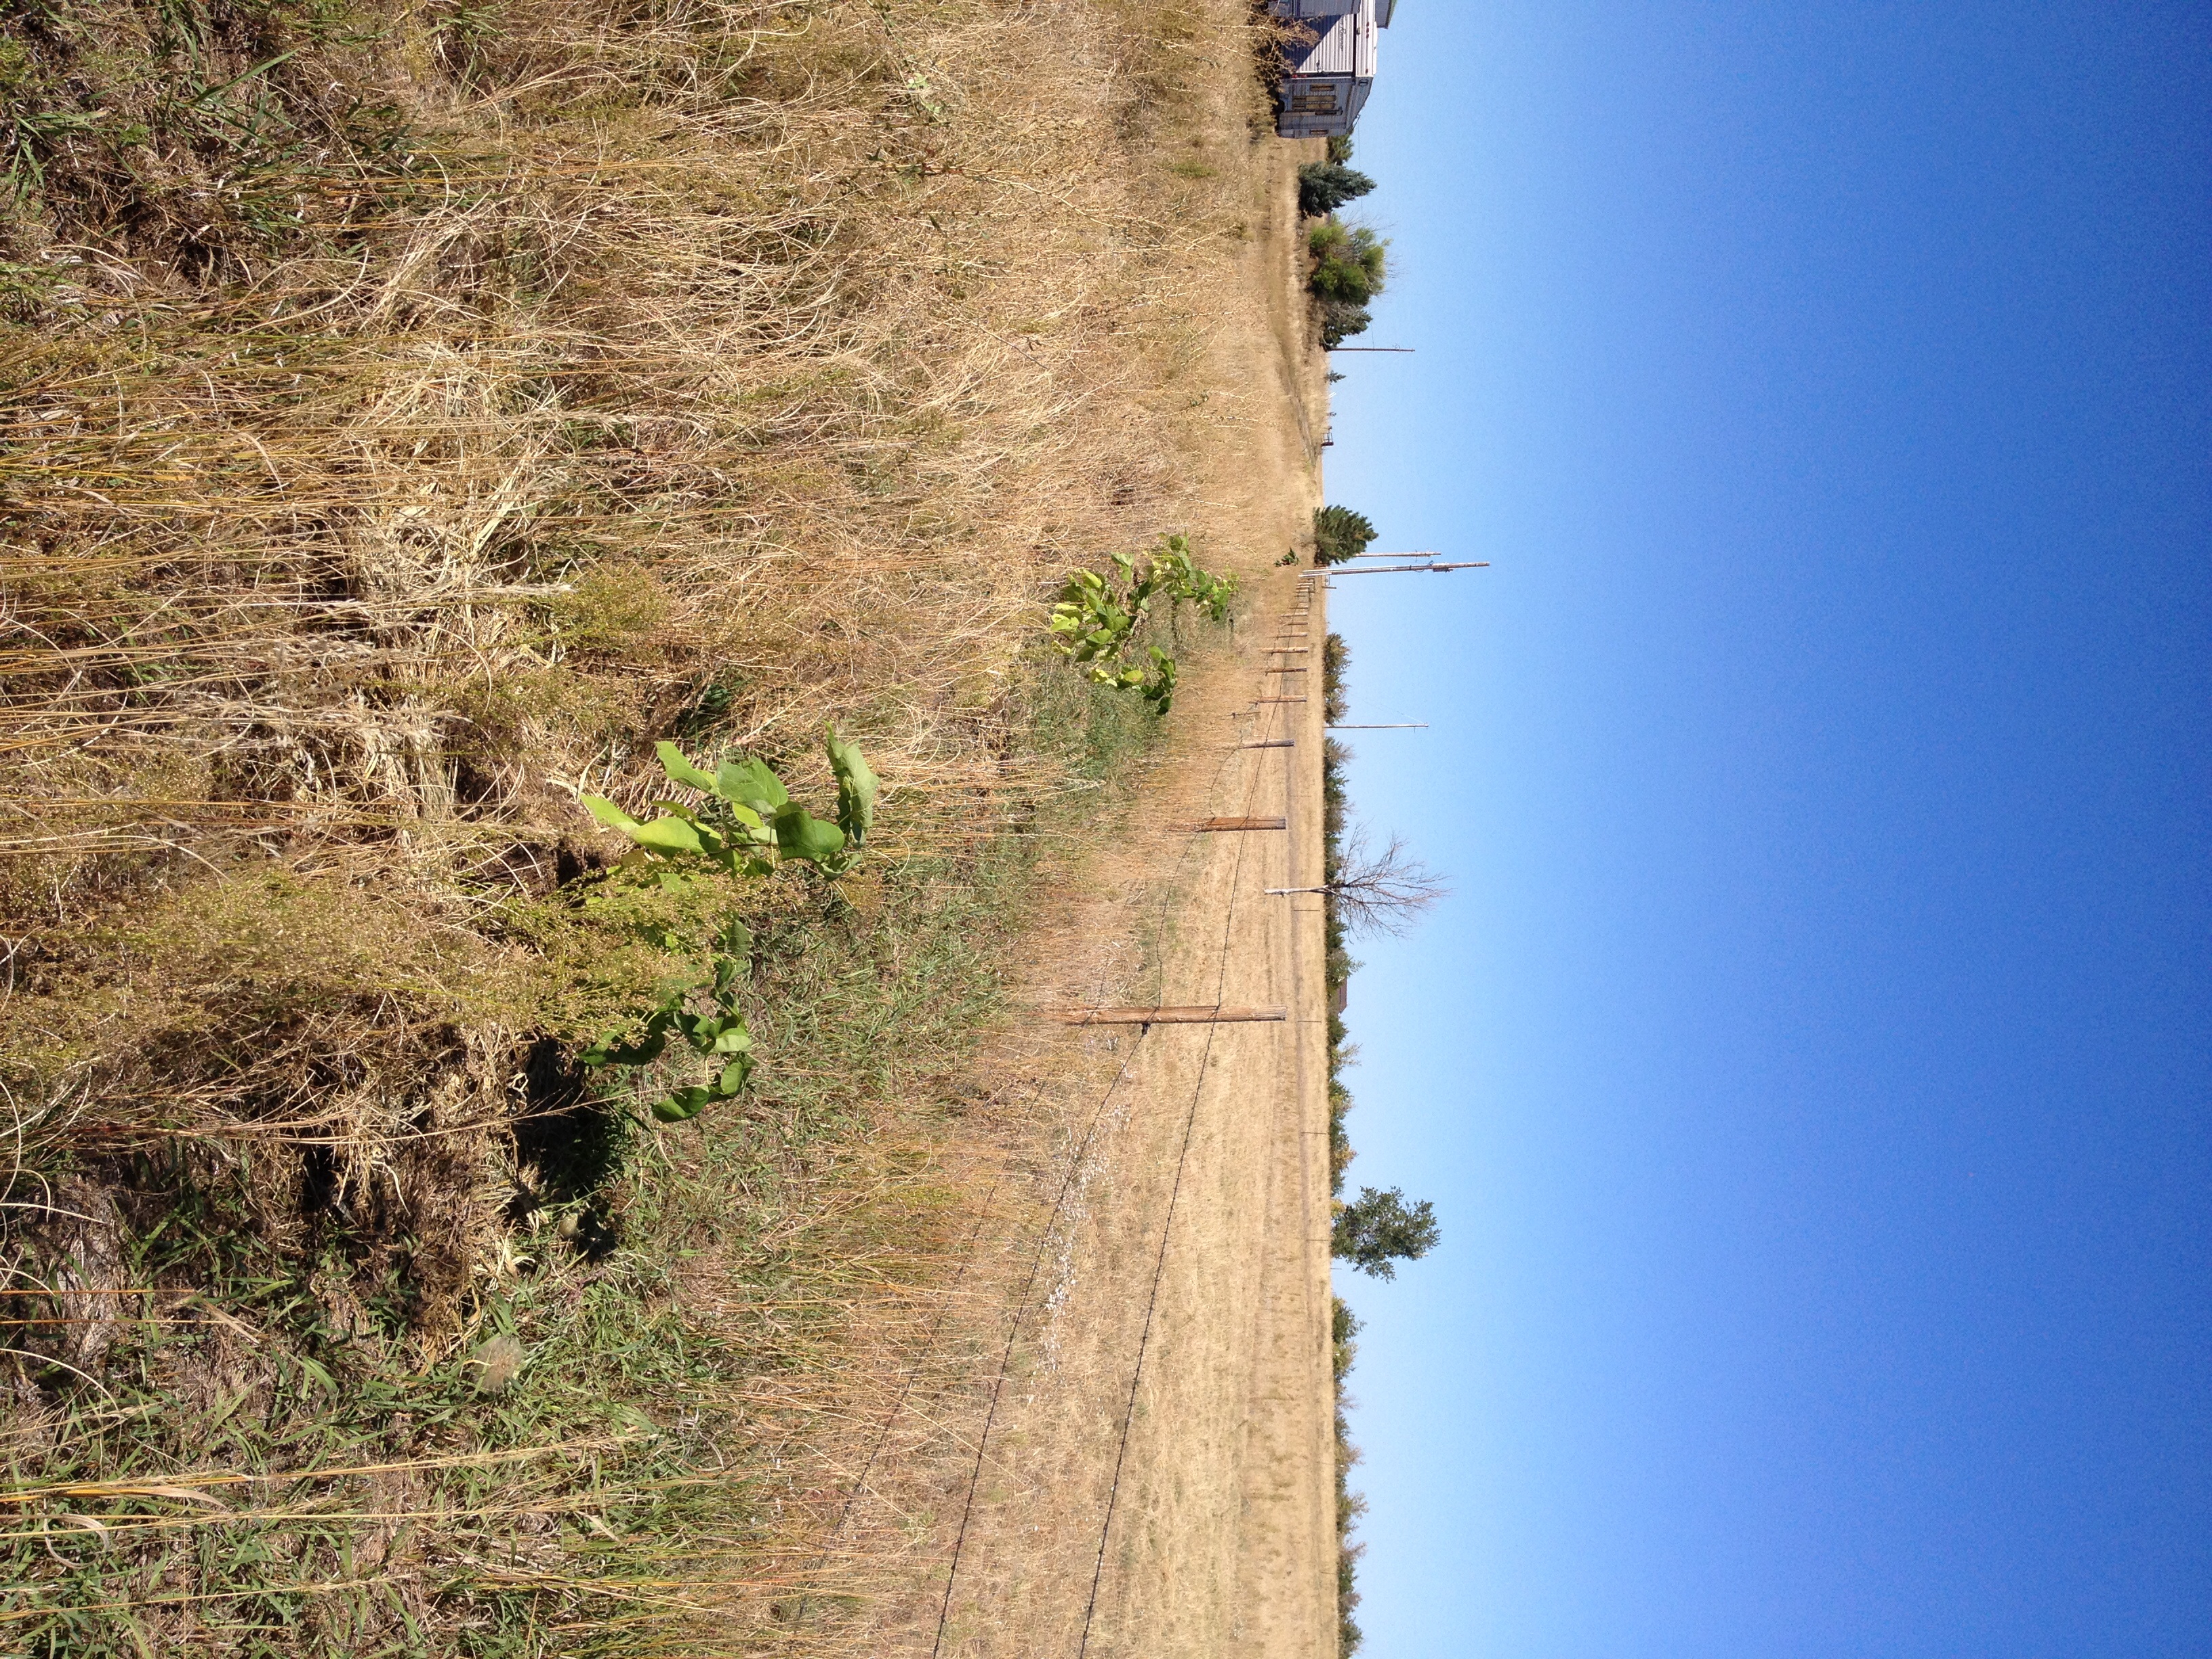
Now that it is fall the deer are more aggressively eating some of the new trees. Originally I planned to run electric tape on both sides of the trees but didn’t figuring the neighbors who are selling their home might not like the look. So I’ve wrapped the trees with 4 foot metal fence. Right now I’m only using a single t-post to hold each one. Time and wind may require a 2nd or 3rd post to hold them in place.
Fruit trees with wire for deer protection
And another example Fruit tree with wire for deer protection
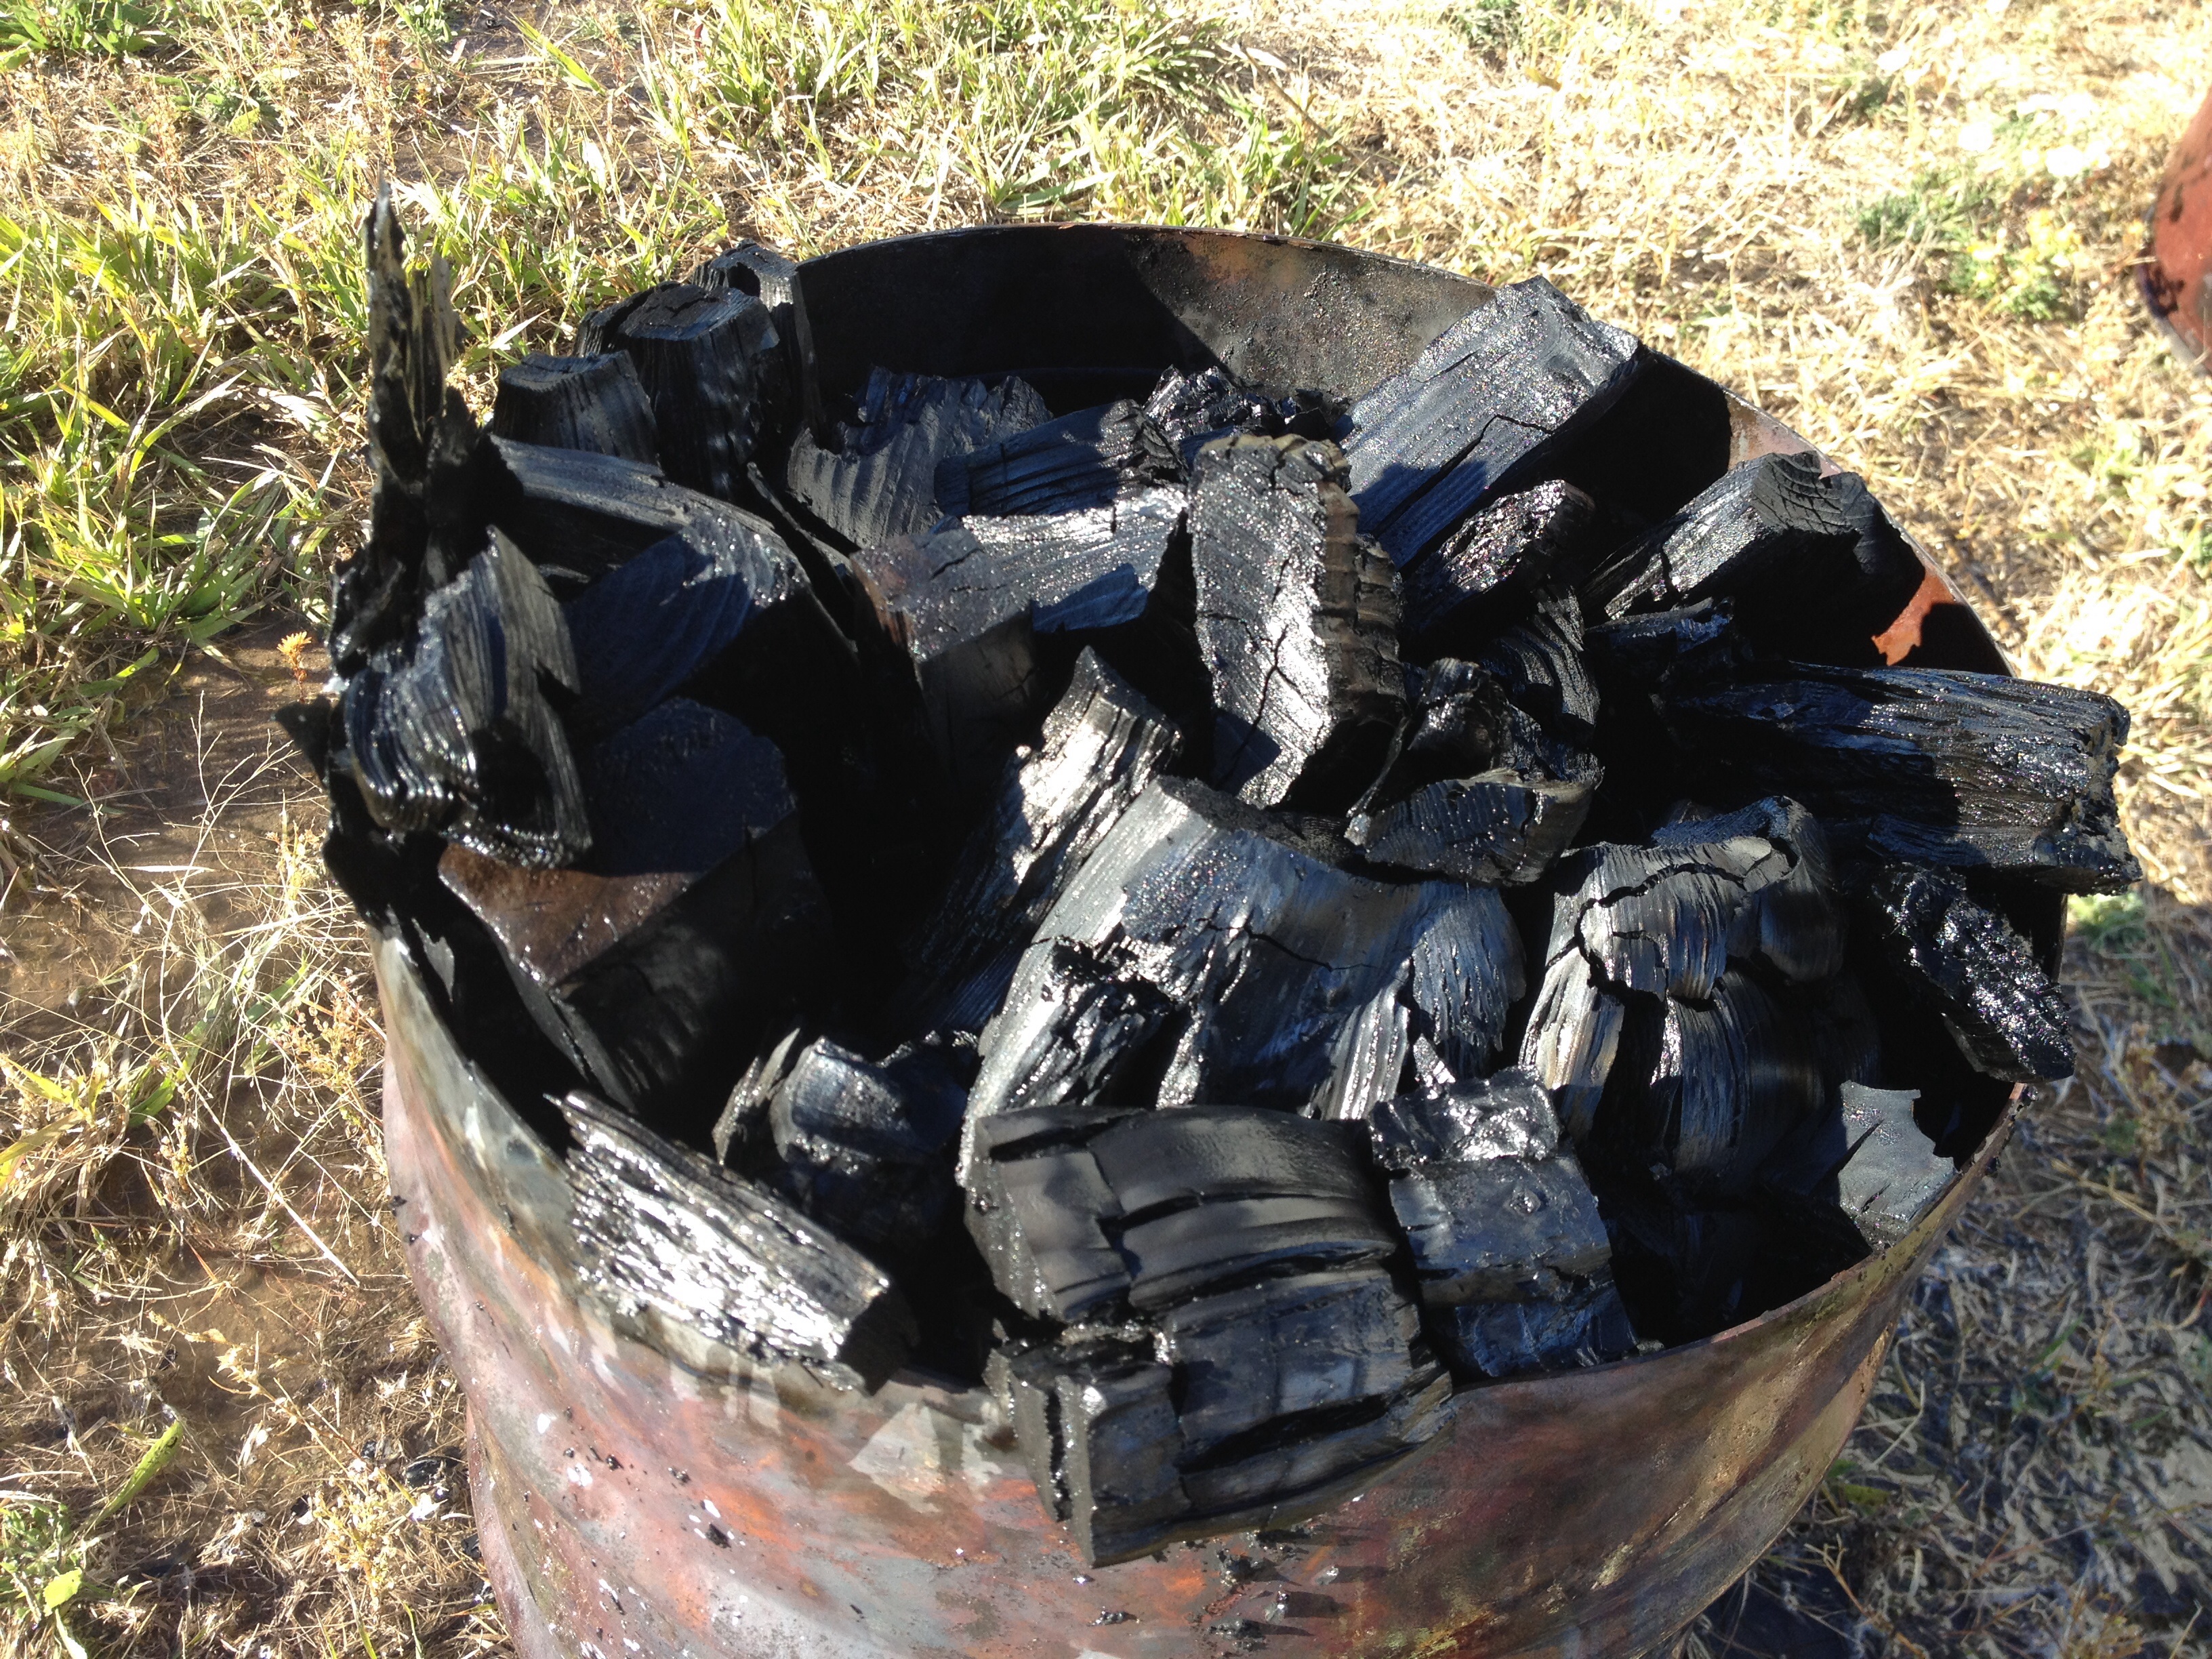
Made a batch of biochar today since I could be there long enough for it to surely finish which took at least 3 hours. I always make sure and cool it off by filling the keg with water. Just spraying water on it will not cool it off enough to keep the biochar from burning up leaving you only ash.
Most of the hazel nut bushes have survived so I put tree guards around all of them that showed some life. Most are loosing their leaves now. They really have not grown much with many of them growing a new stem after the original one dropped its leaves.
Biochar in keg retort
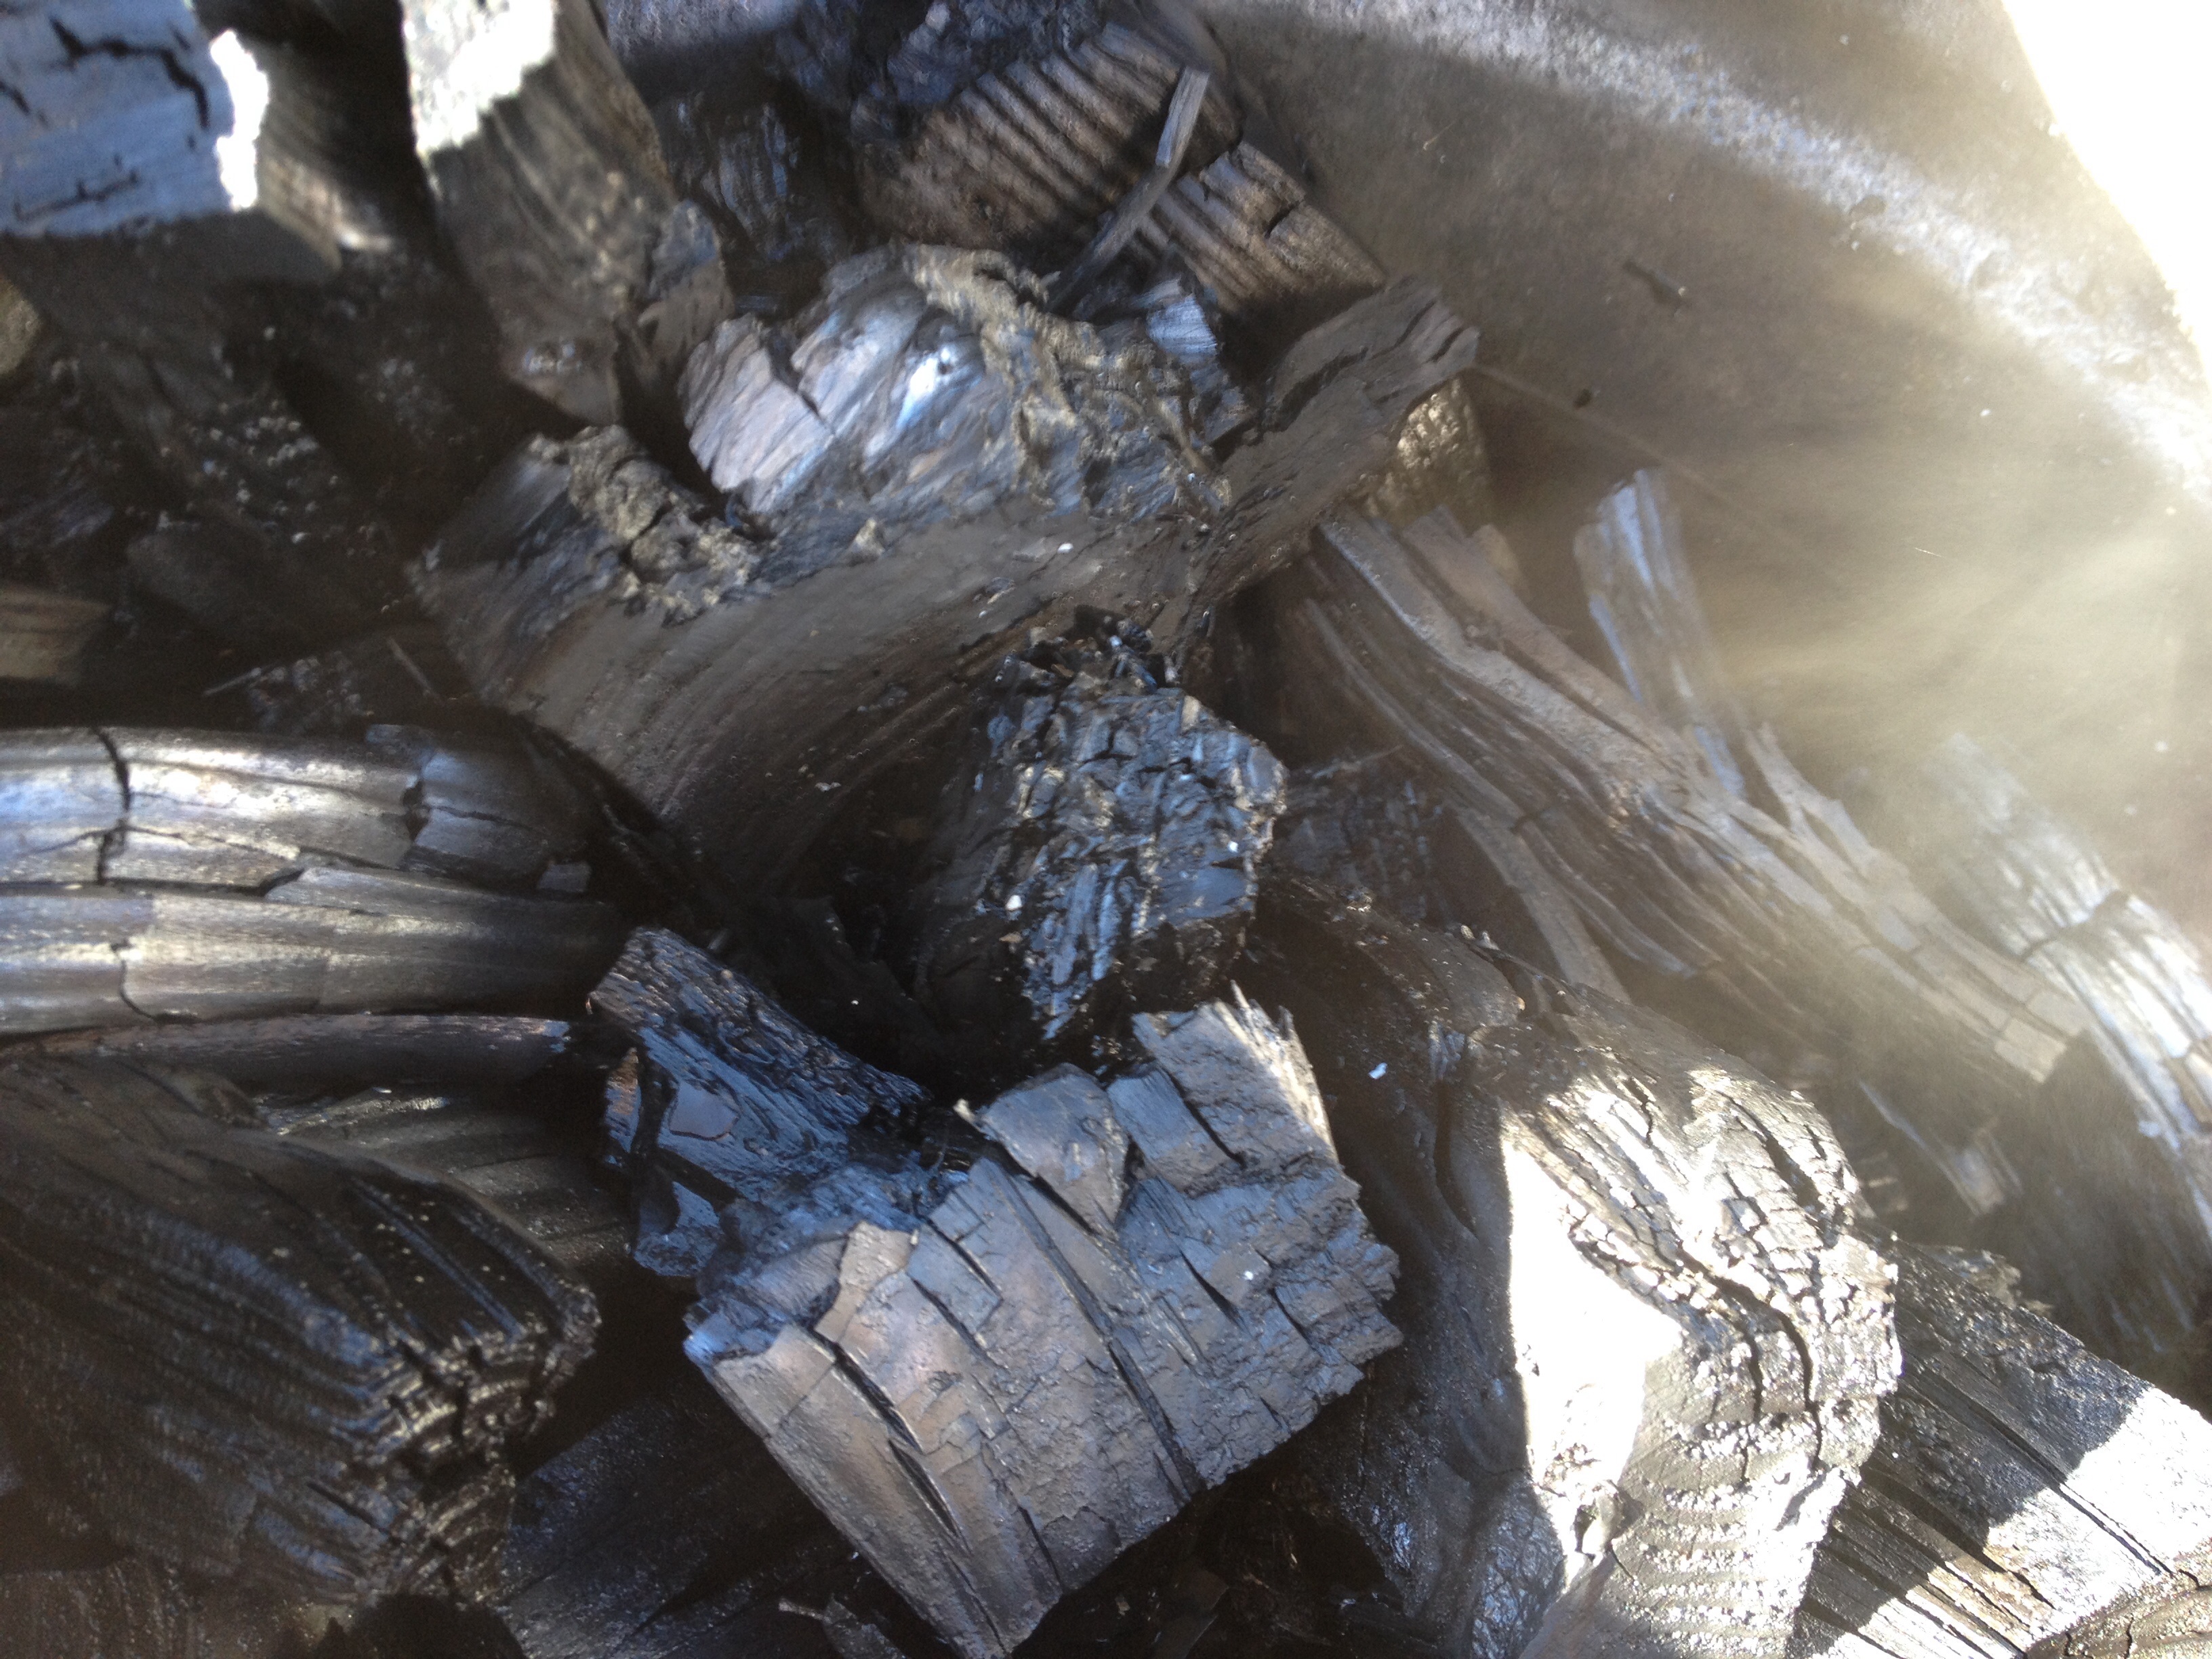
Bio char steaming after a water spray.
Bio char steaming after a water spray
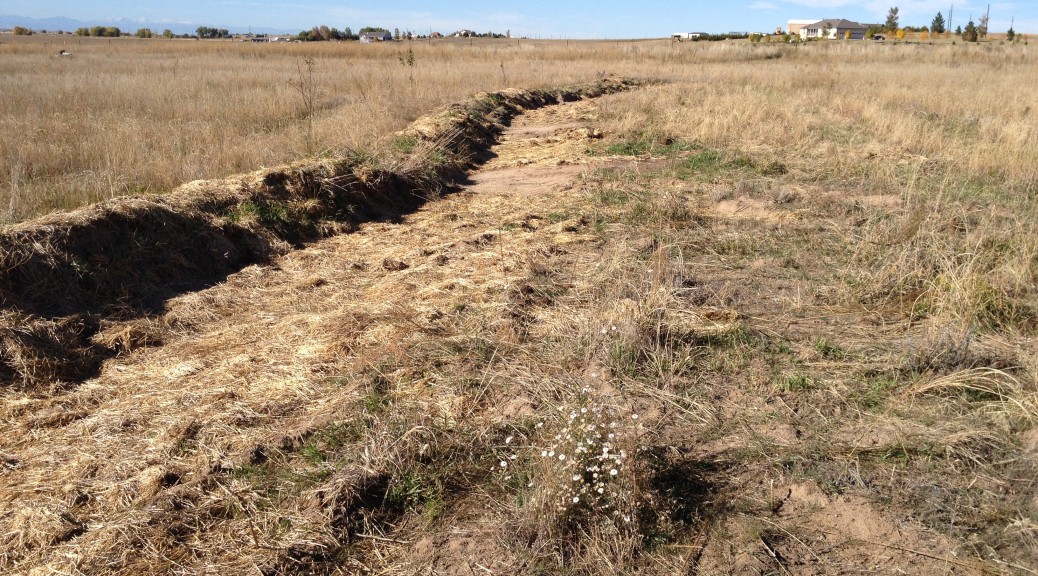
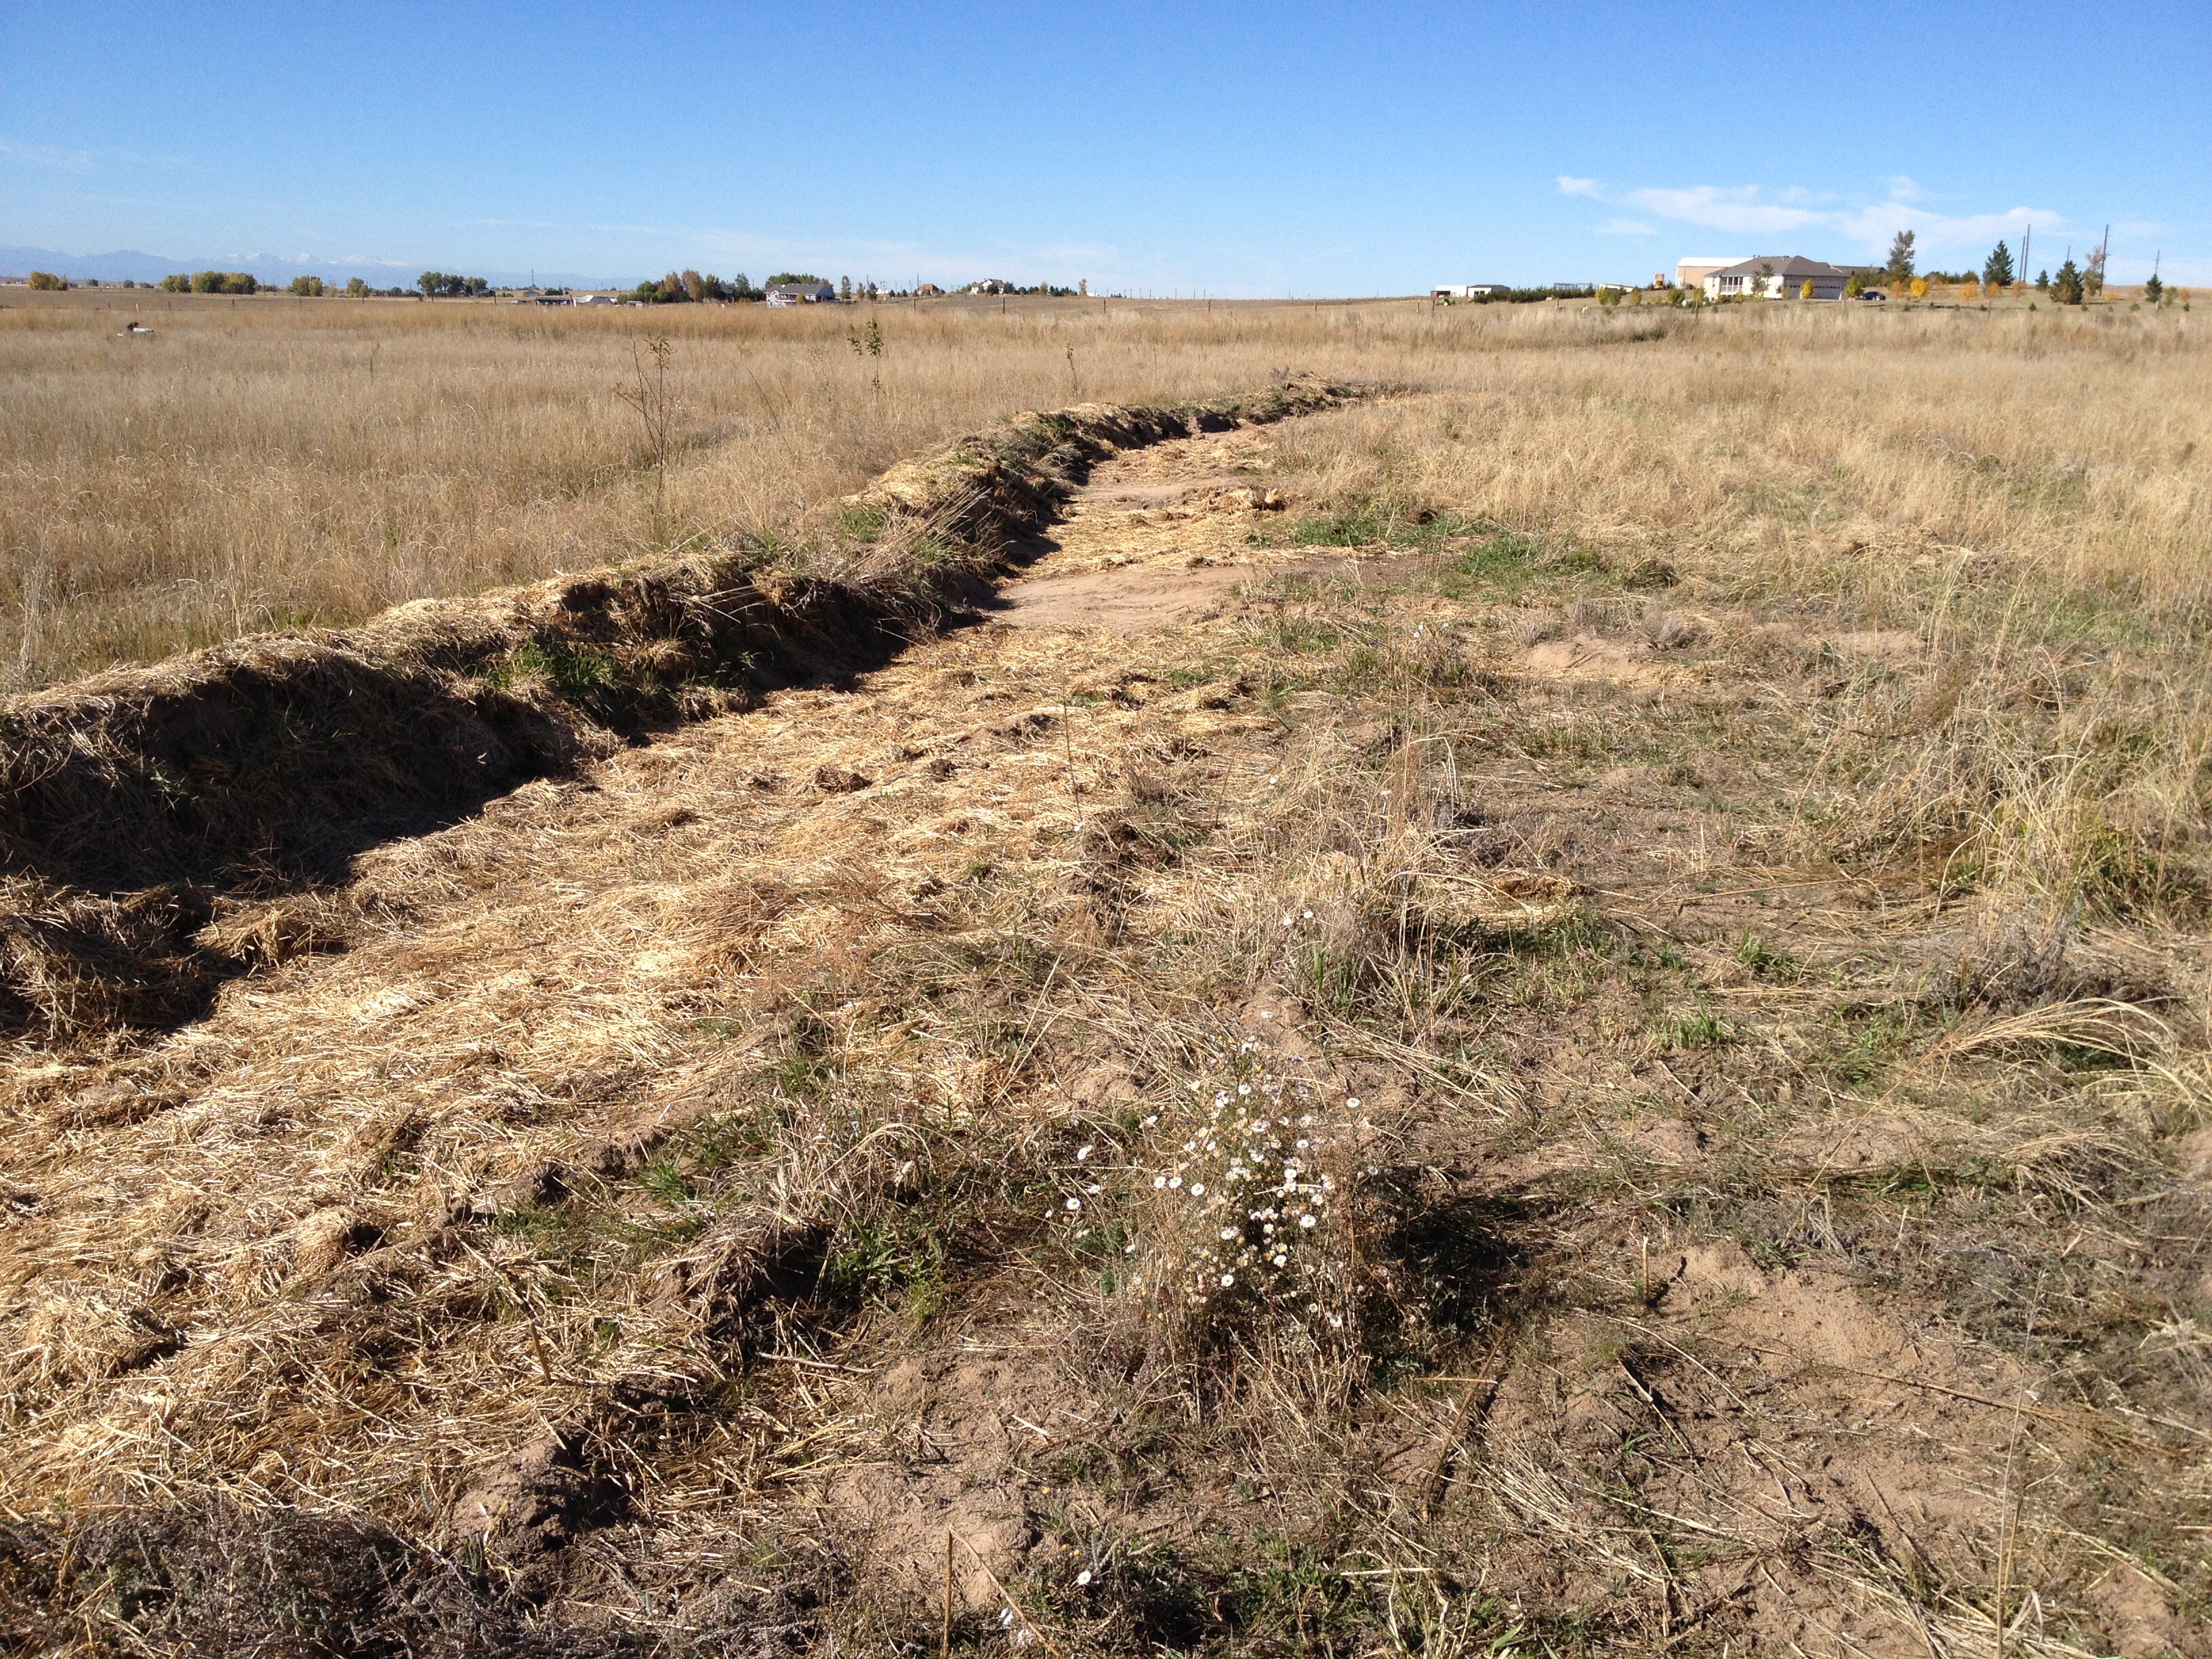
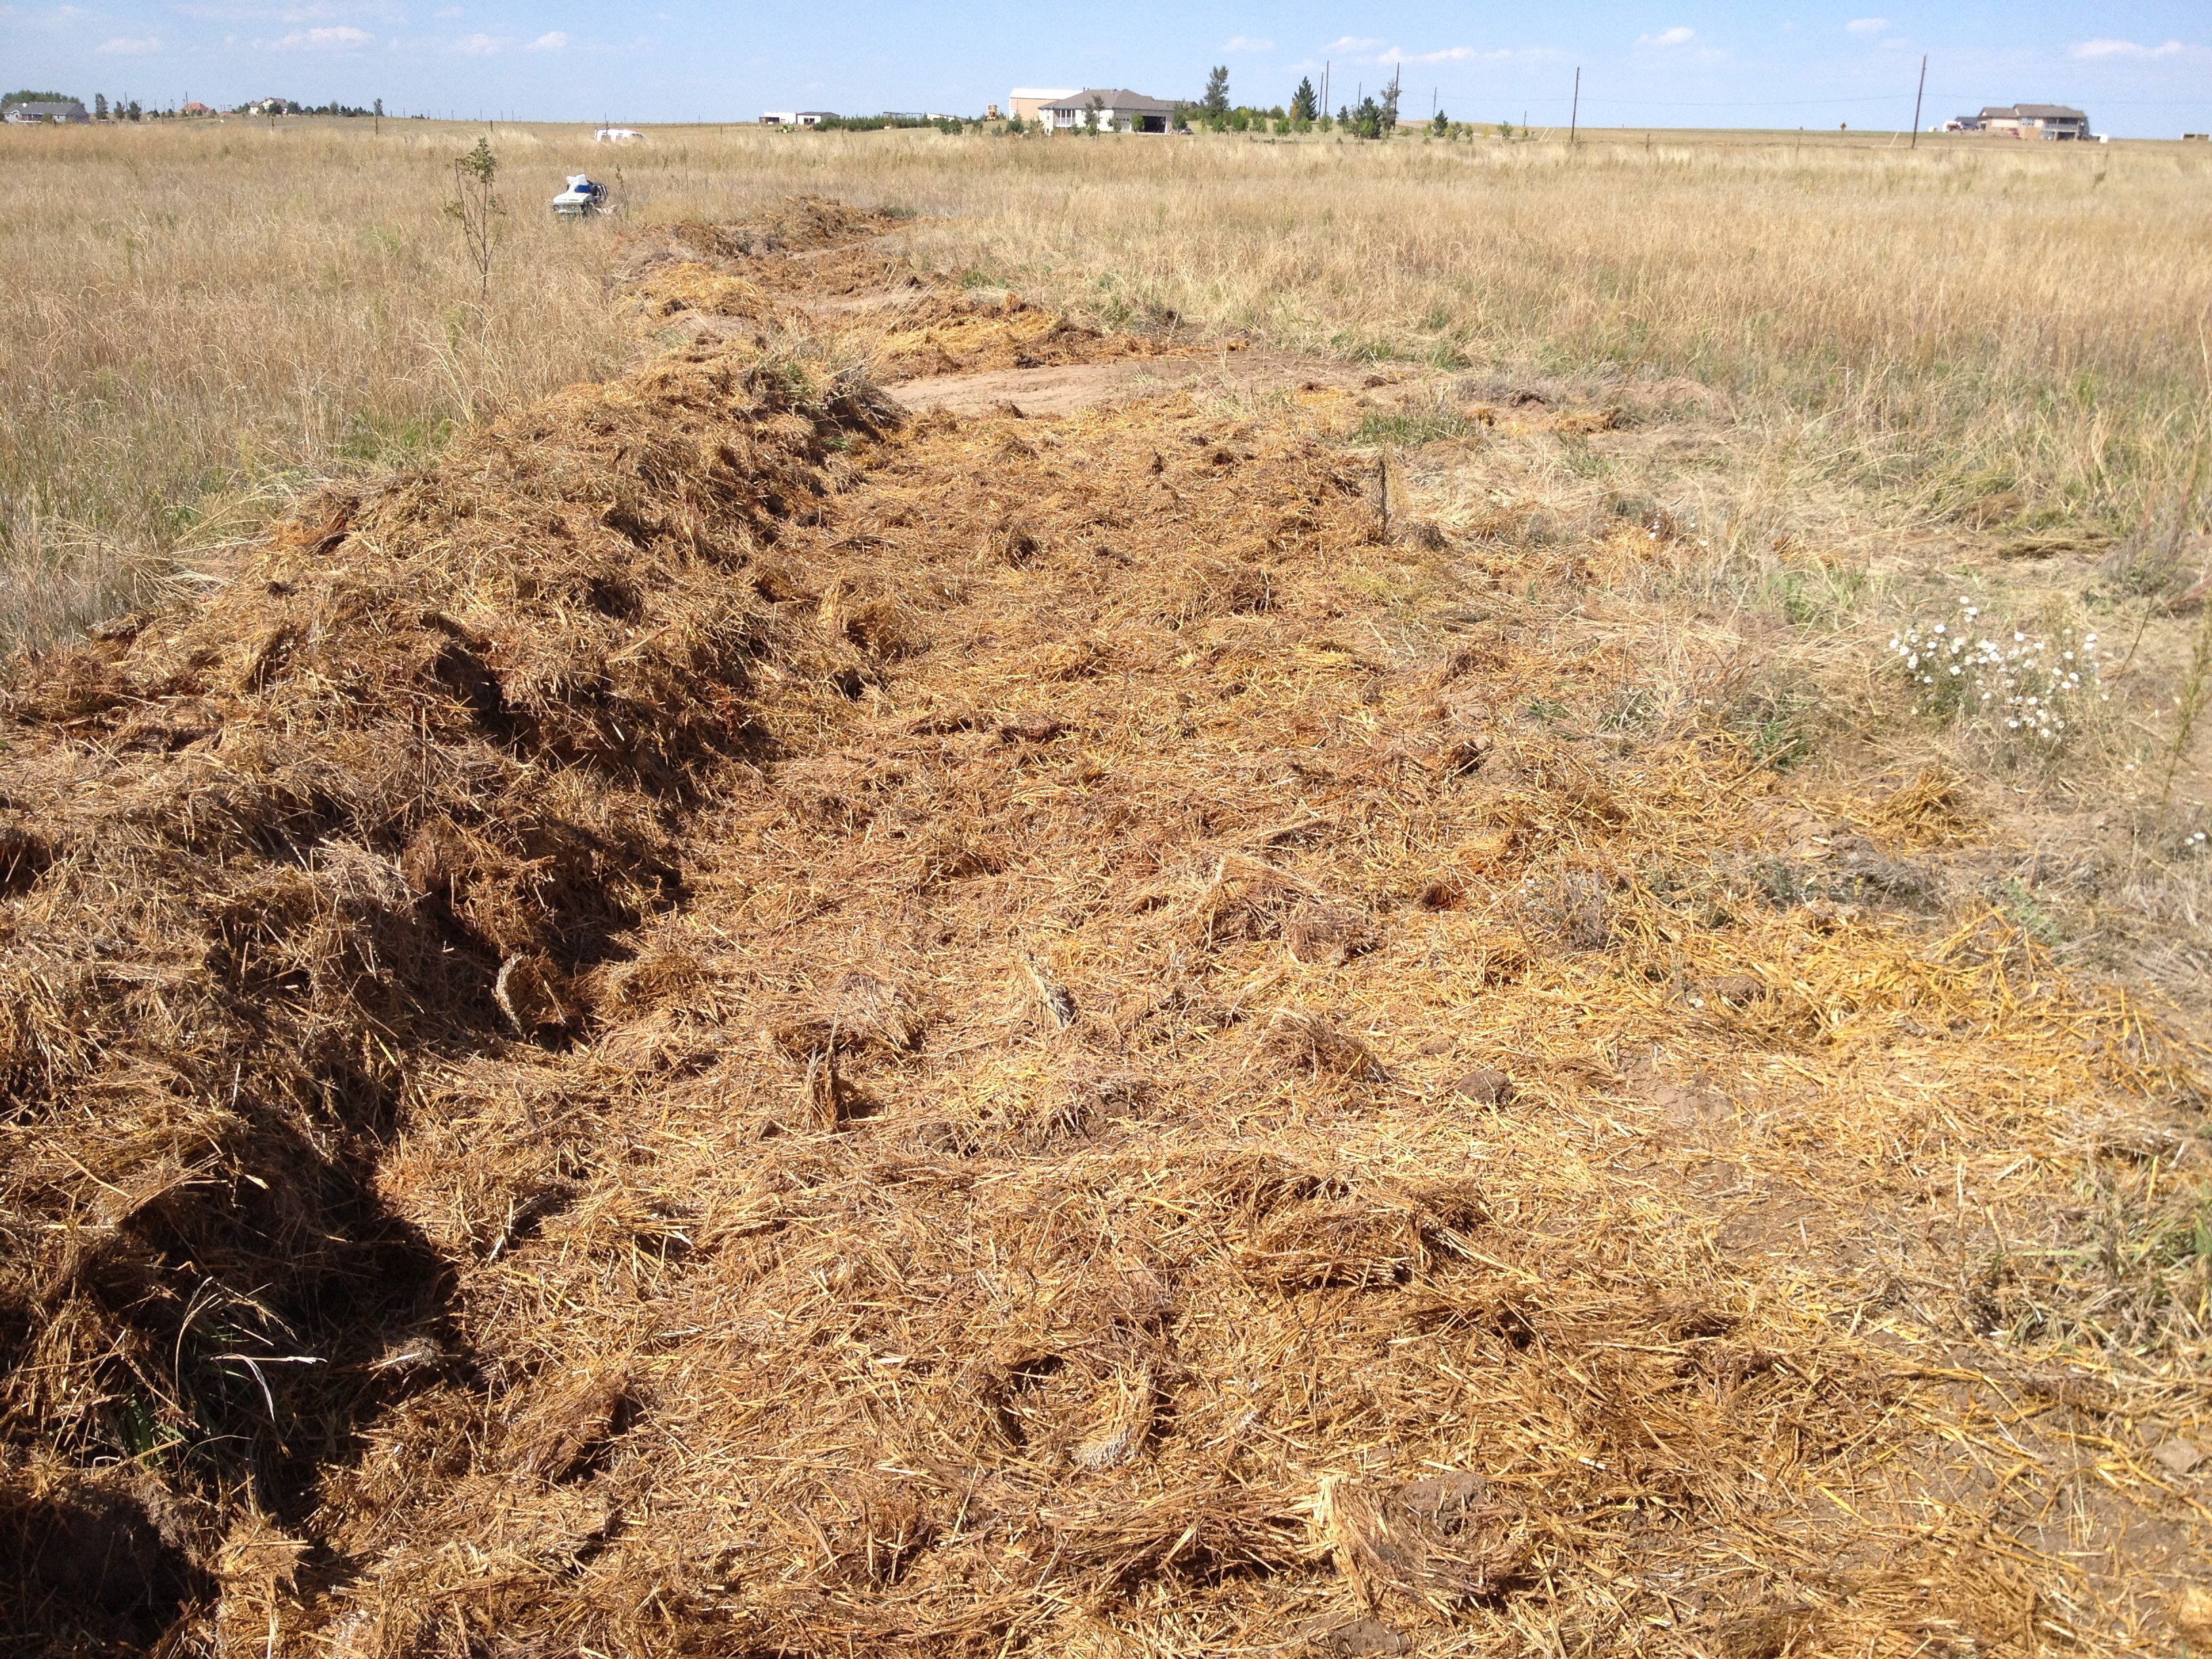
2014 food forest swale that was seeded and covered weeks ago. I spread a bit more straw today and looked for signs of sprouted clover that was seeded weeks ago.
2014 food forest swale that was seeded and covered weeks ago.
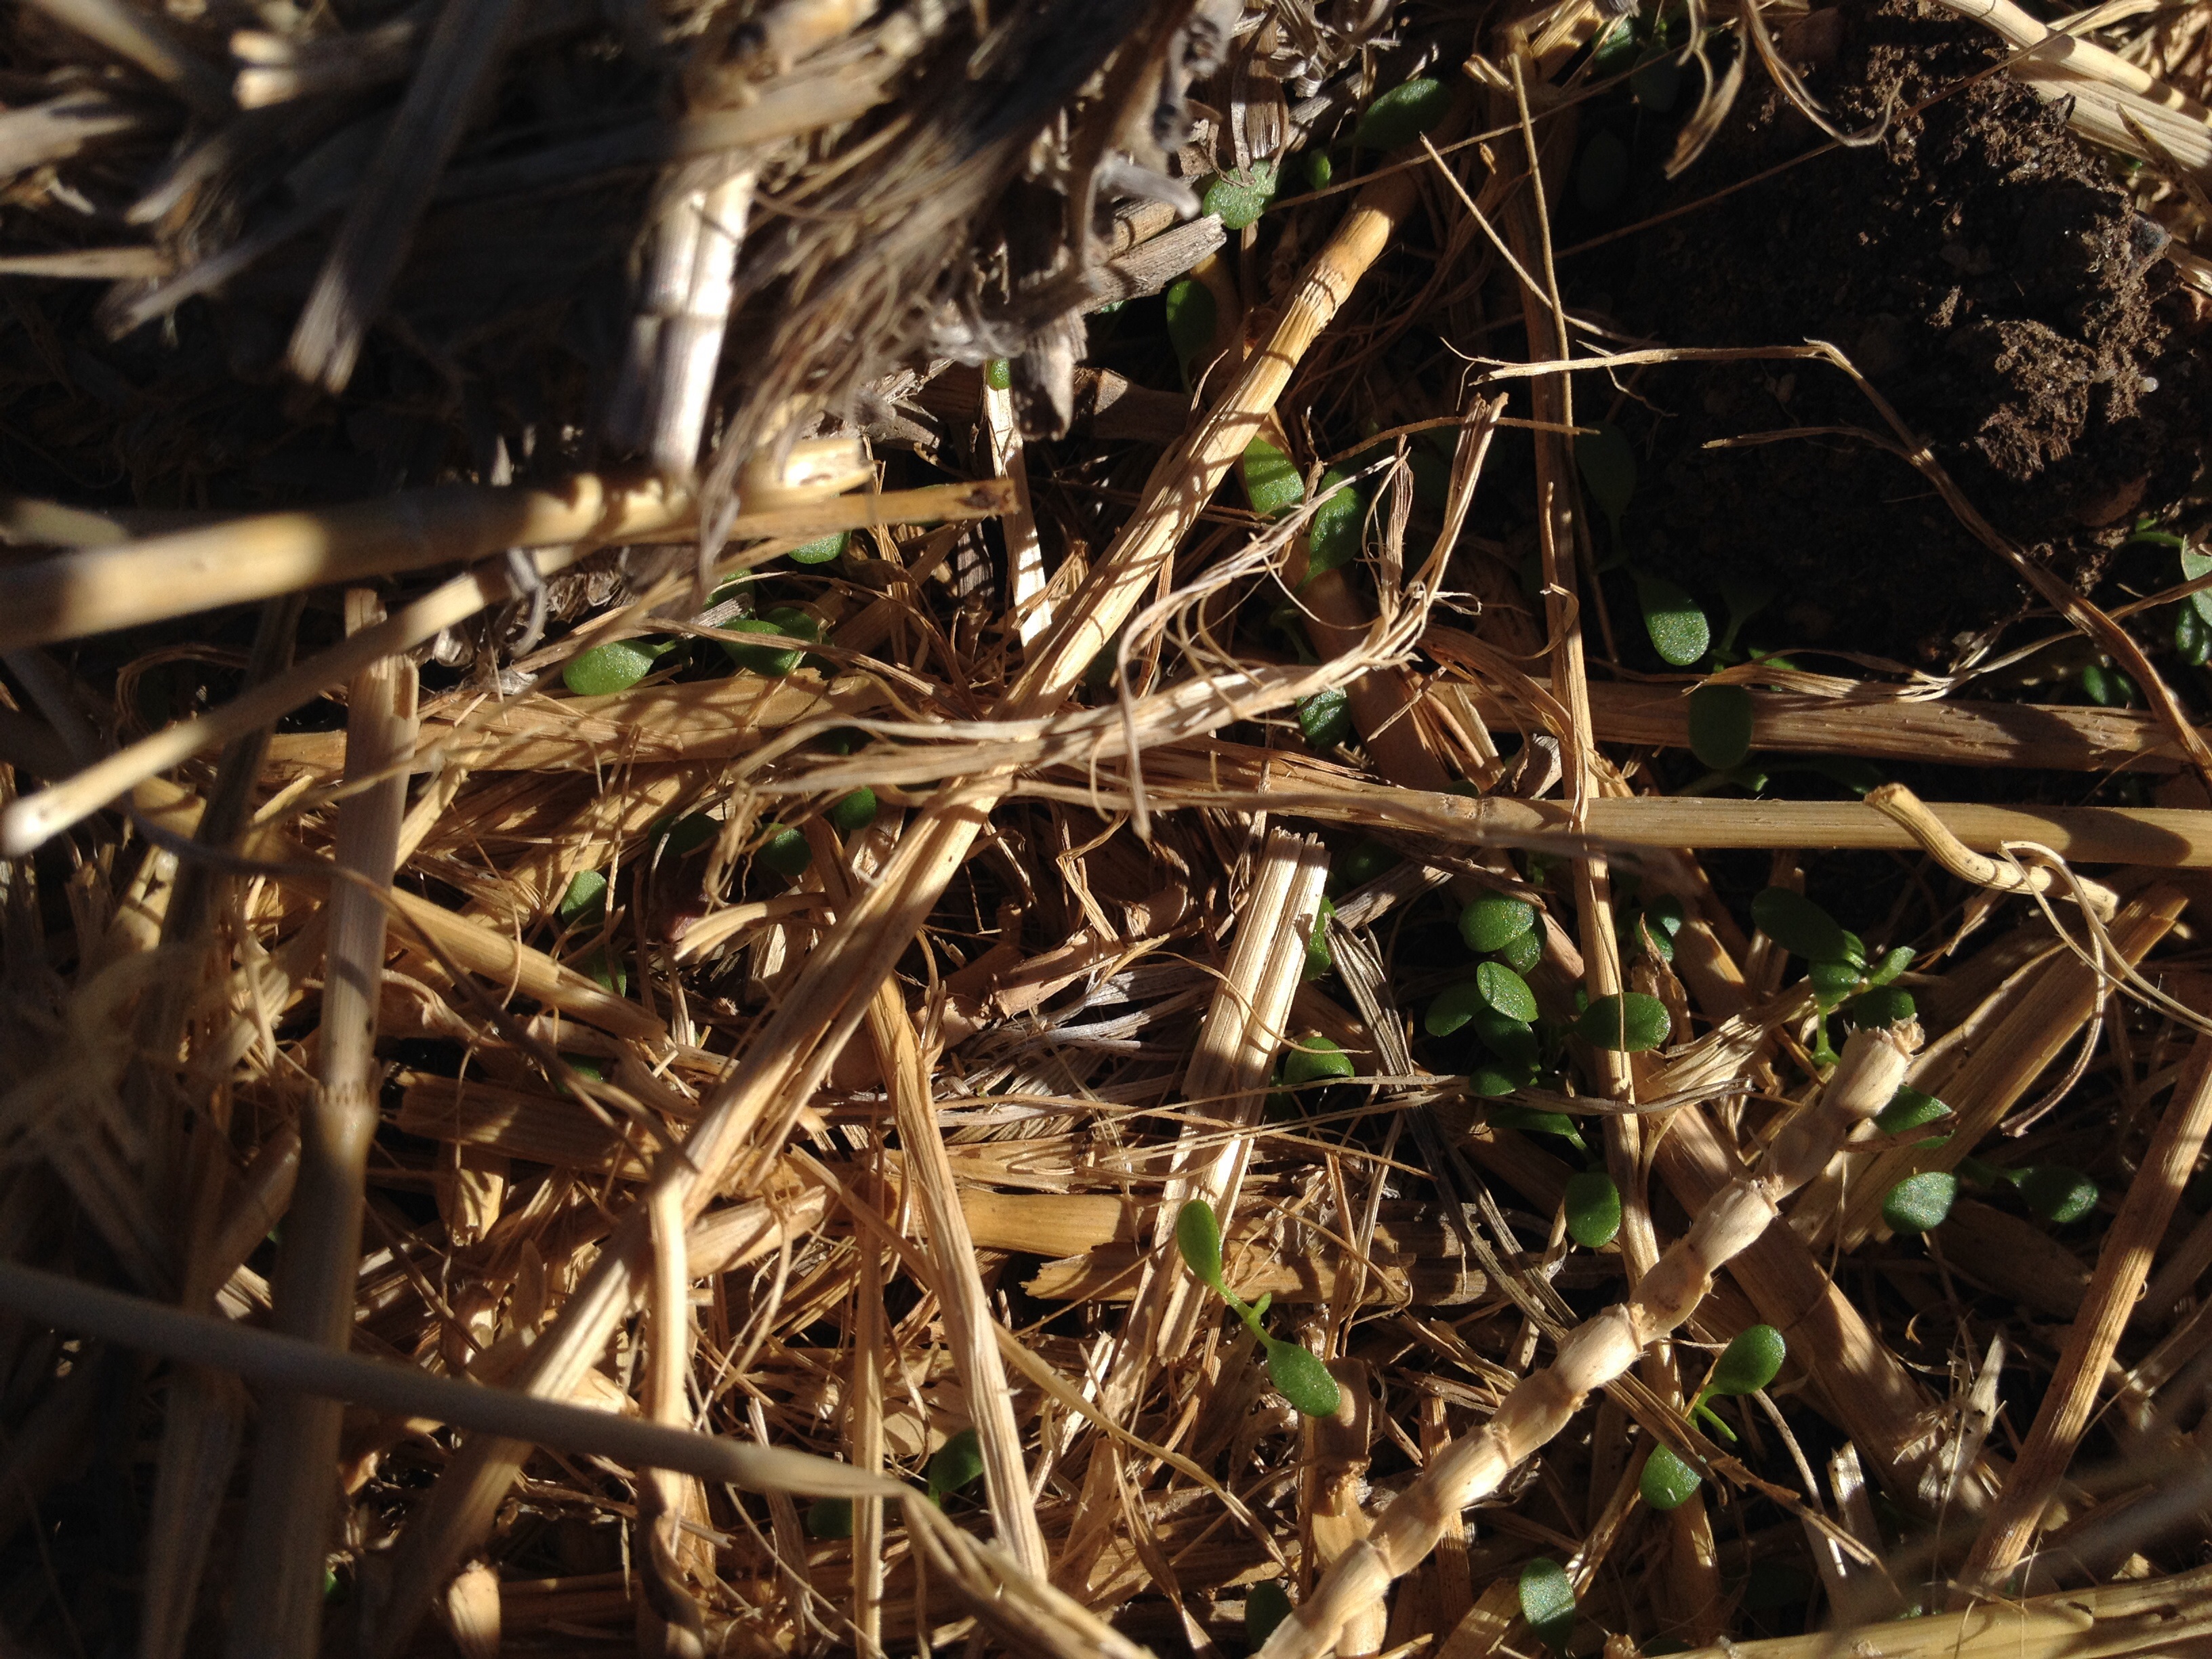
And look what I found down in the moist straw.
Clover sprouting for food forest swale cover
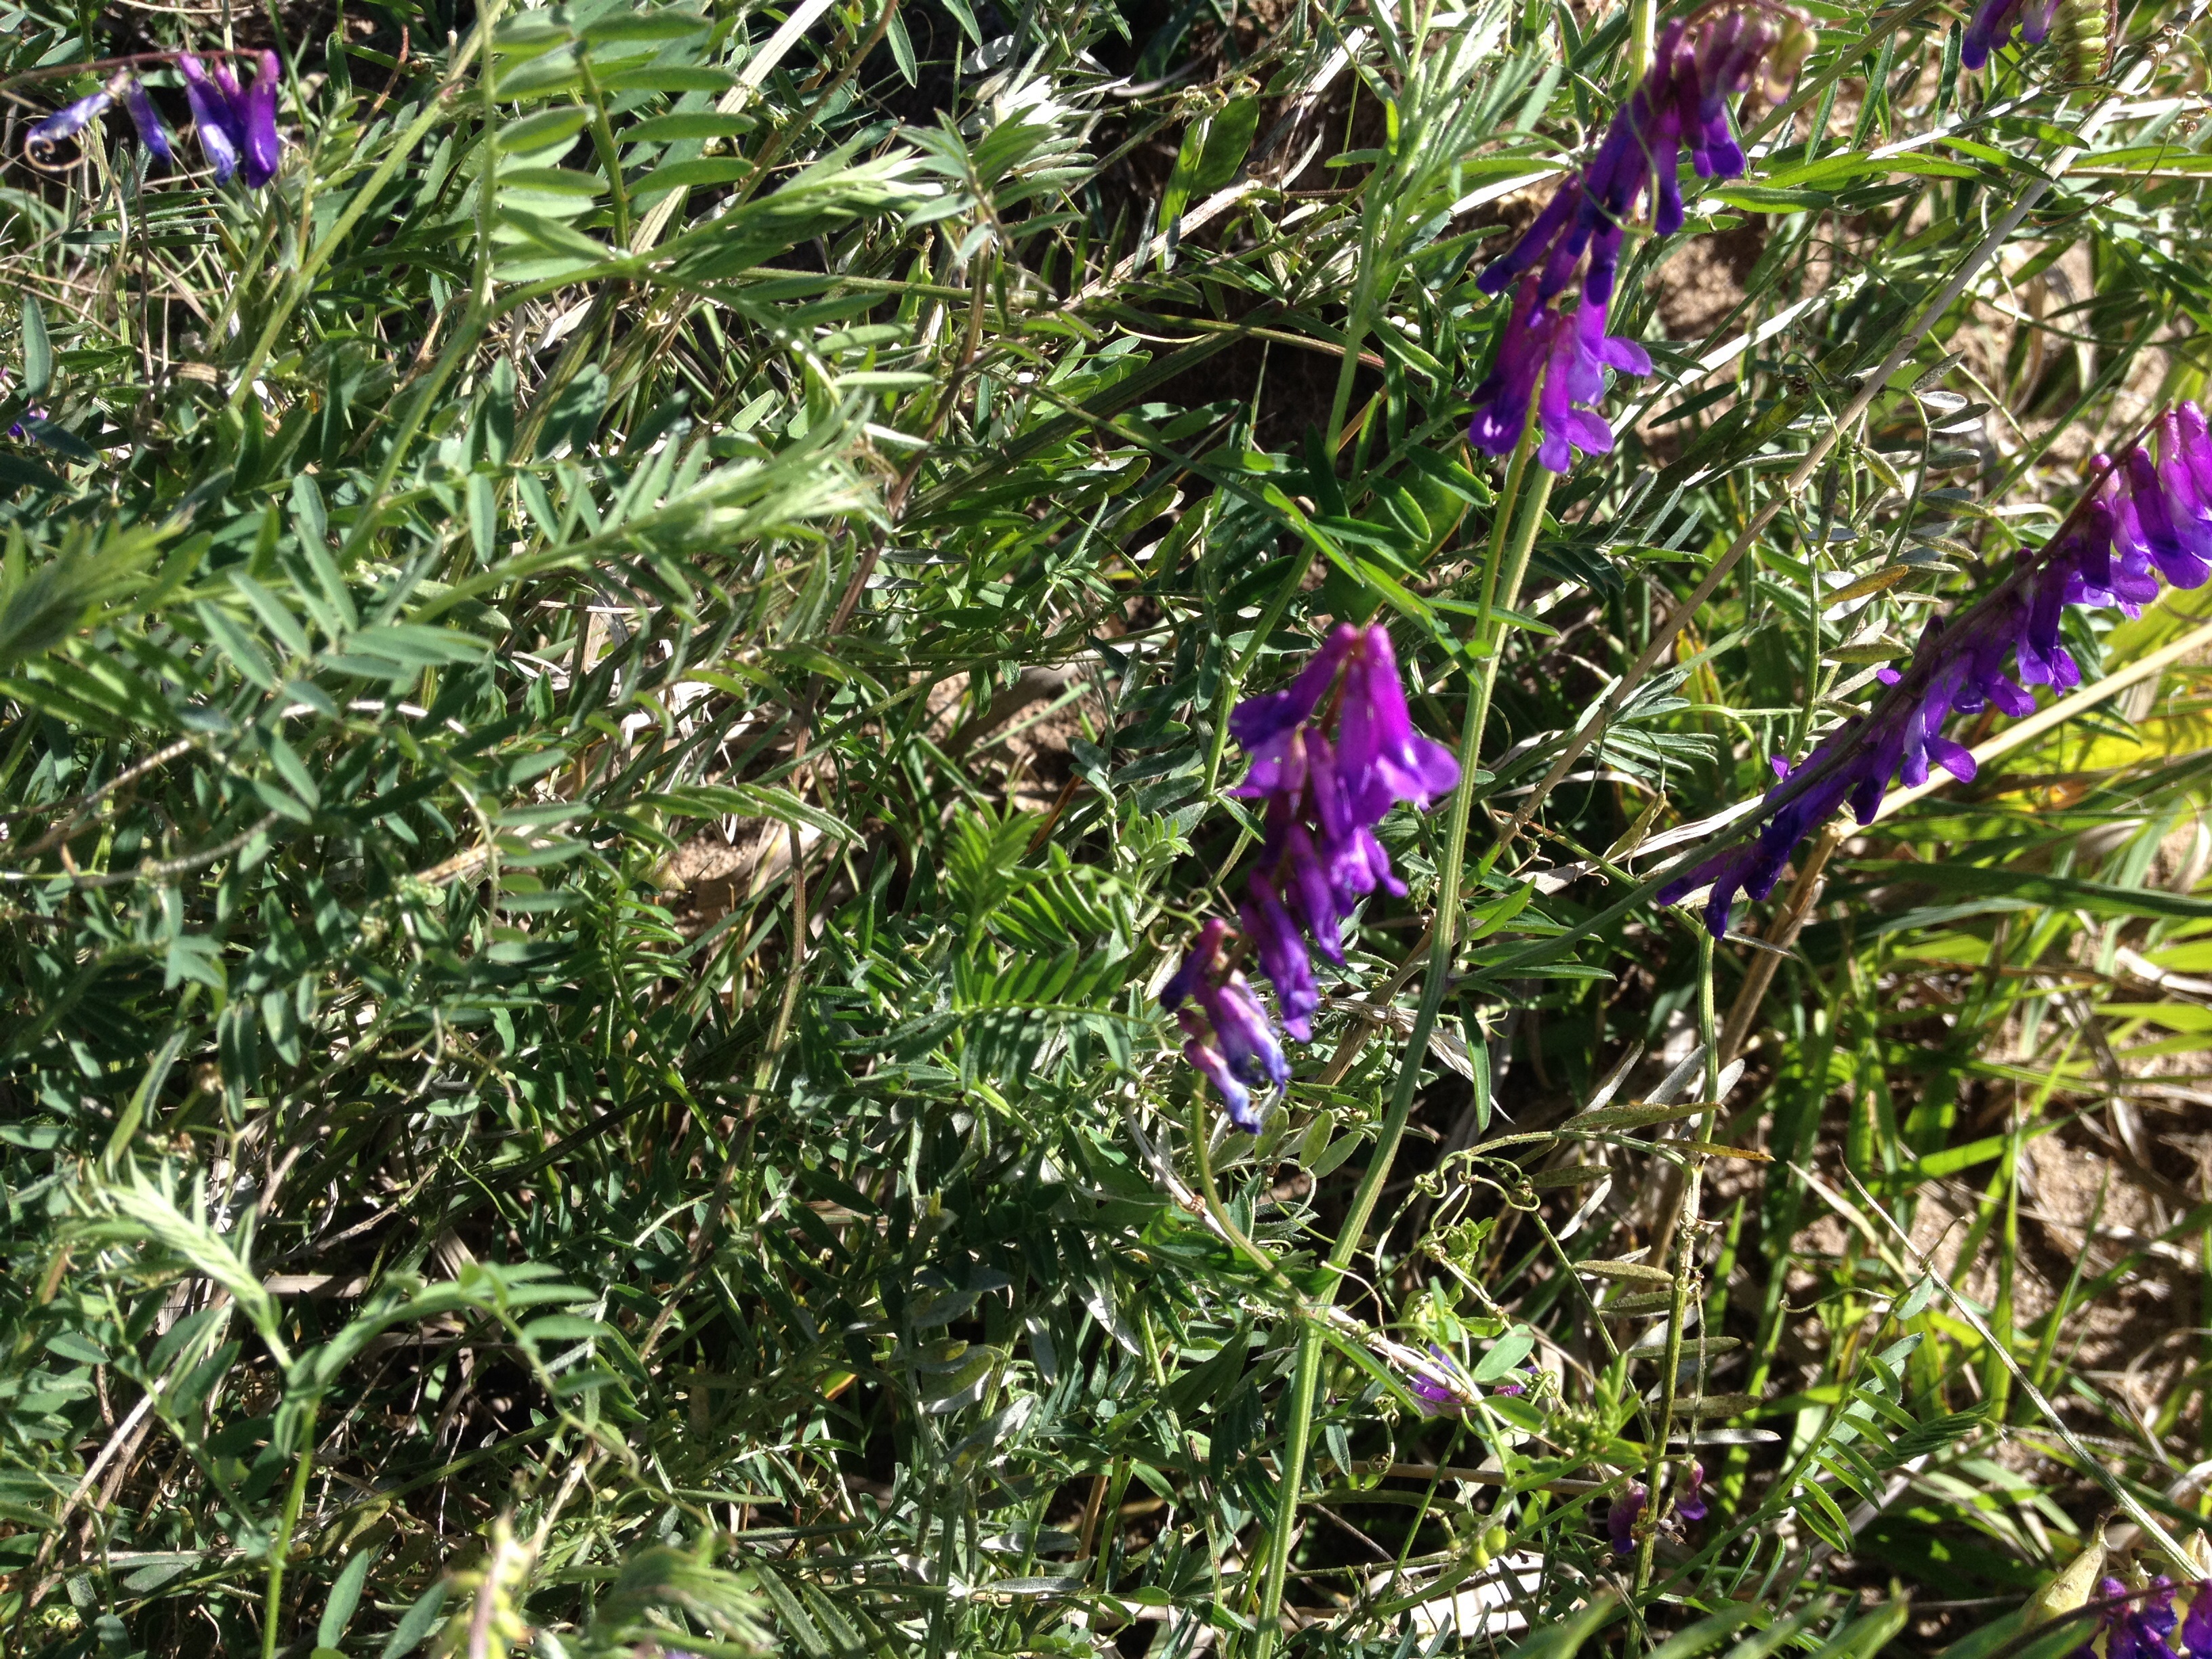
On the 2014 original swale and the extensions I made on the 2013 Swales I planted a seed mix that included common vetch which is growing really well late into the season and still has flowers. Common vetch on food forest swale
Year old leaf pile with worms on backside of the upper 2013 food forest swale. I added some worms to this early in the year and I was very pleased to dig down and find worms living in the pile. Except for the garden area the soil is worm free so I’ve been adding them to compost and leaf piles all around. Hopefully we will have some mini Hereford cows to help the soil and worms.
Year old leaf pile with worms on backside of swale
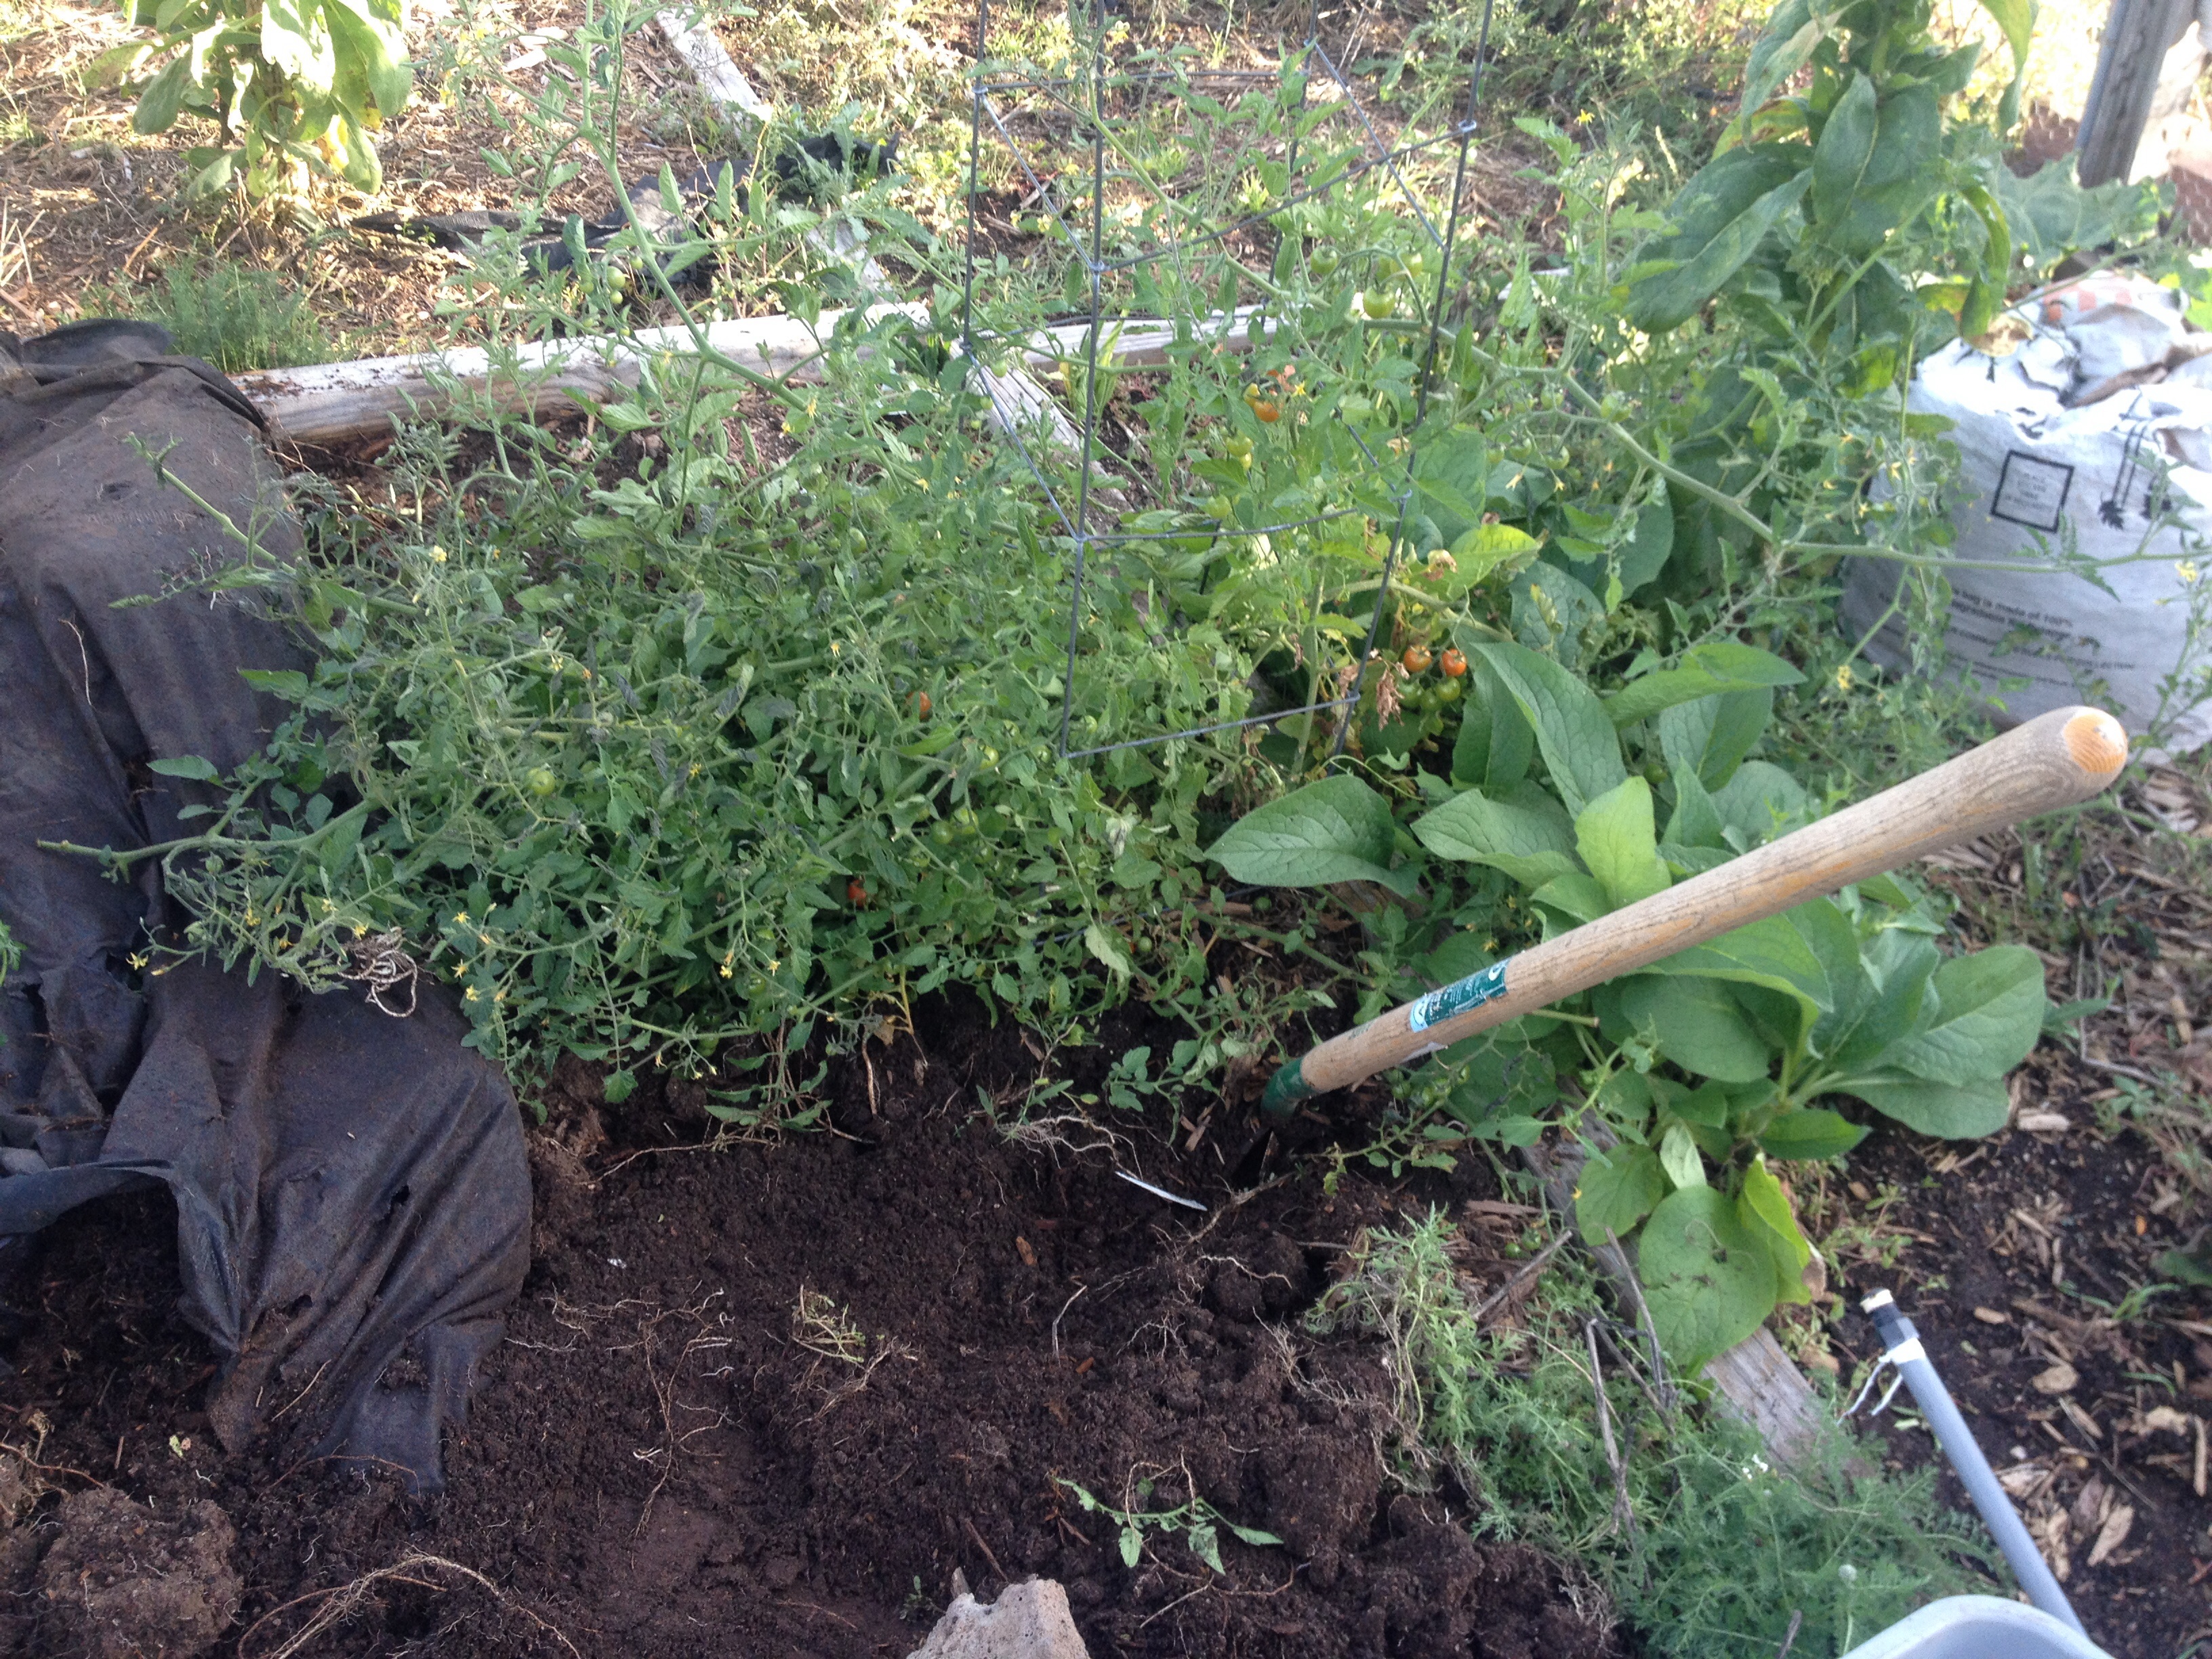
A tomato plant before being transplanted to a container for the winter. We bought the homestead later in the season so the plant is just beginning to produce. Time will tell if it will grow indoors.
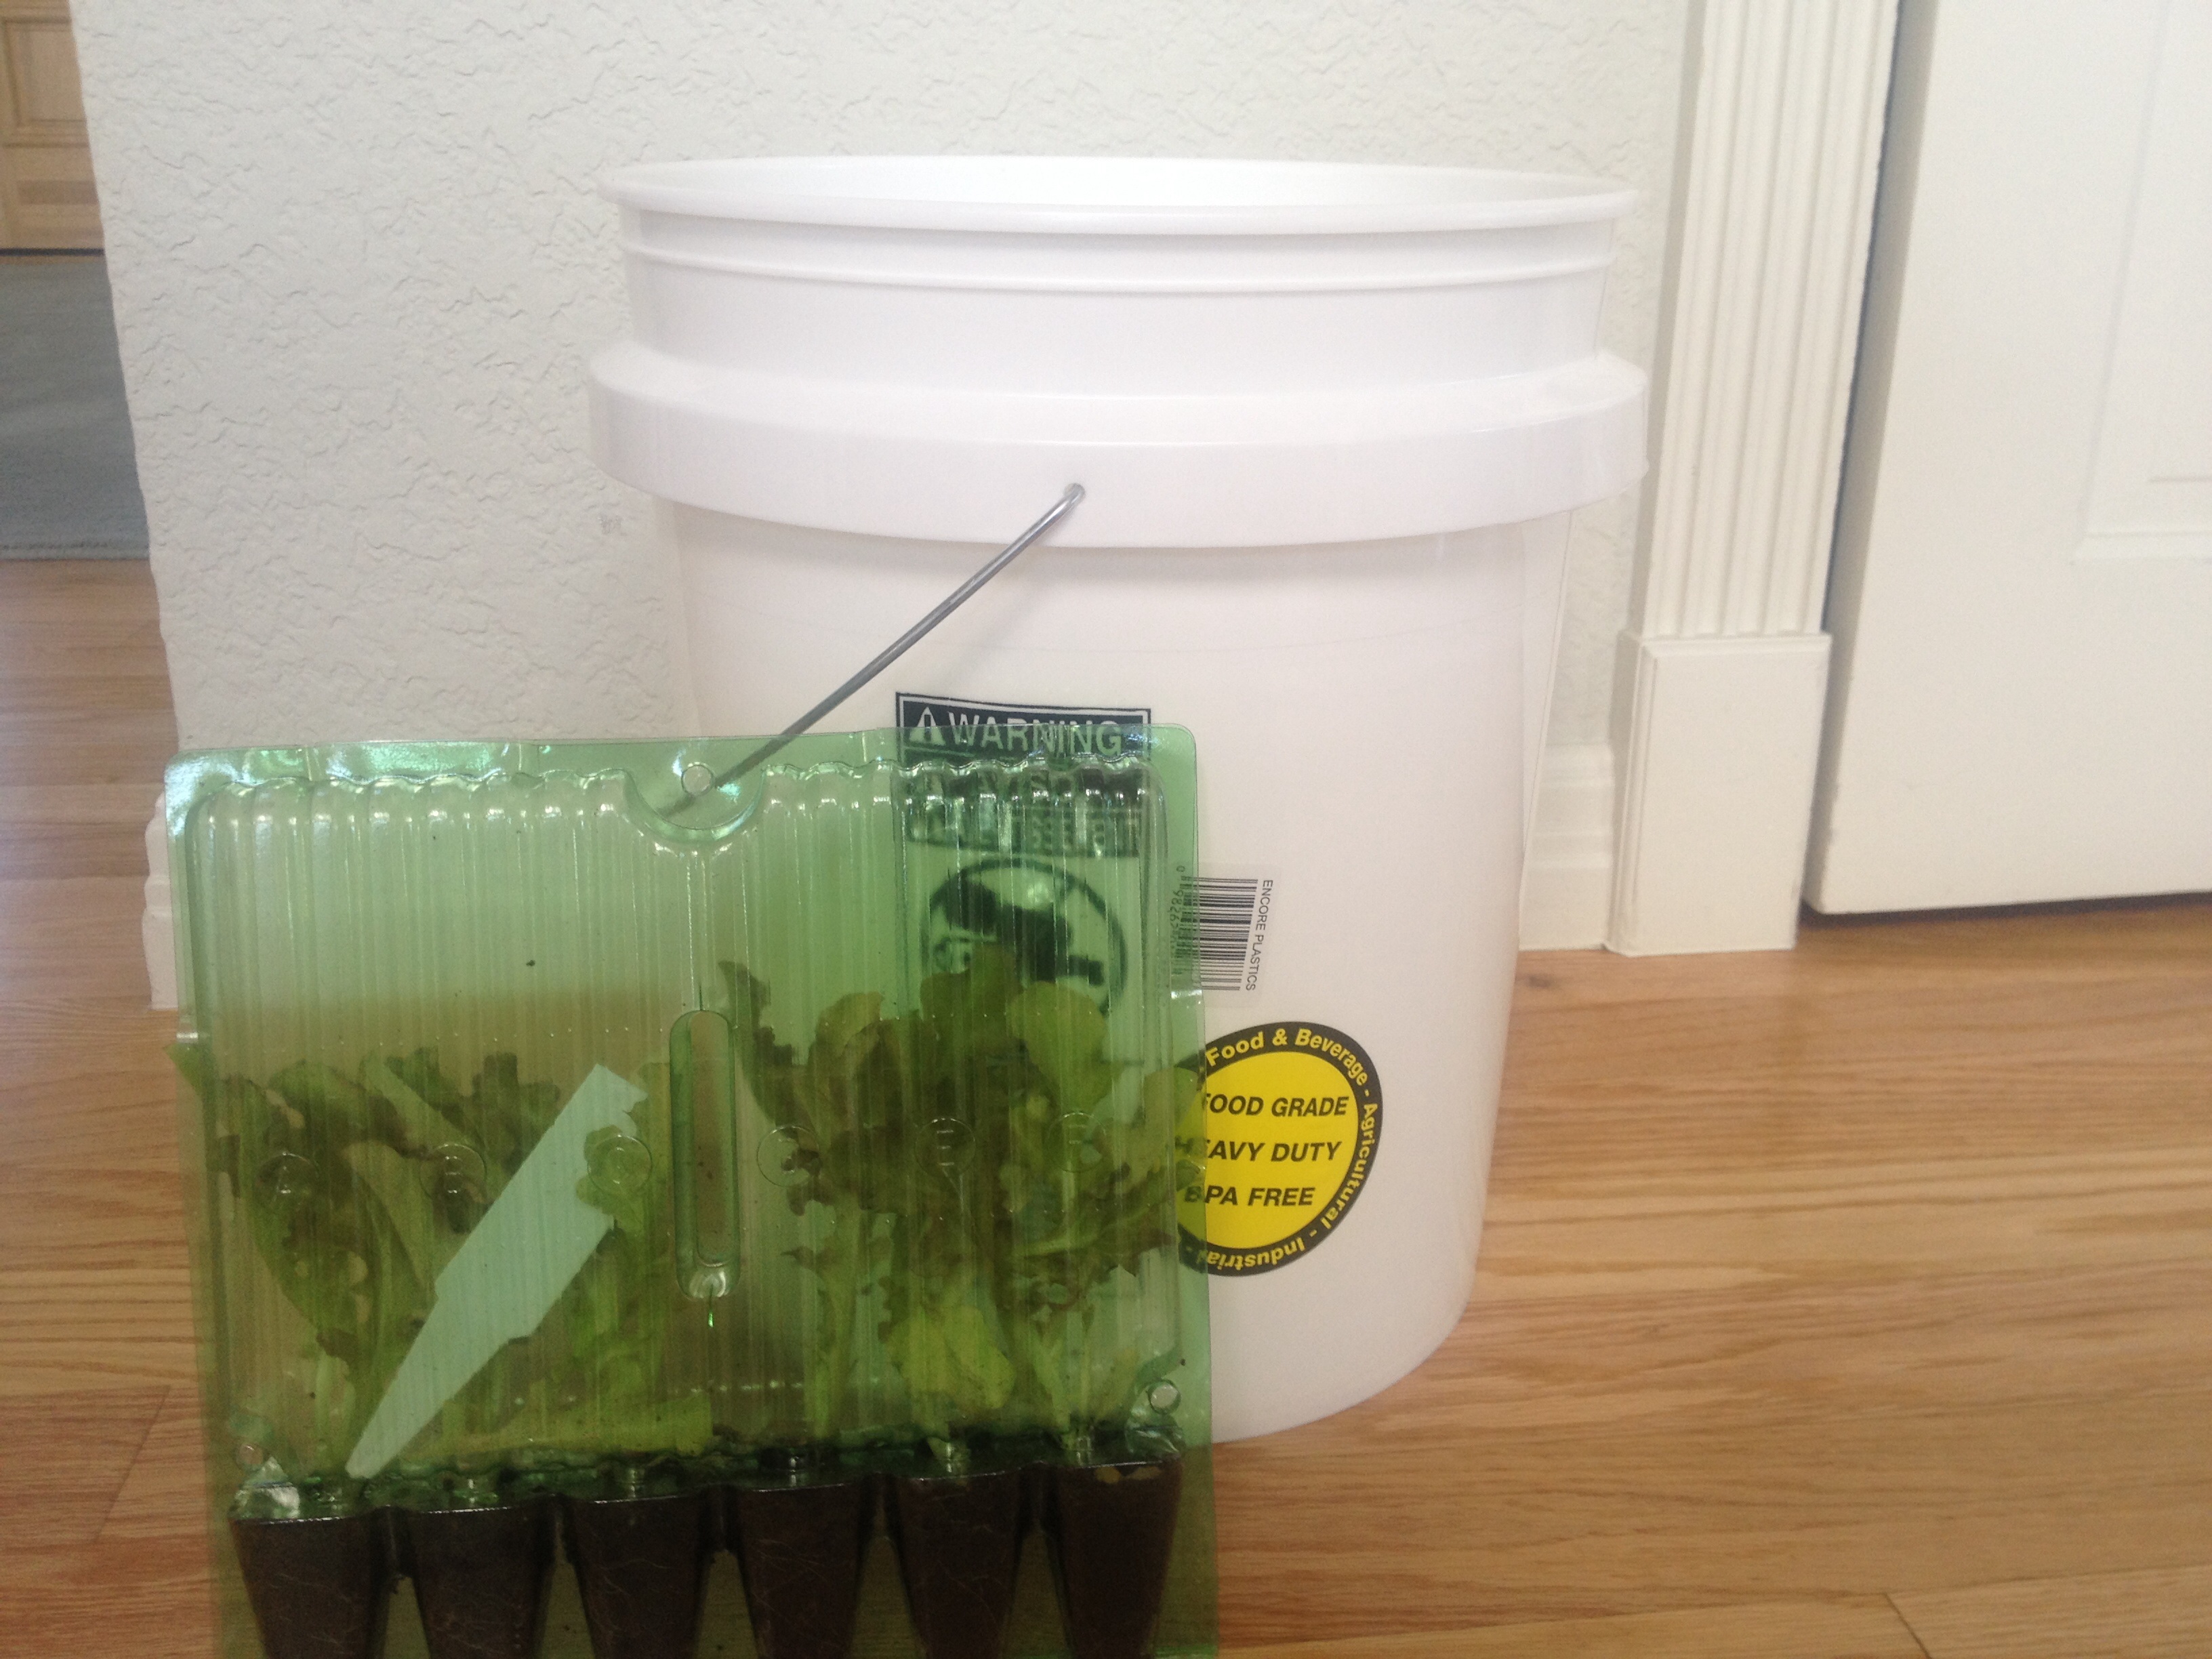
The buckets will be both indoor and out depending on the weather. The lettuce plant is in a 15 gallon or larger container so it will not move as often.
5 gallon bucket and some of the seedling lettuce plants. The plan is to put the bucket with plants in a bucket without holes when I bring them indoors. I ended up finding BPA free buckets at lowes. I did not know they existed. I bought the lettuce , broccoli and other veggies online since I’ve not found a local company with any this time of year (October).
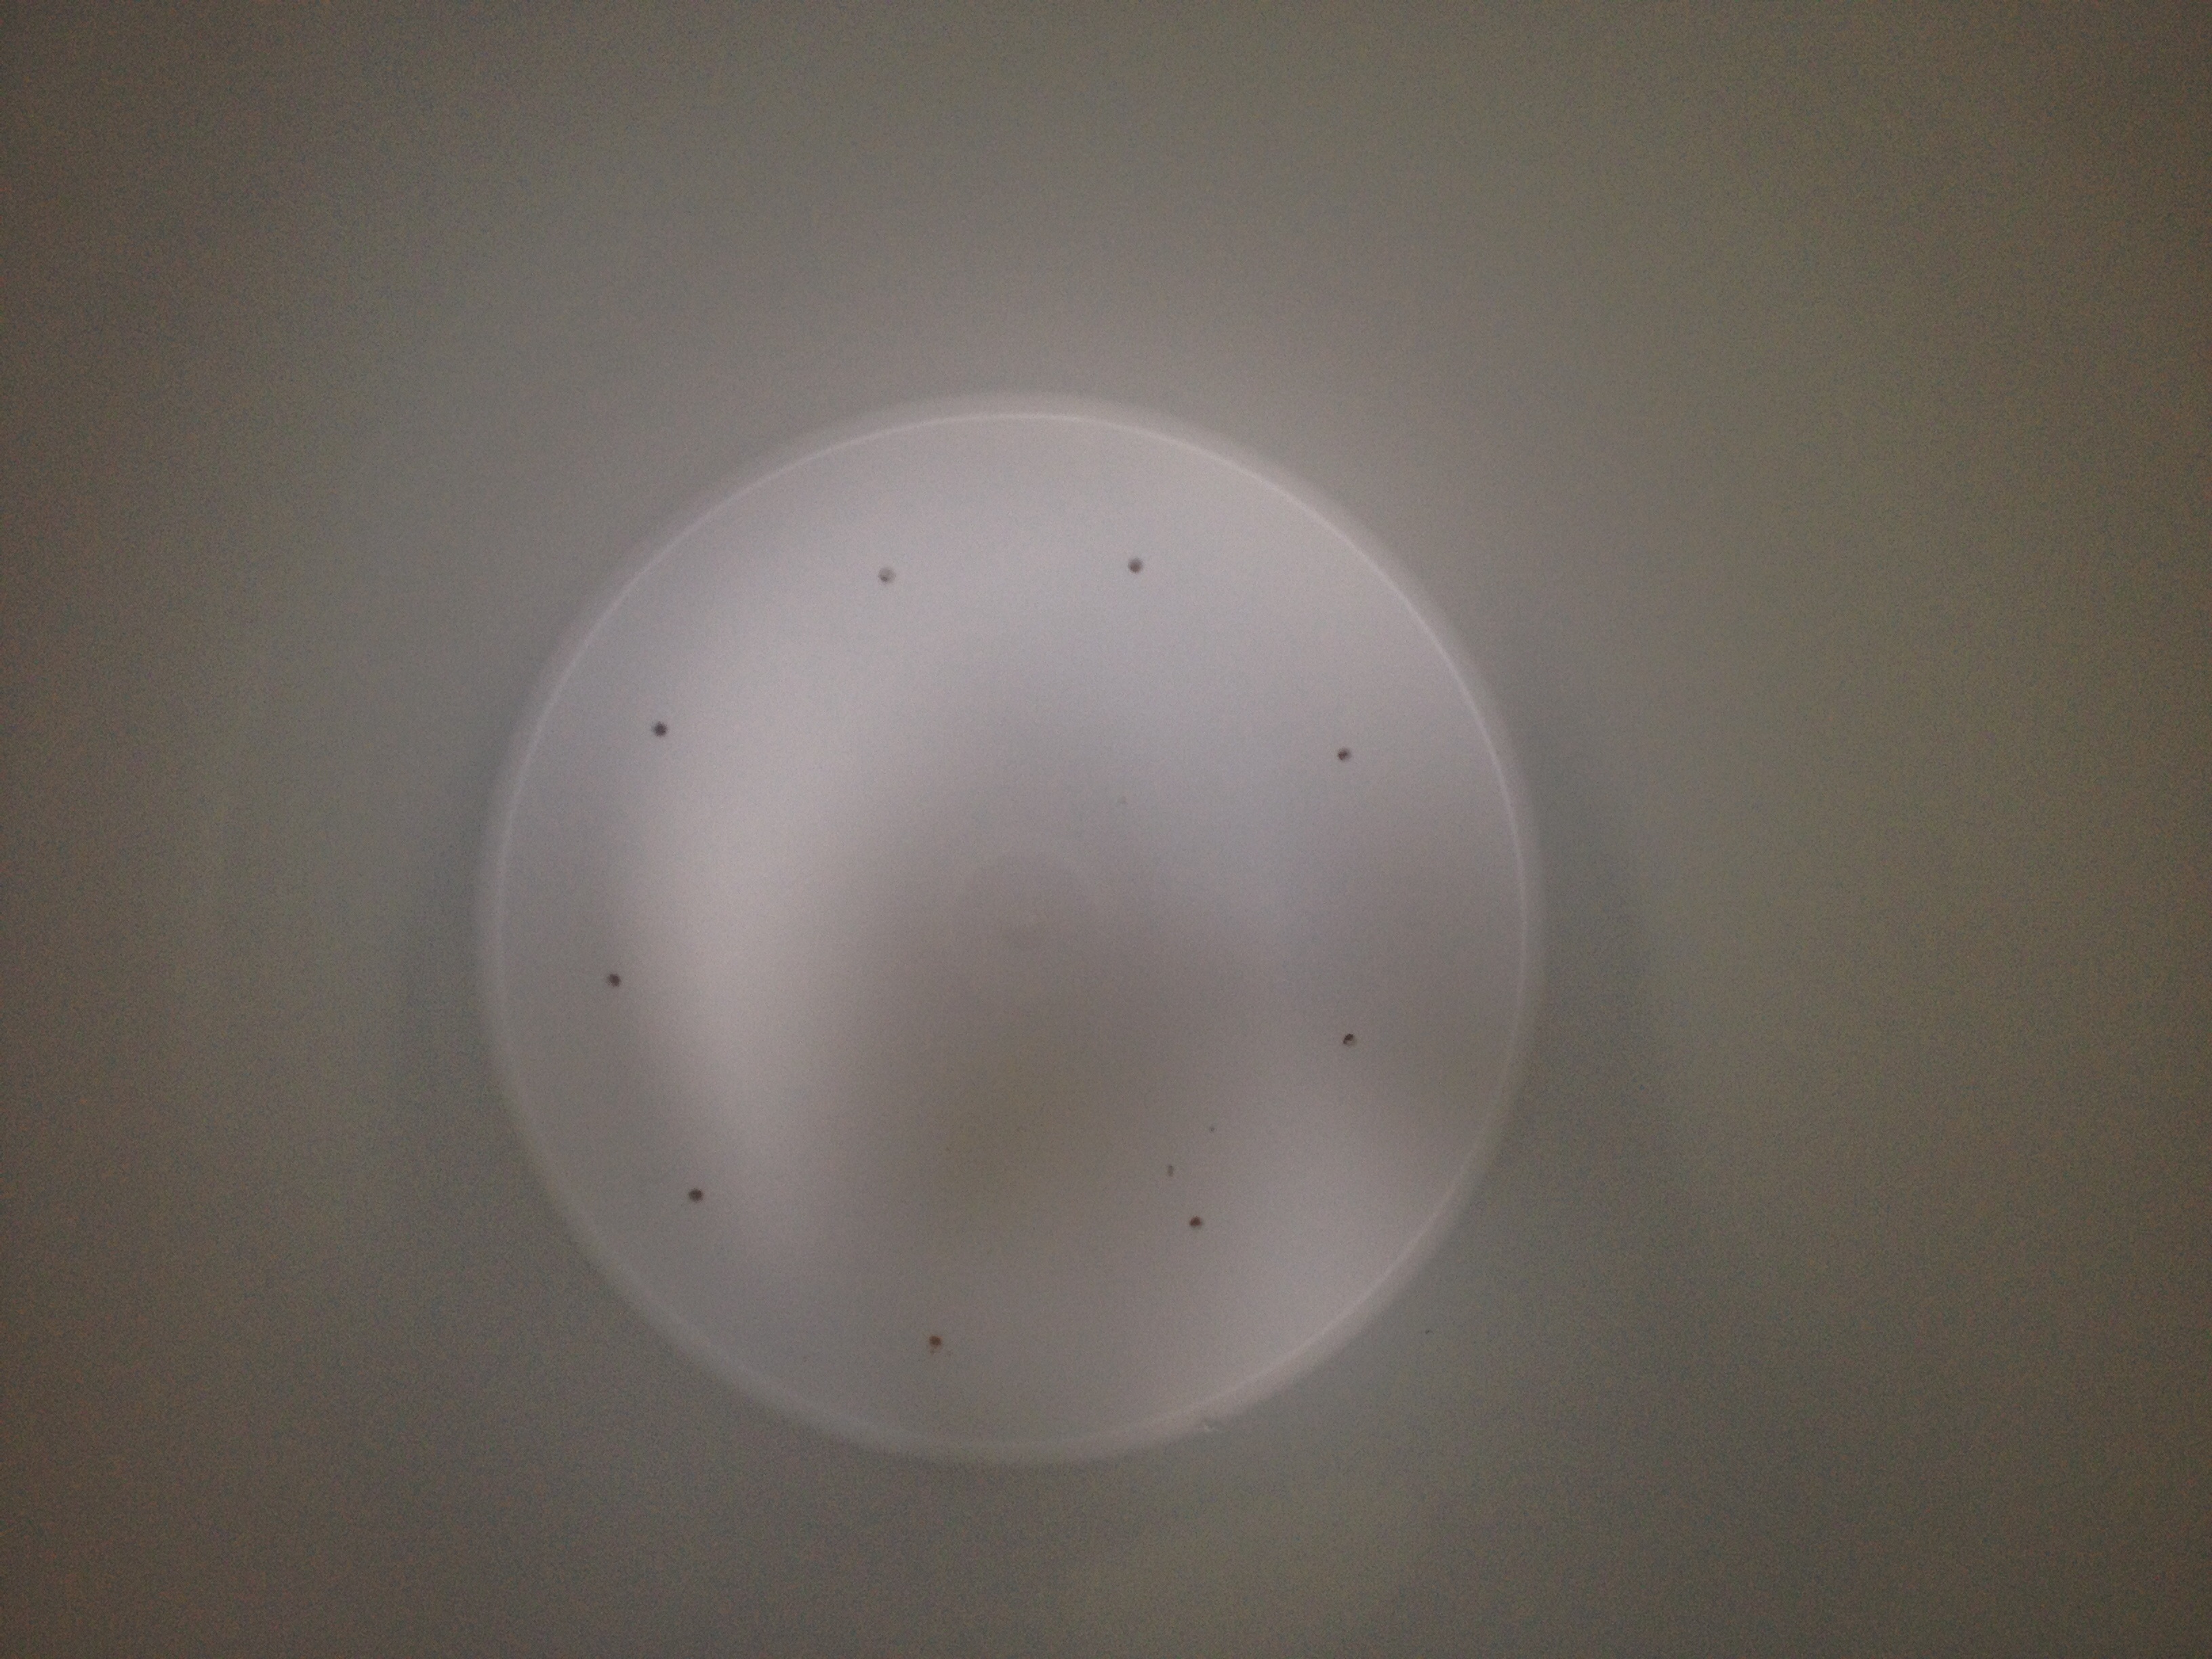
We drilled holes in the bottom of the 5 gallon buckets.
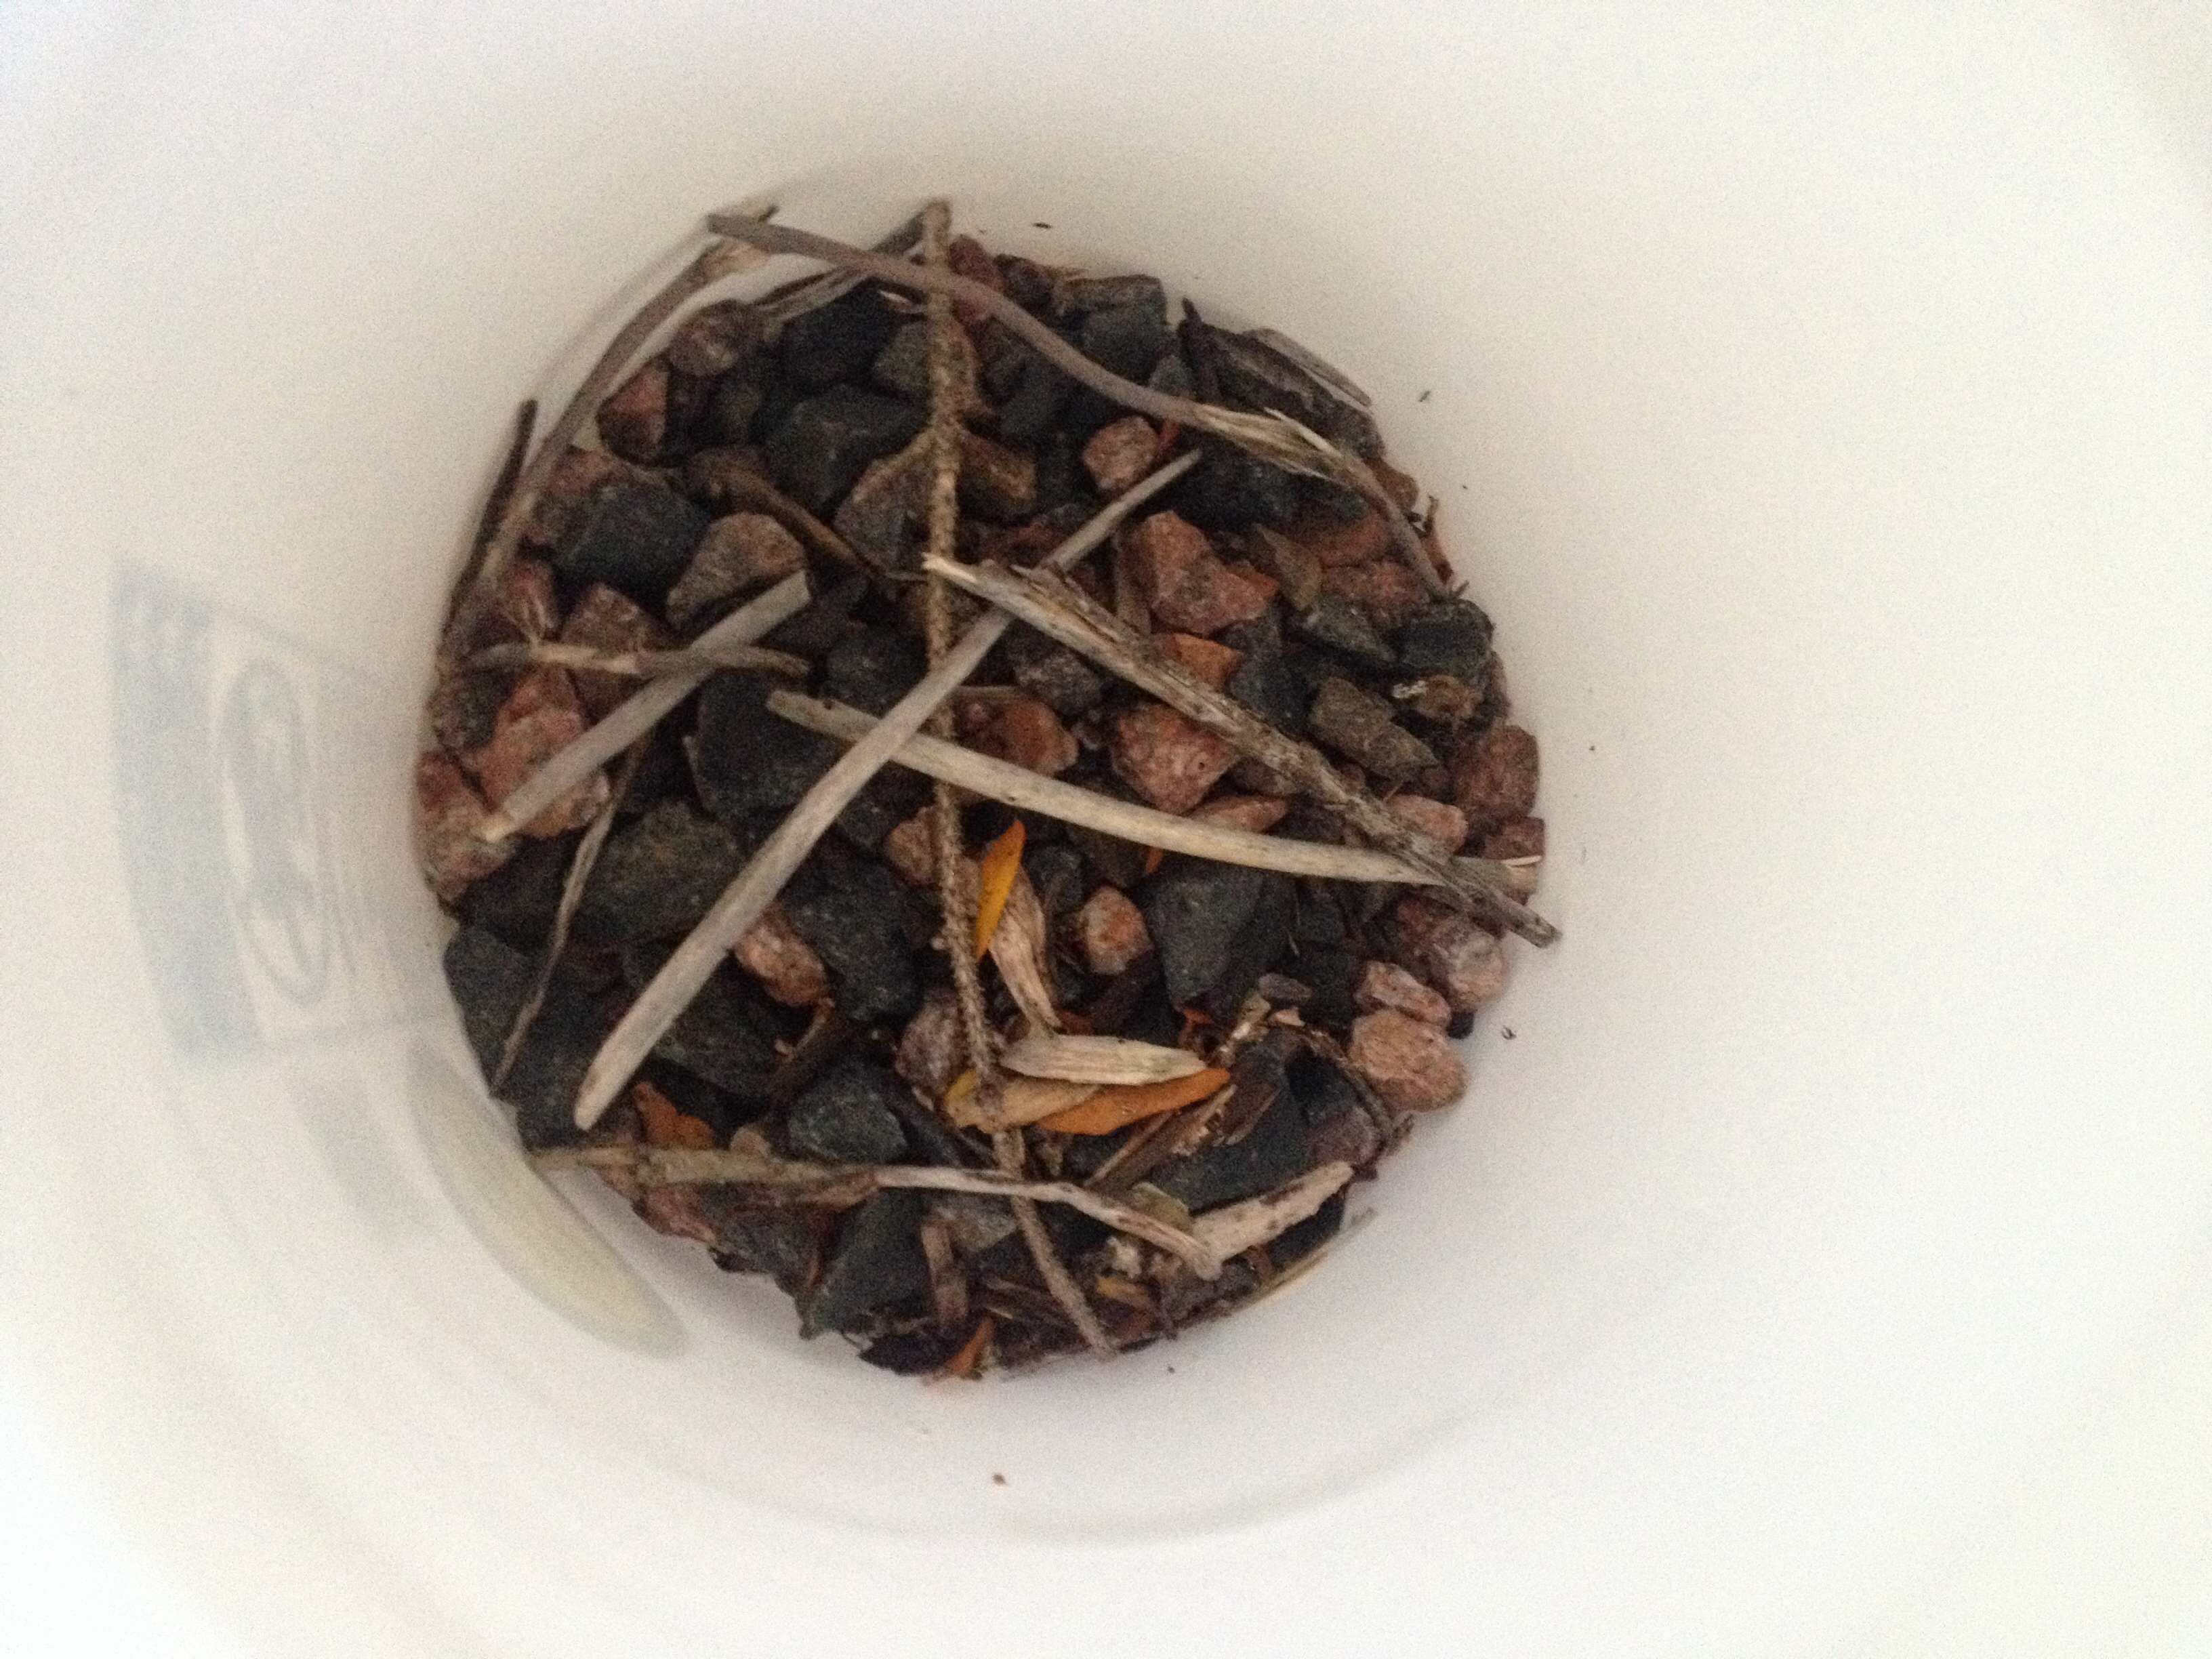
An inch or two of rocks in the bottom of the bucket. I don’t think the side of the driveway will miss them. A few sticks, mulch and a worm tossed in for happy soil.
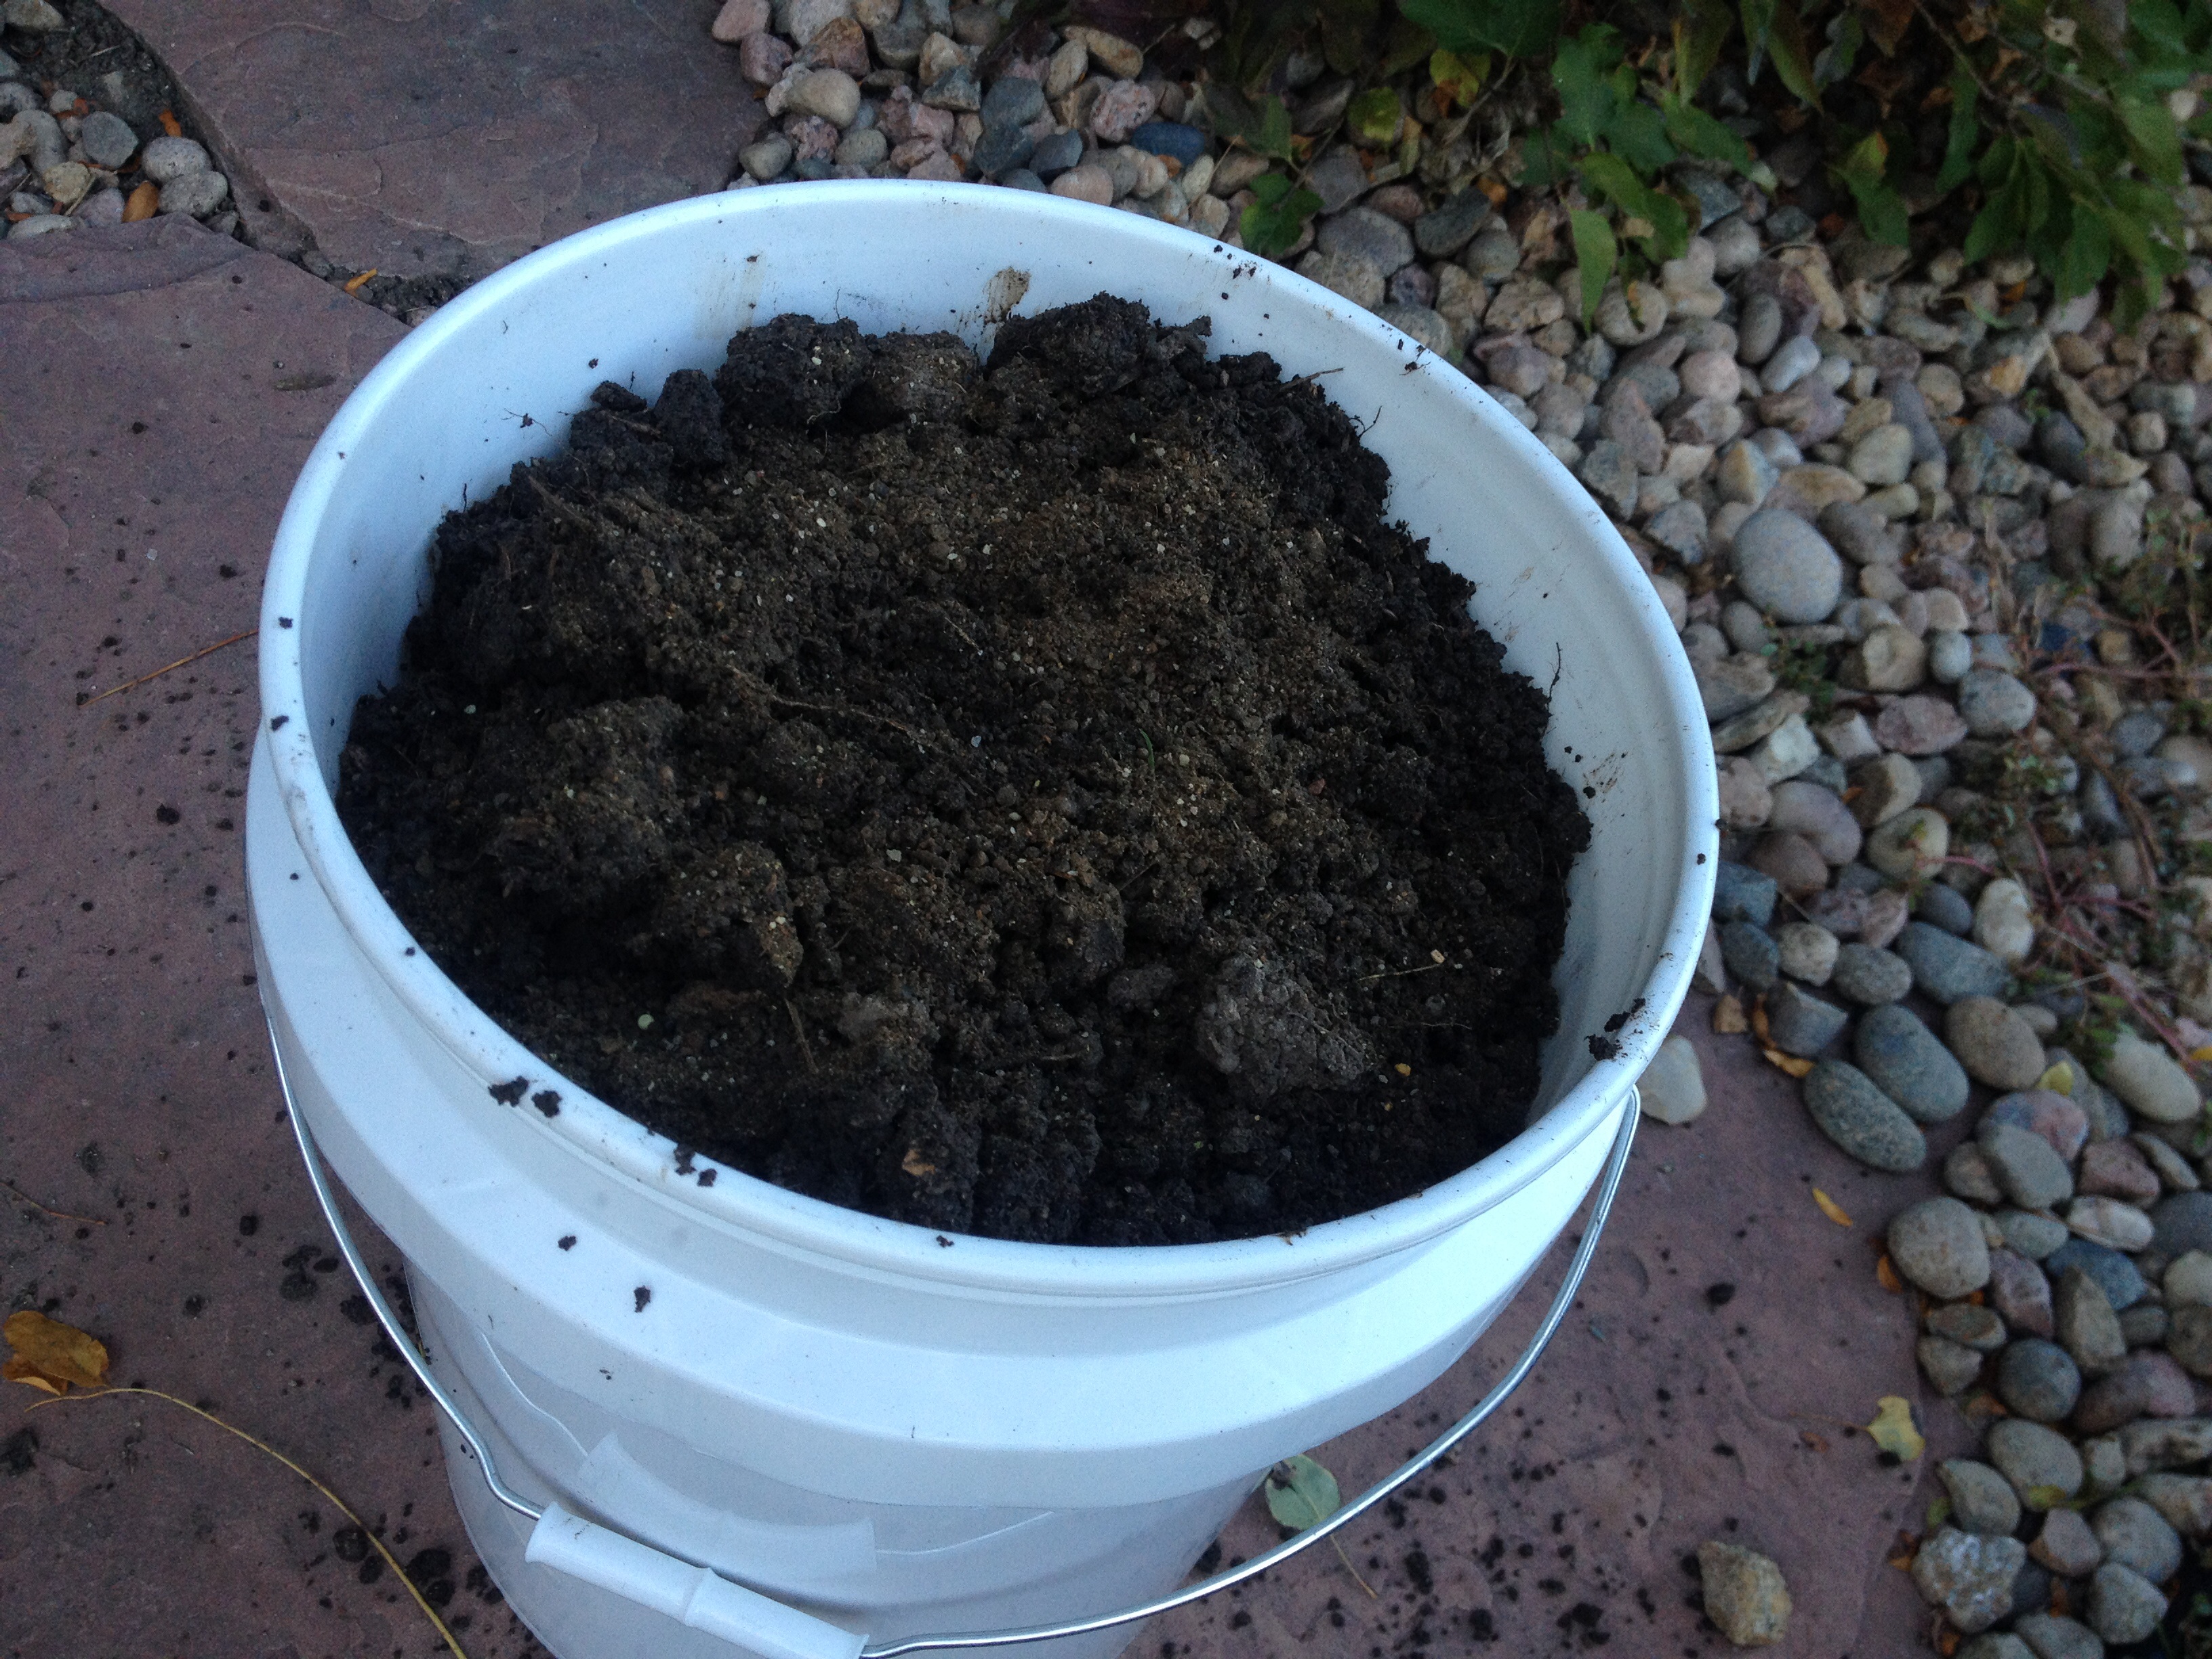
Dirt added almost to the top. The dirt will probably settle a few inches. Some of the dirt is from the chicken run and some steer manure was mixed in since I had it. The worms love the soil in the chicken run so there are worms in each bucket. The chickens also enjoy the worms who share the run.
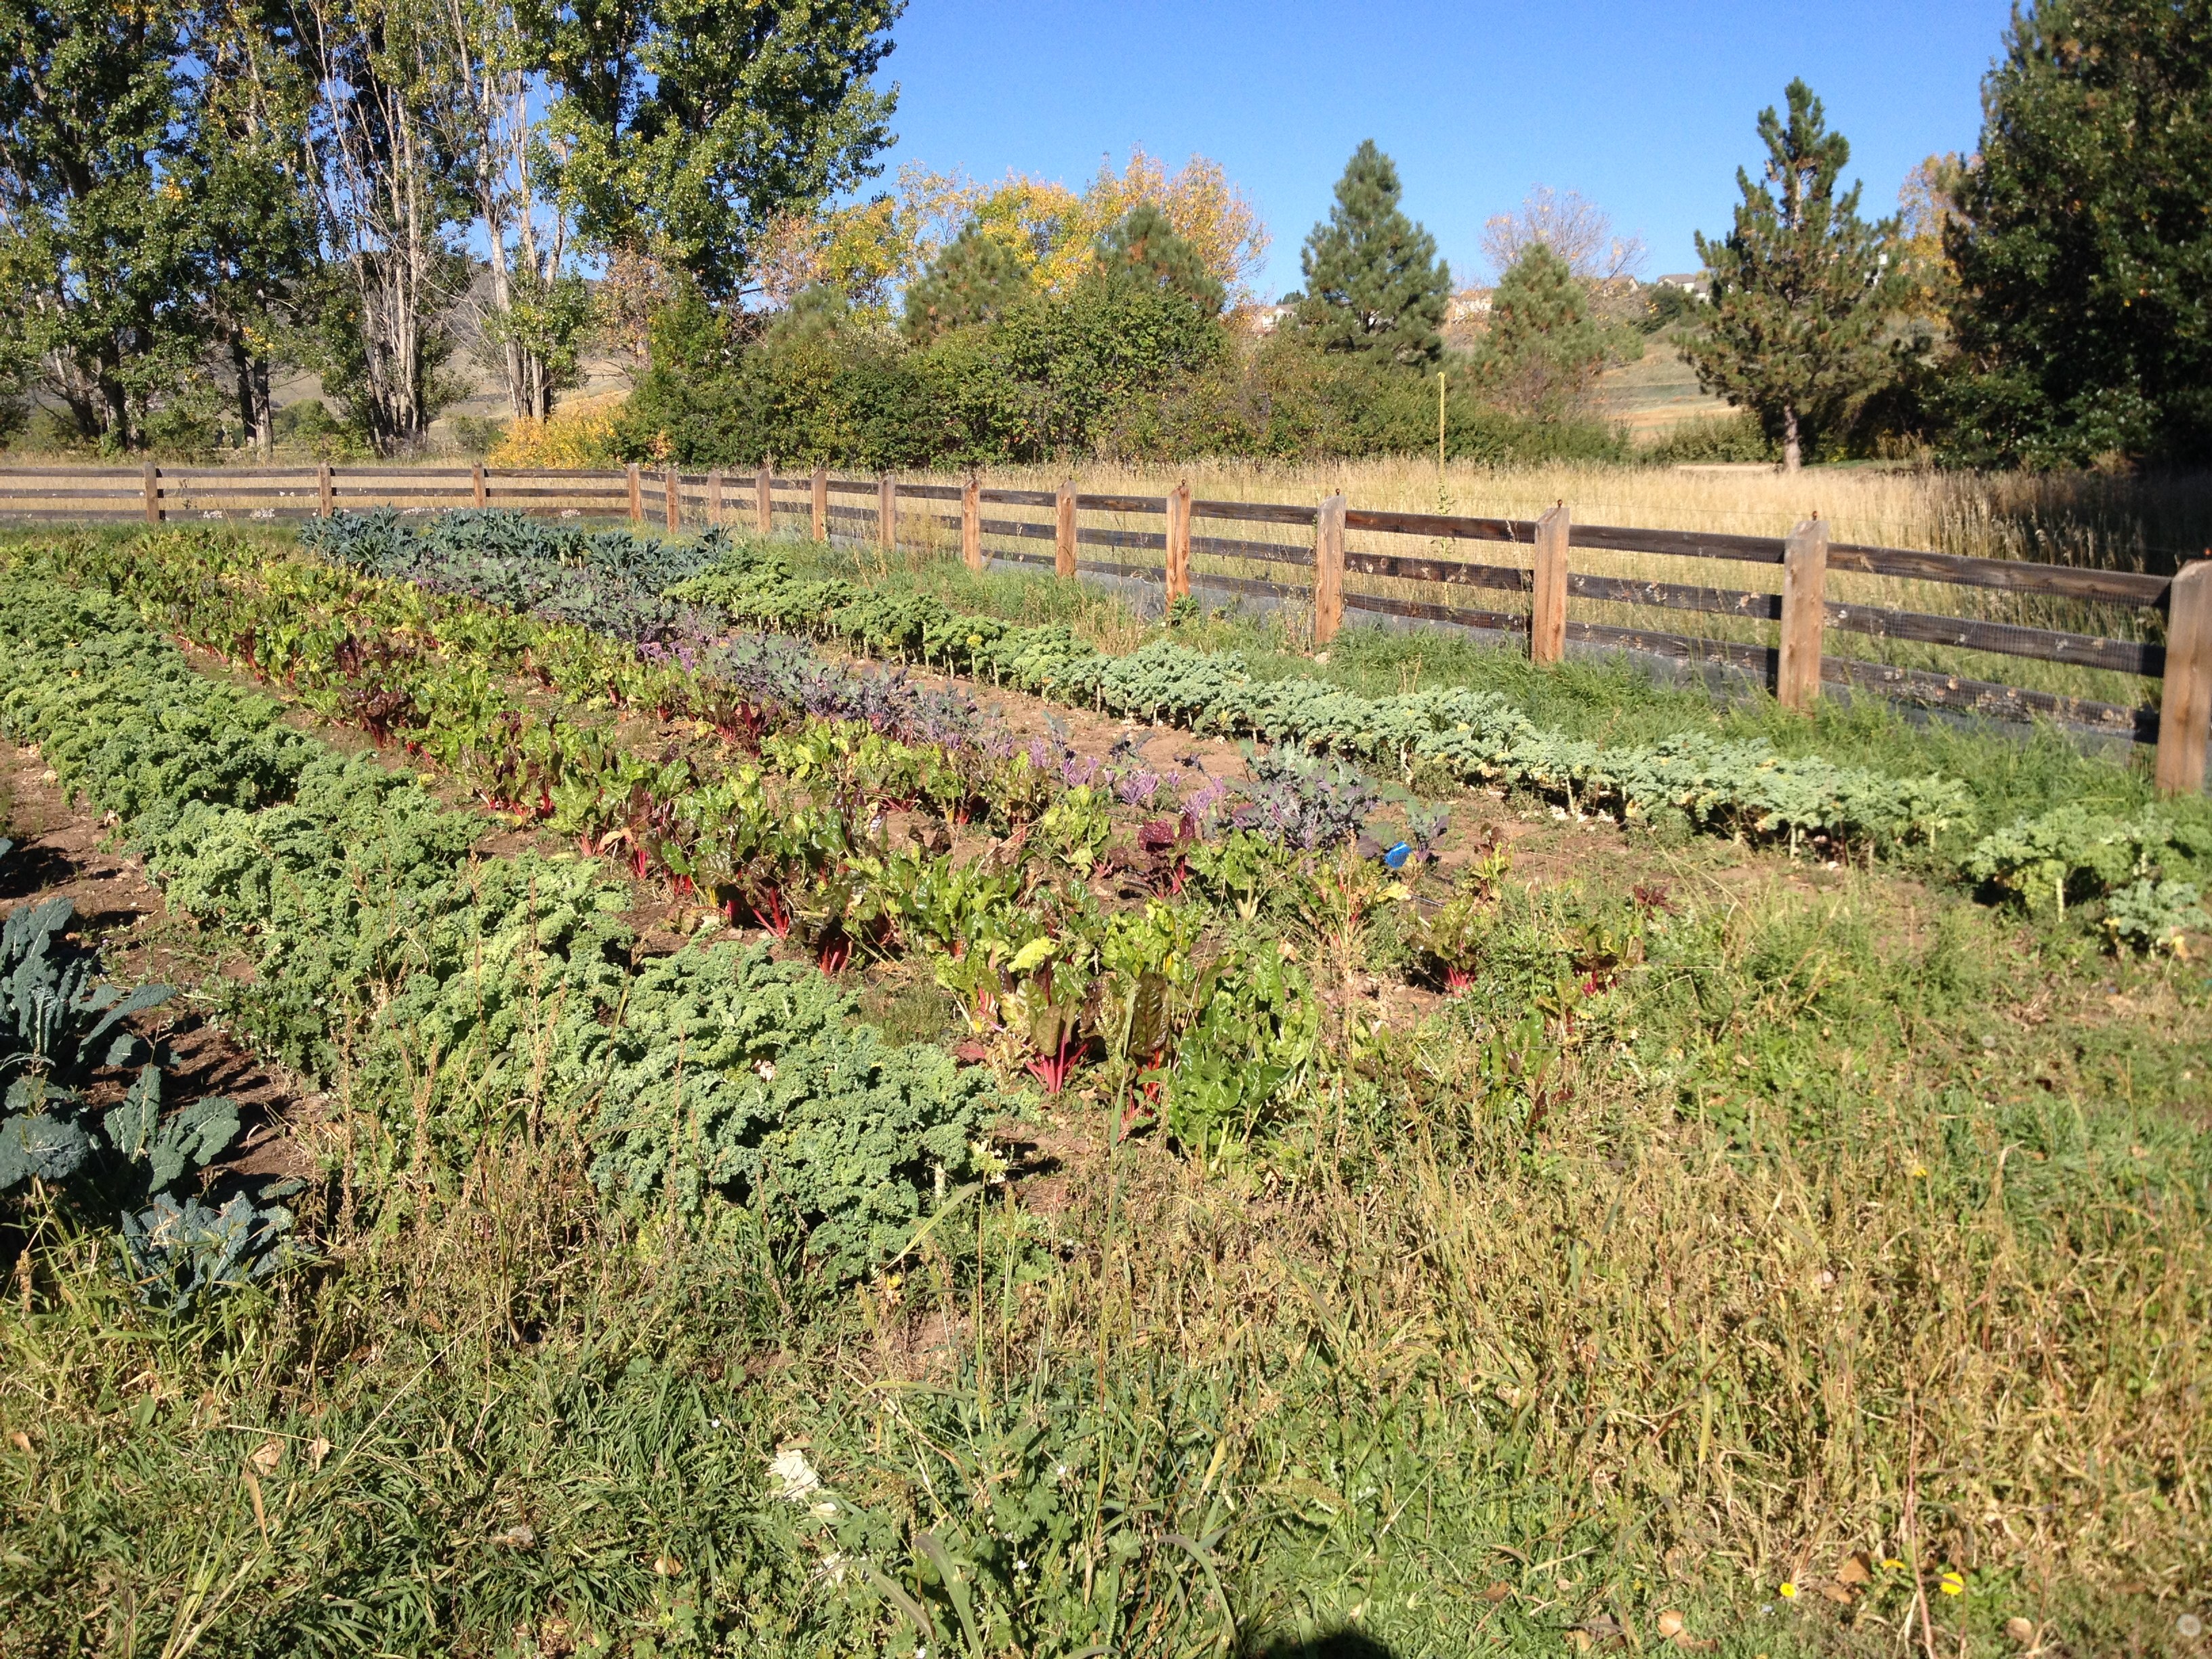
This past weekend we went to the Chatfield CSA to get a few vegies and to check the place out. They have a total of 5 acres of crops. This first photo is part of a one acre section of the CSA. Seeing an acre fenced in really made an acre seem large. You could run a small csa with an acre like this. I believe this CSA supports 400 members with the 5 acres. For the RegenFarm site I could see the farm having an acre of annuals on irrigation along with the fruit from the trees.
For many years the area between the two 2013 swales would work as a great place for annuals. Adding perennials like berries and asparagus should make the inputs lower for some of the produce.
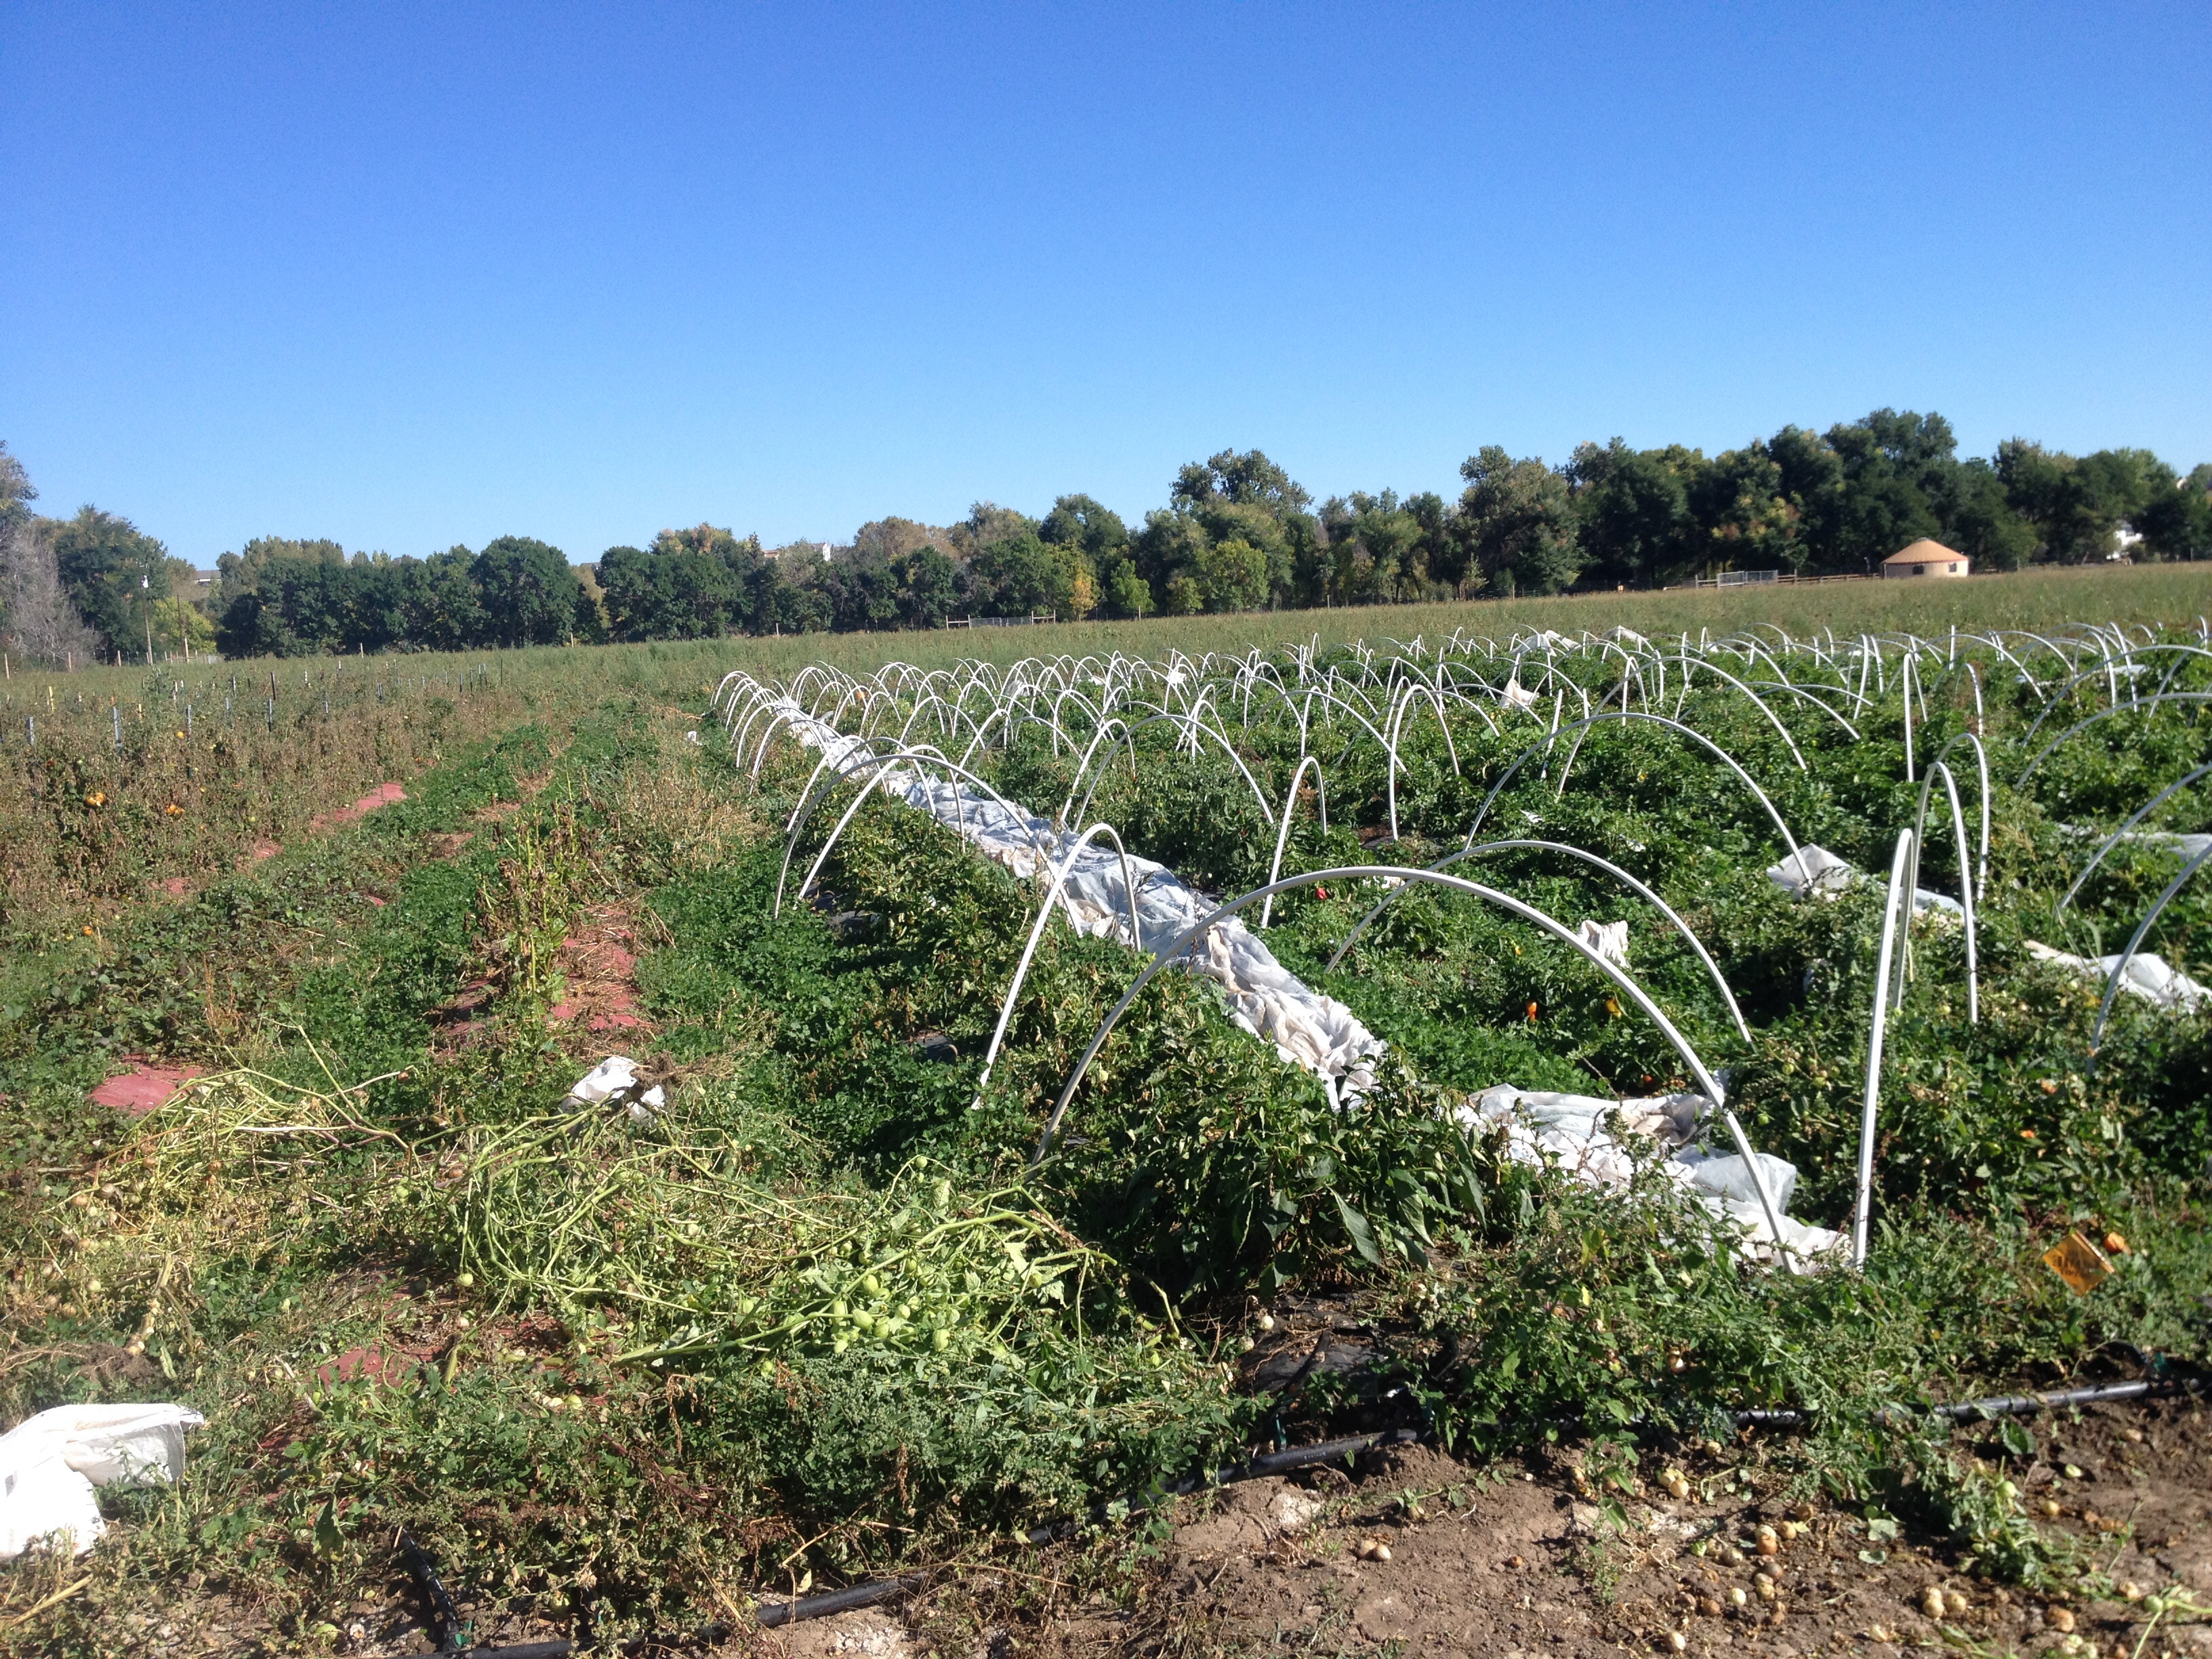
Here is a photo I took to remember how they use steel rods in the ground with pvc pipe and cloth to cover the crops.
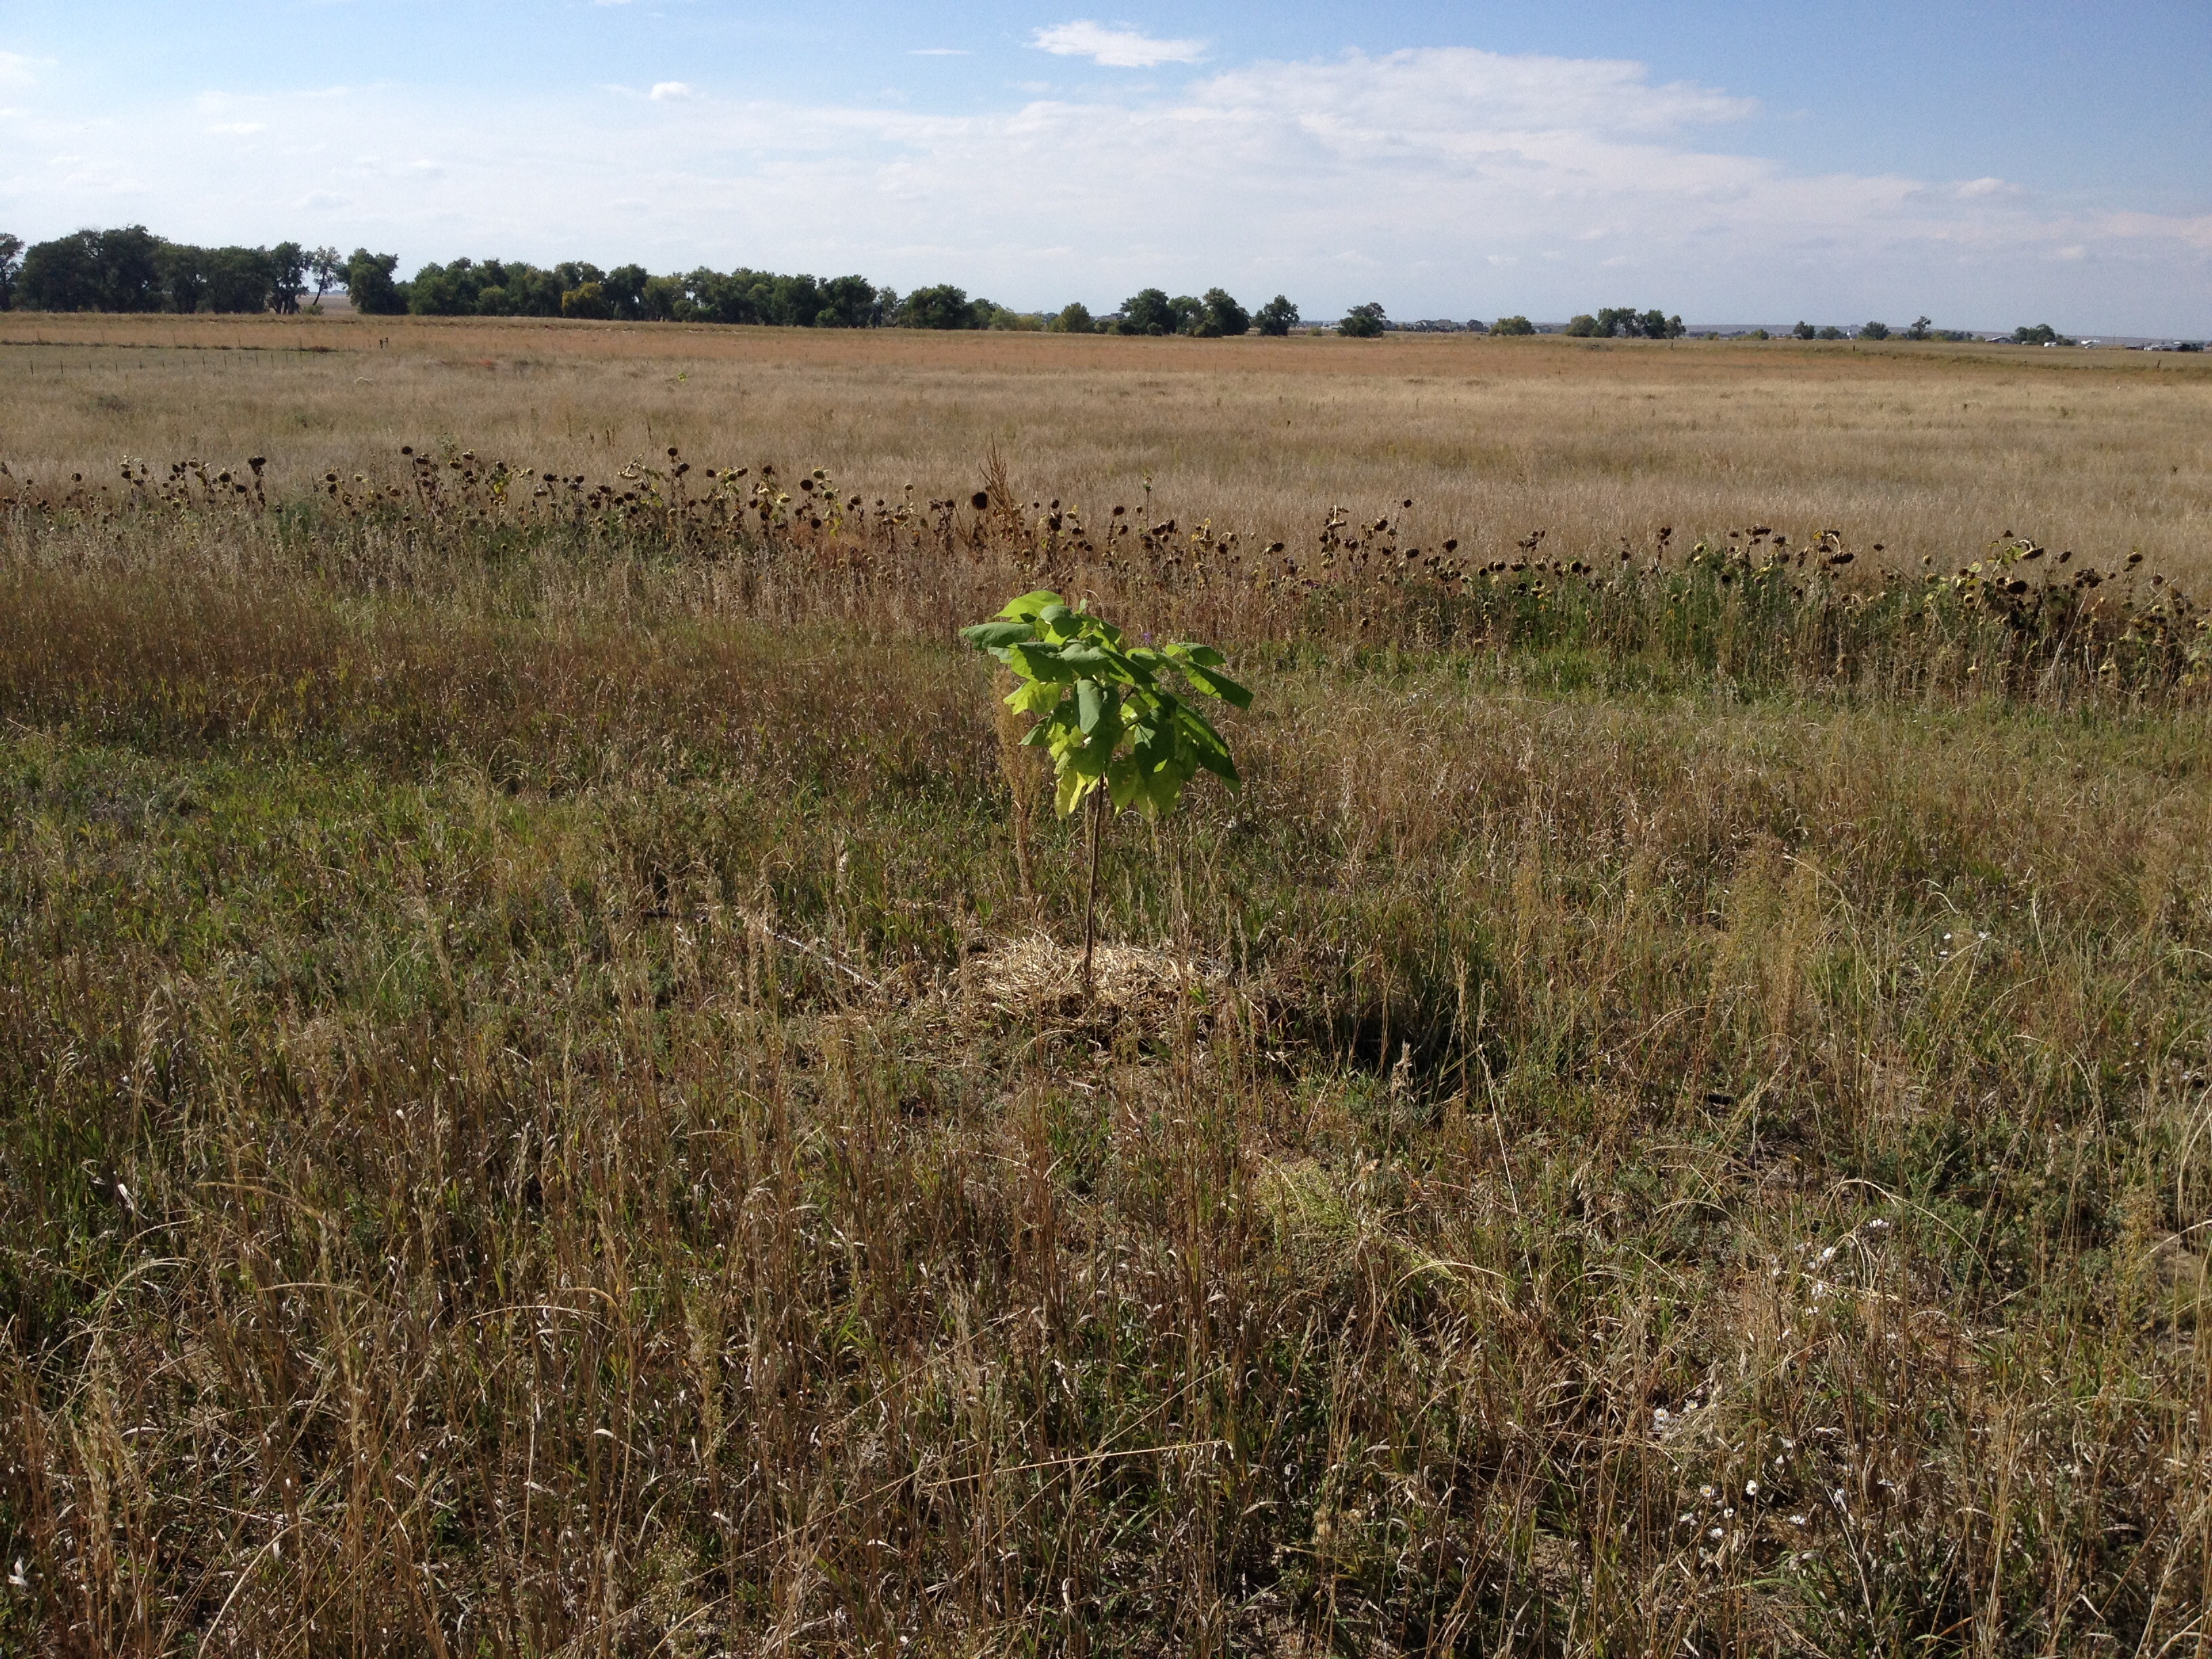
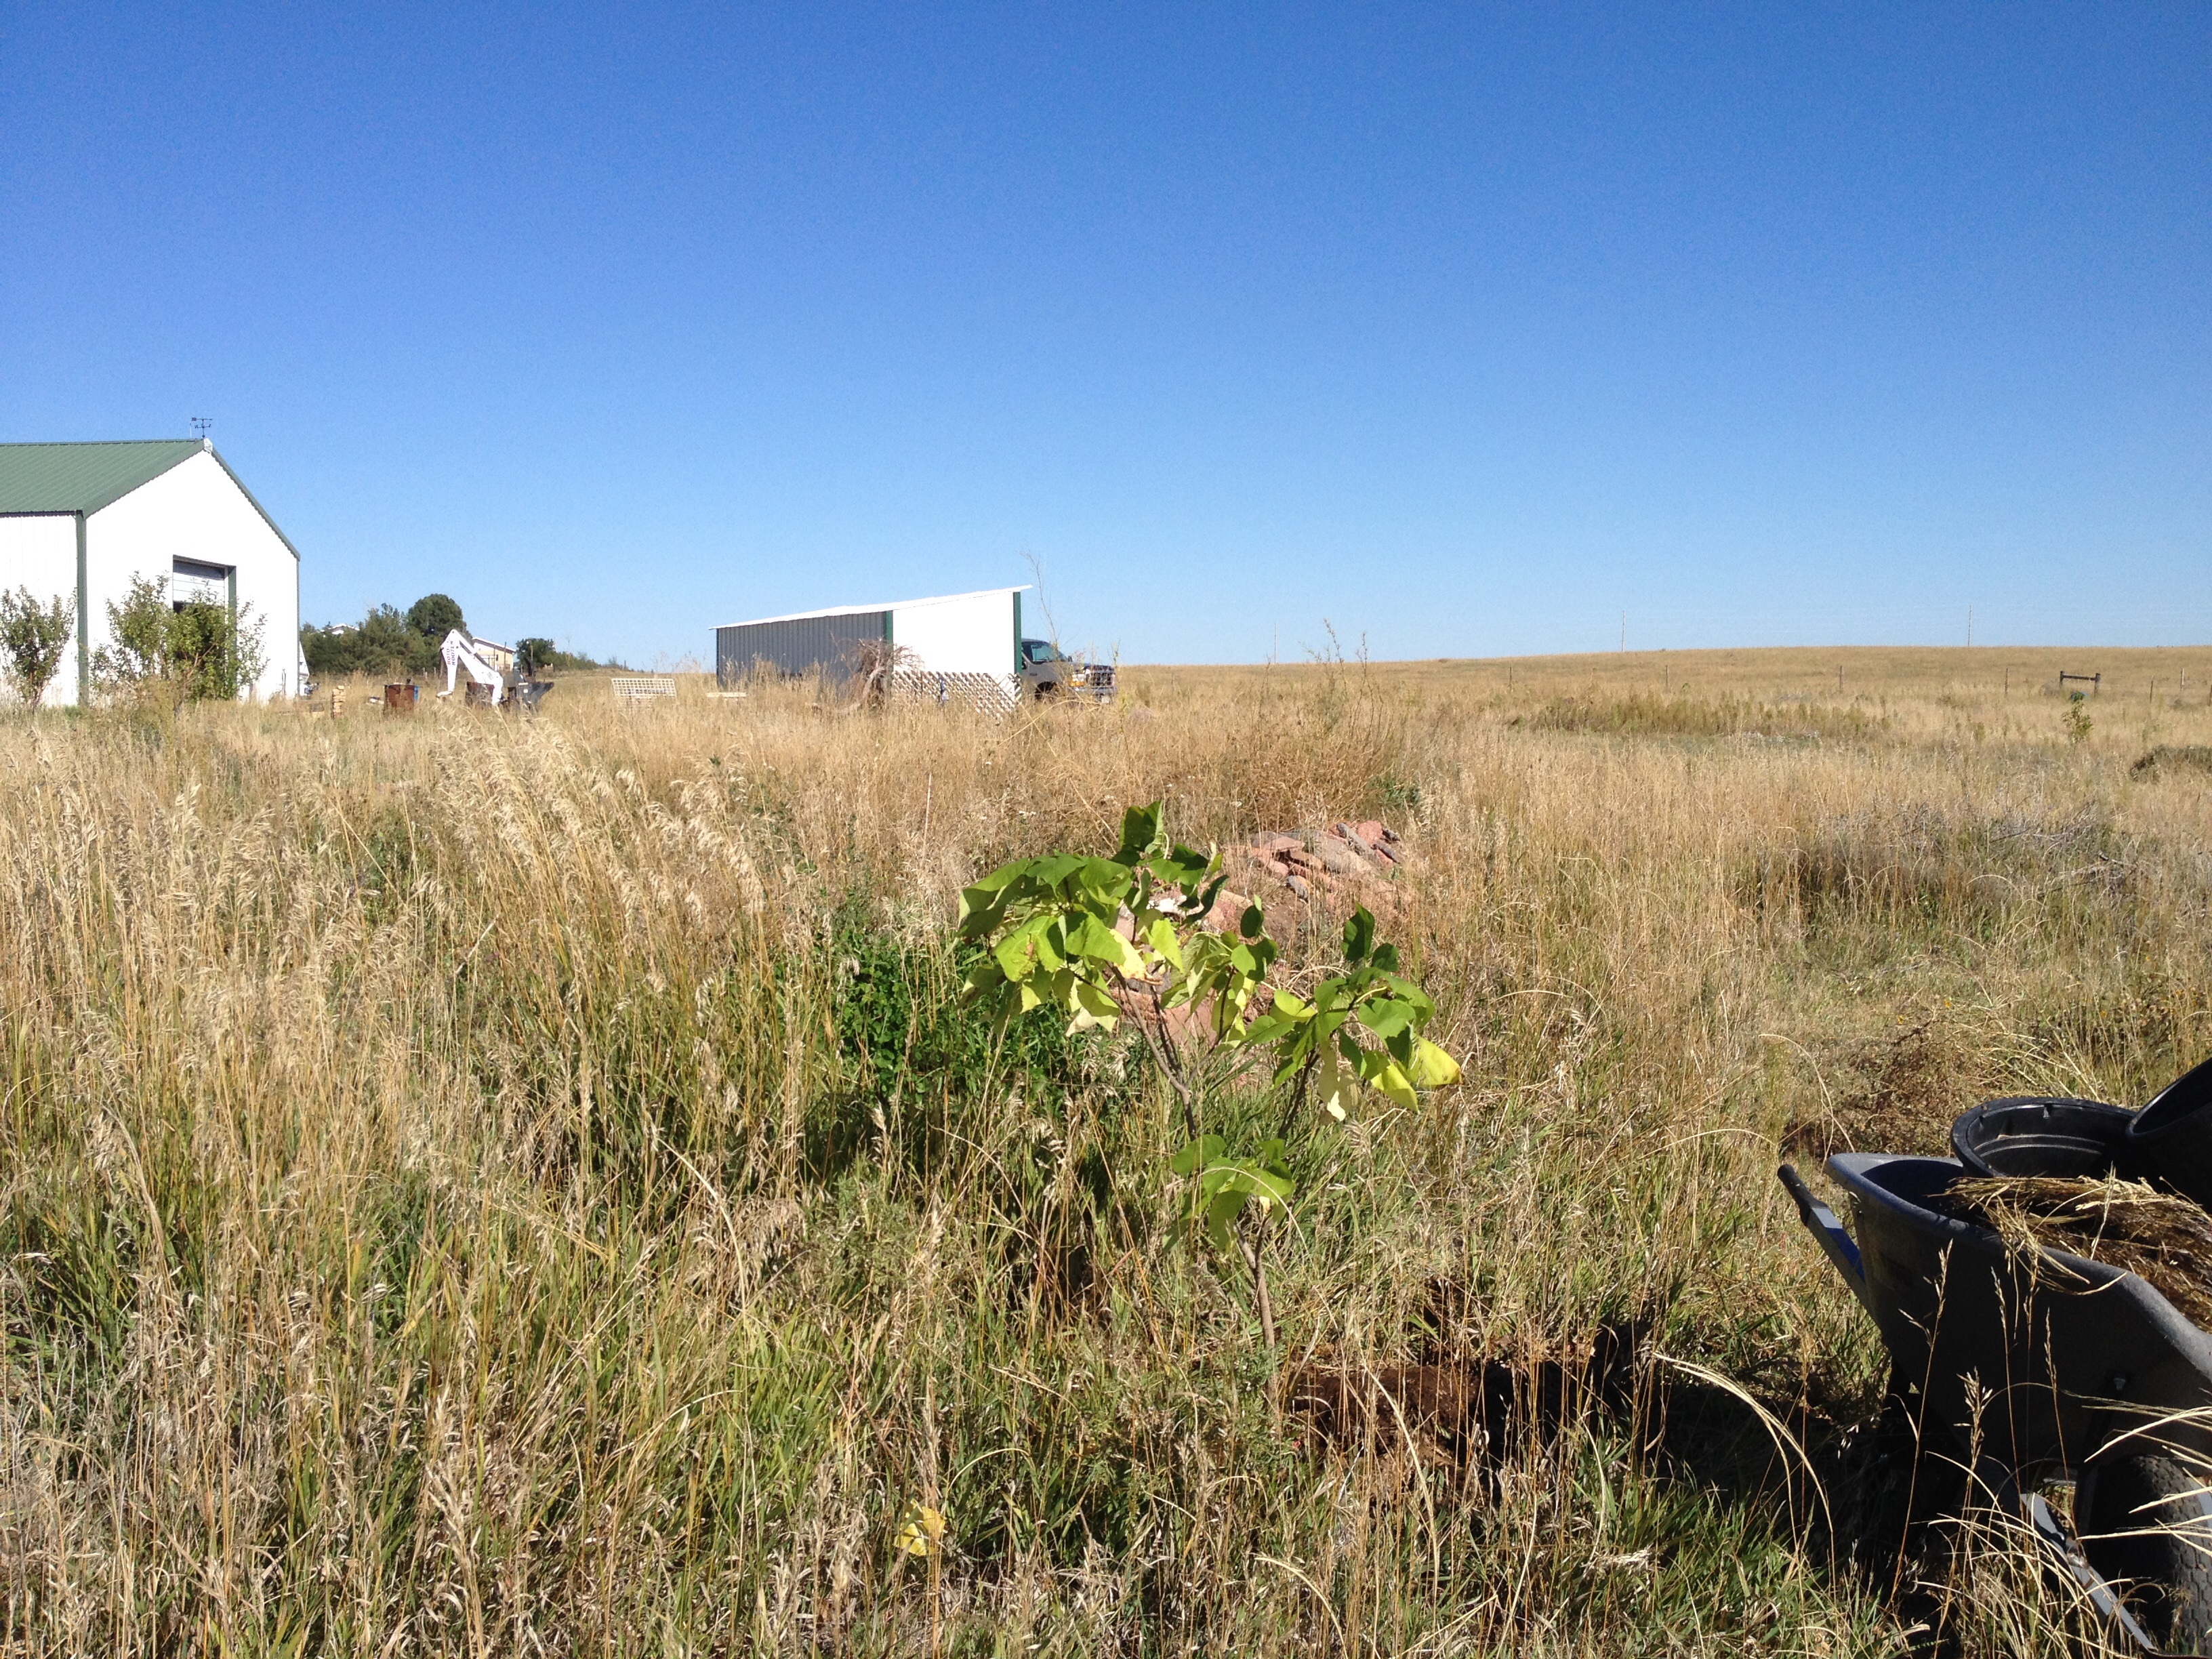
This time I planted some of the catalpa trees in places where other trees had died on the upper 2013 food forest and above the 2014 food forest swale where many of the mulberry trees never survived. As I plan for cows and animals in general I’d like some trees all across the farm for shade and shelter. Remembering that I learned that adding 10% trees to any field/pasture will not reduce production.
Catalpa trees on their way to RegenFarms on the high plains of Colorado. Dave thanks for the trees!
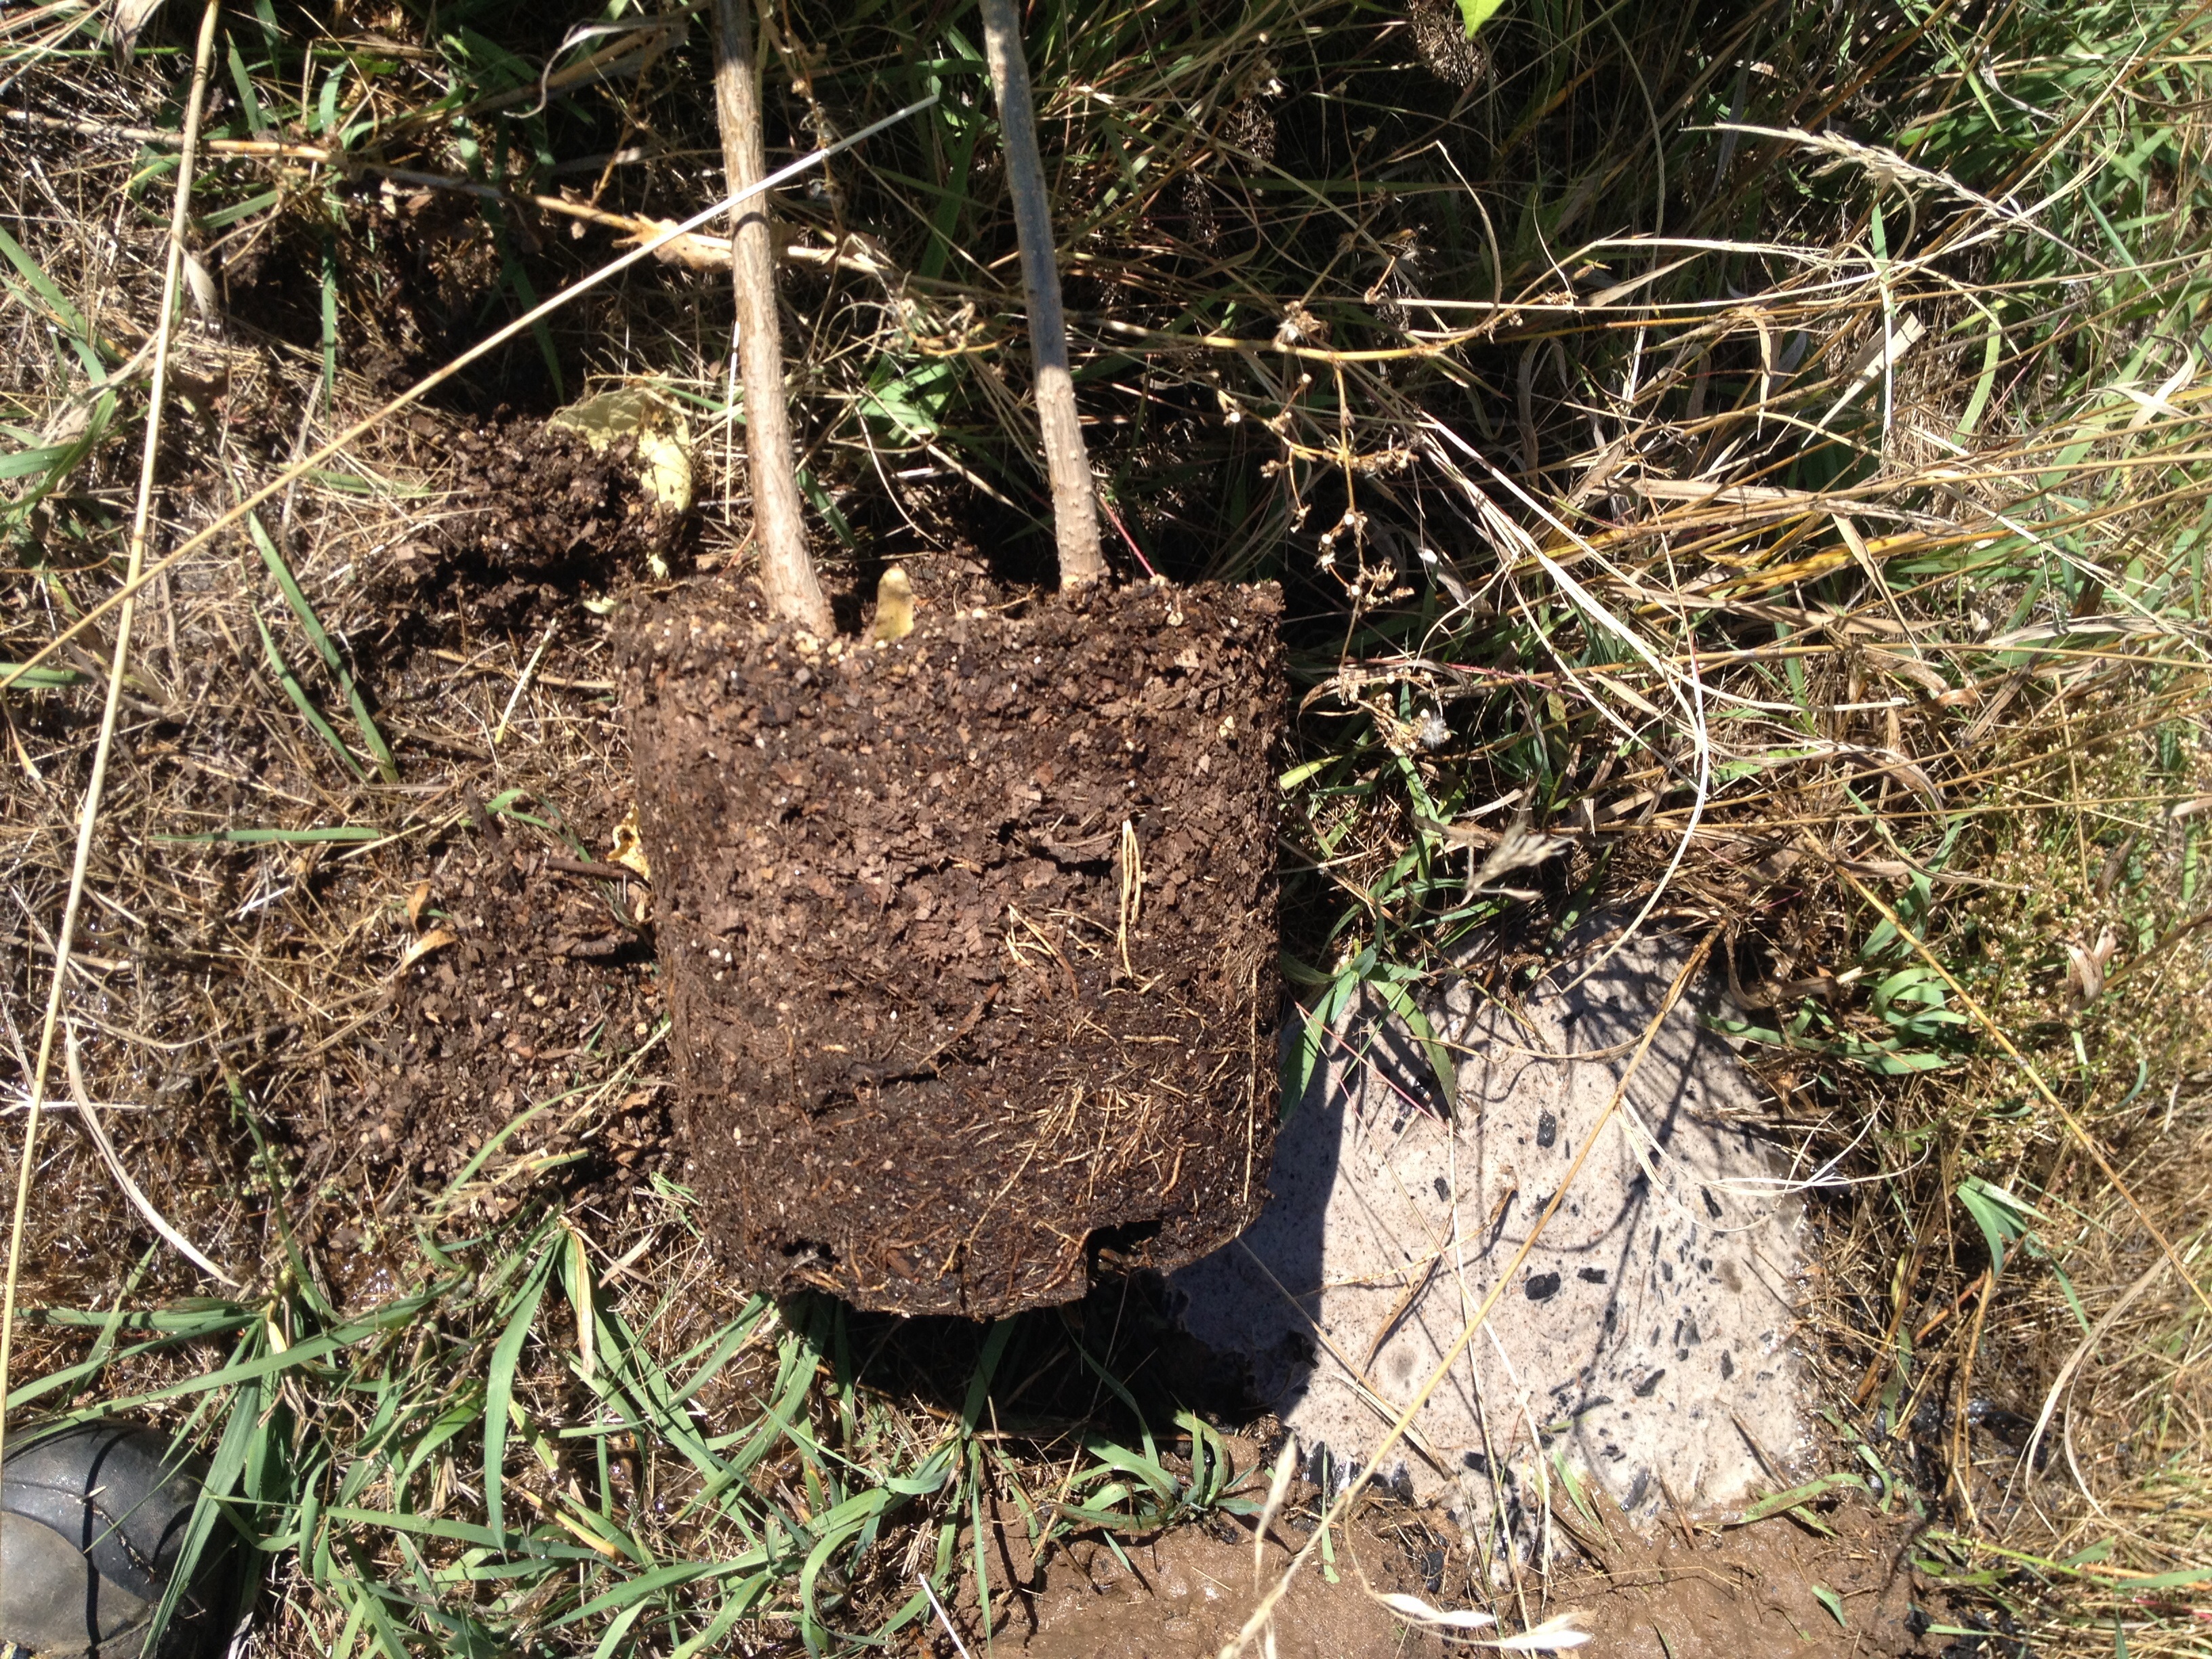
Two trees in the same pot. Their roots were really tangled together. It took longer to separate them than to plant the previous 6. I think it was worth it since they were wrapped around each other.
Mini swale trench around catalpa tree to catch and hold water enabling it to soak in rather than running off.
8 catalpa trees planted along west border. The neighbors horses are ready for some shade and these are so poised to be fast growing.
2 catalpa trees on food forest over story swale replacing 2 trees that did not survive the second summer. A bur oak and black cherry have been replaced.
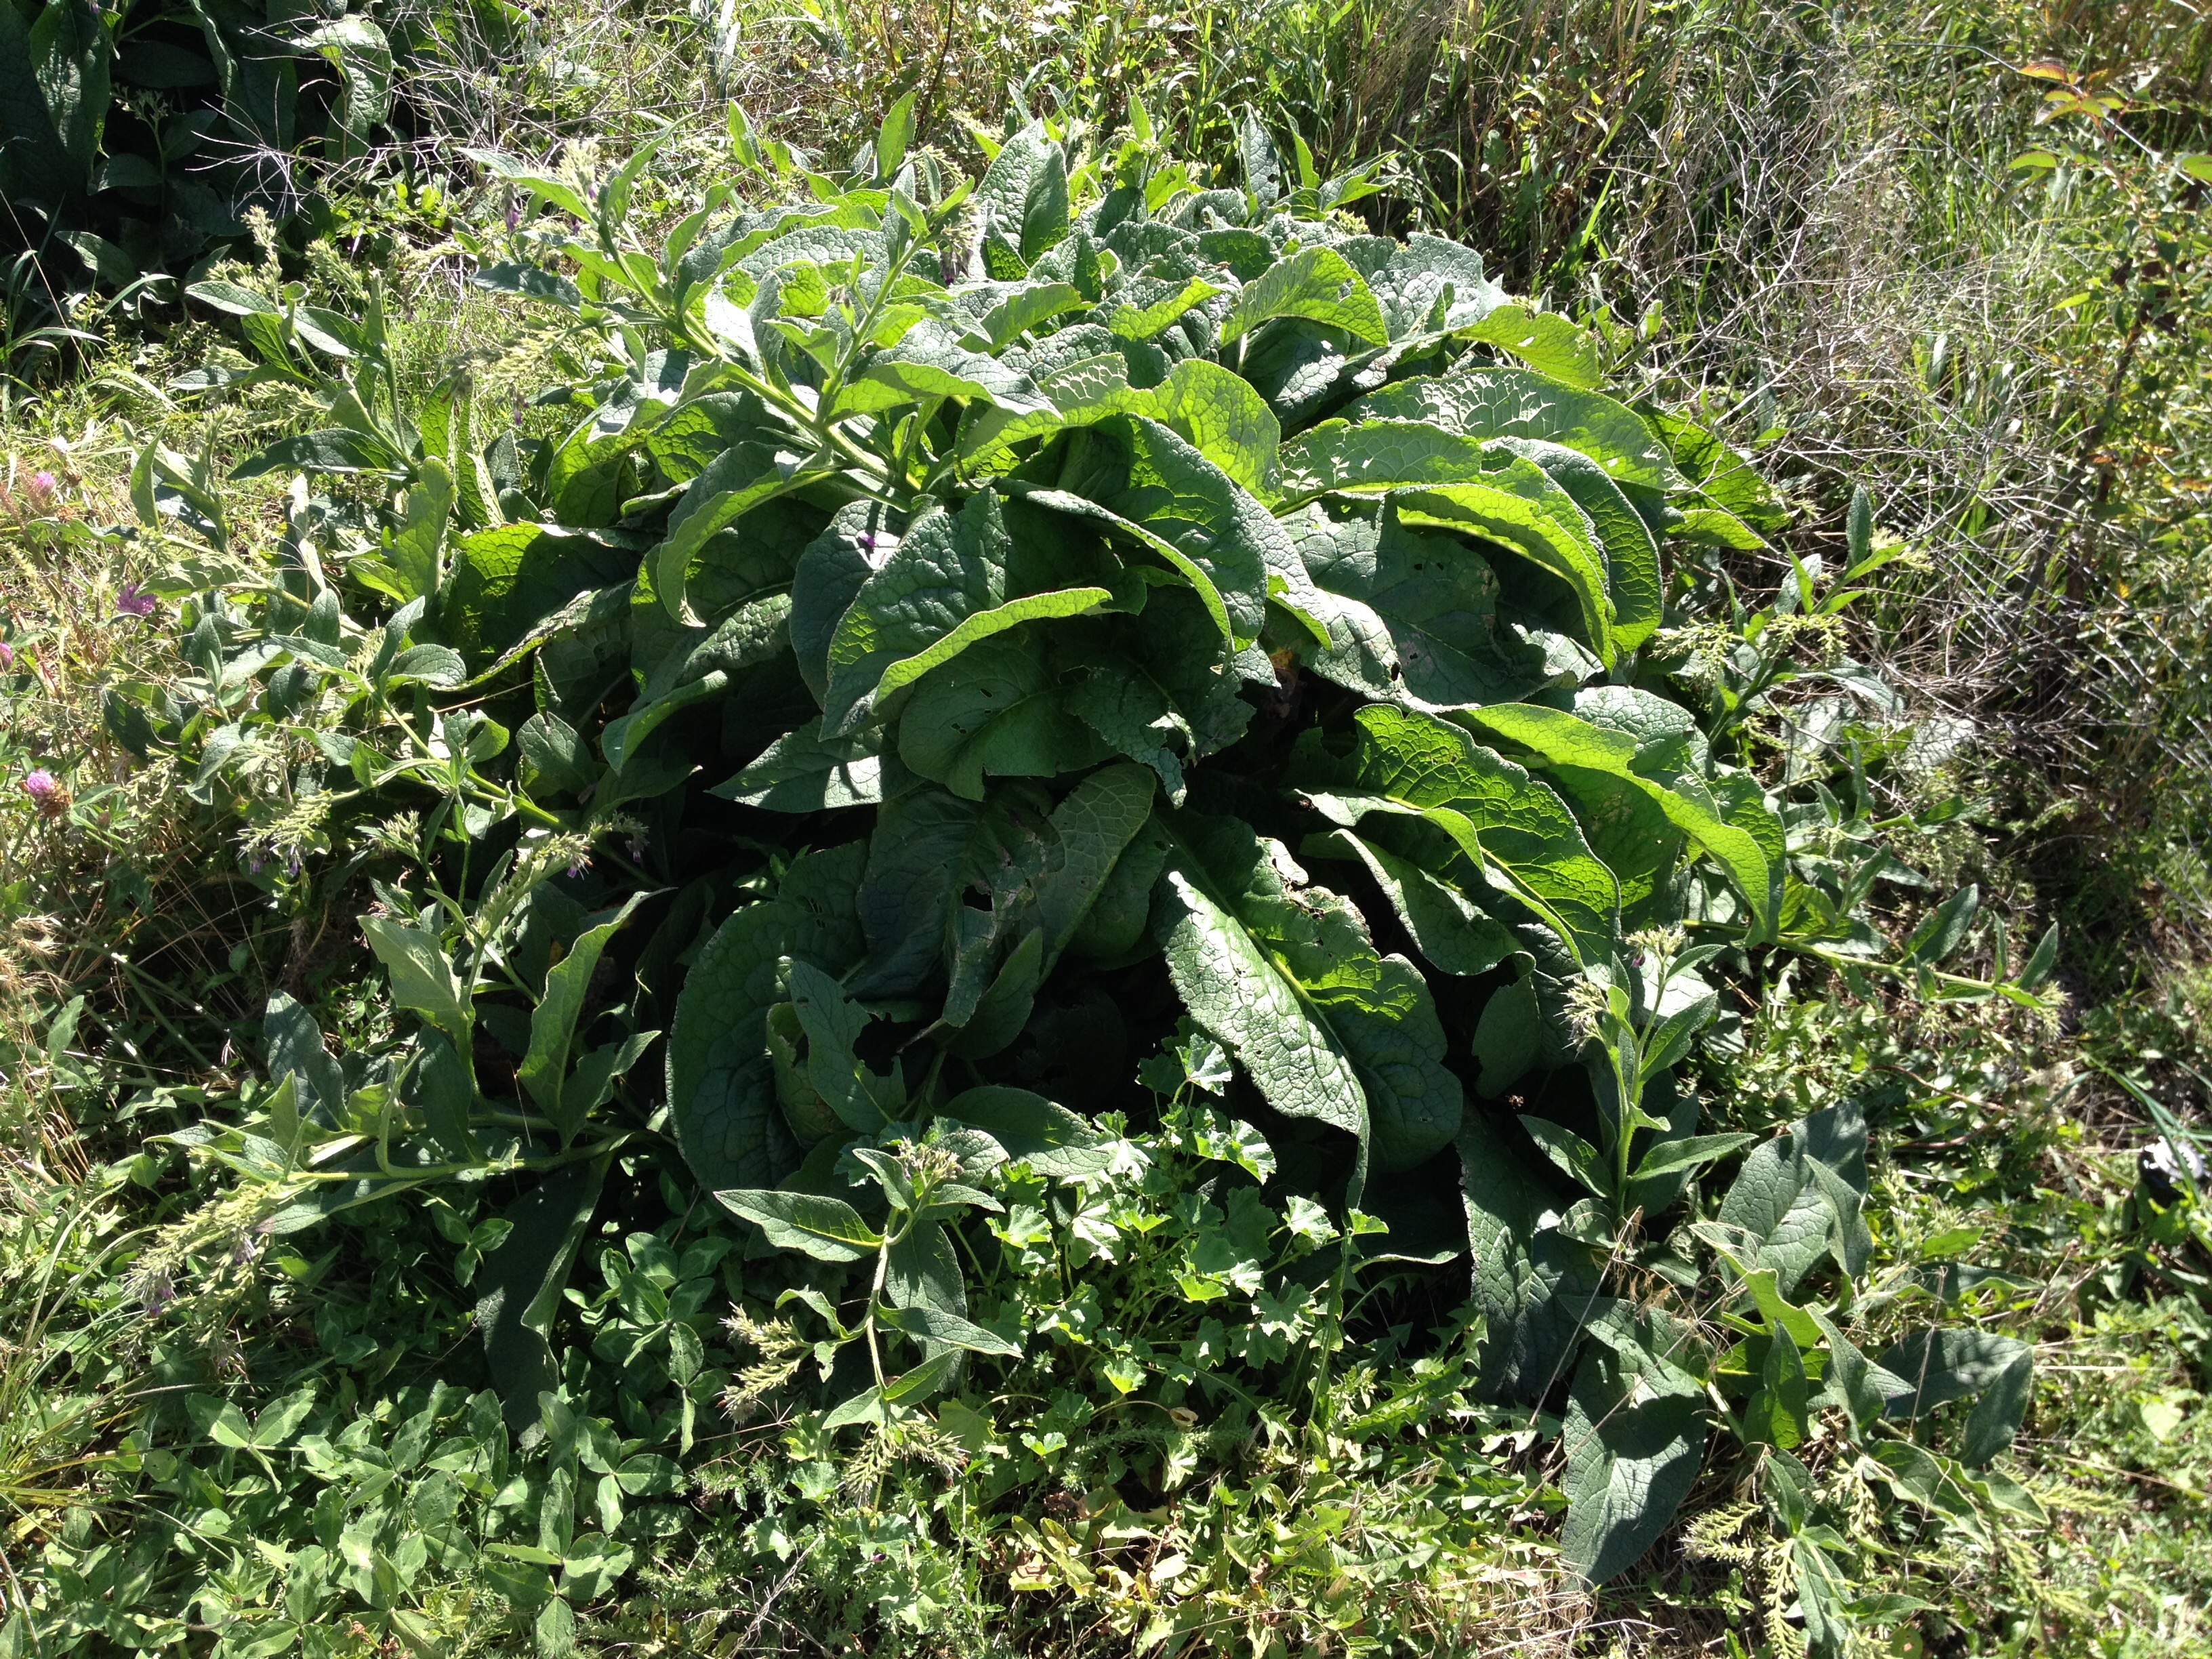
I found some time to divide some of my Bocking 4 Comfrey plants this week. The large plants are very impressive. If next year is as good as this year we will have quite a bit of Colorado comfrey for sale.
This was a one or two year crown planted last fall.
Another large crown.
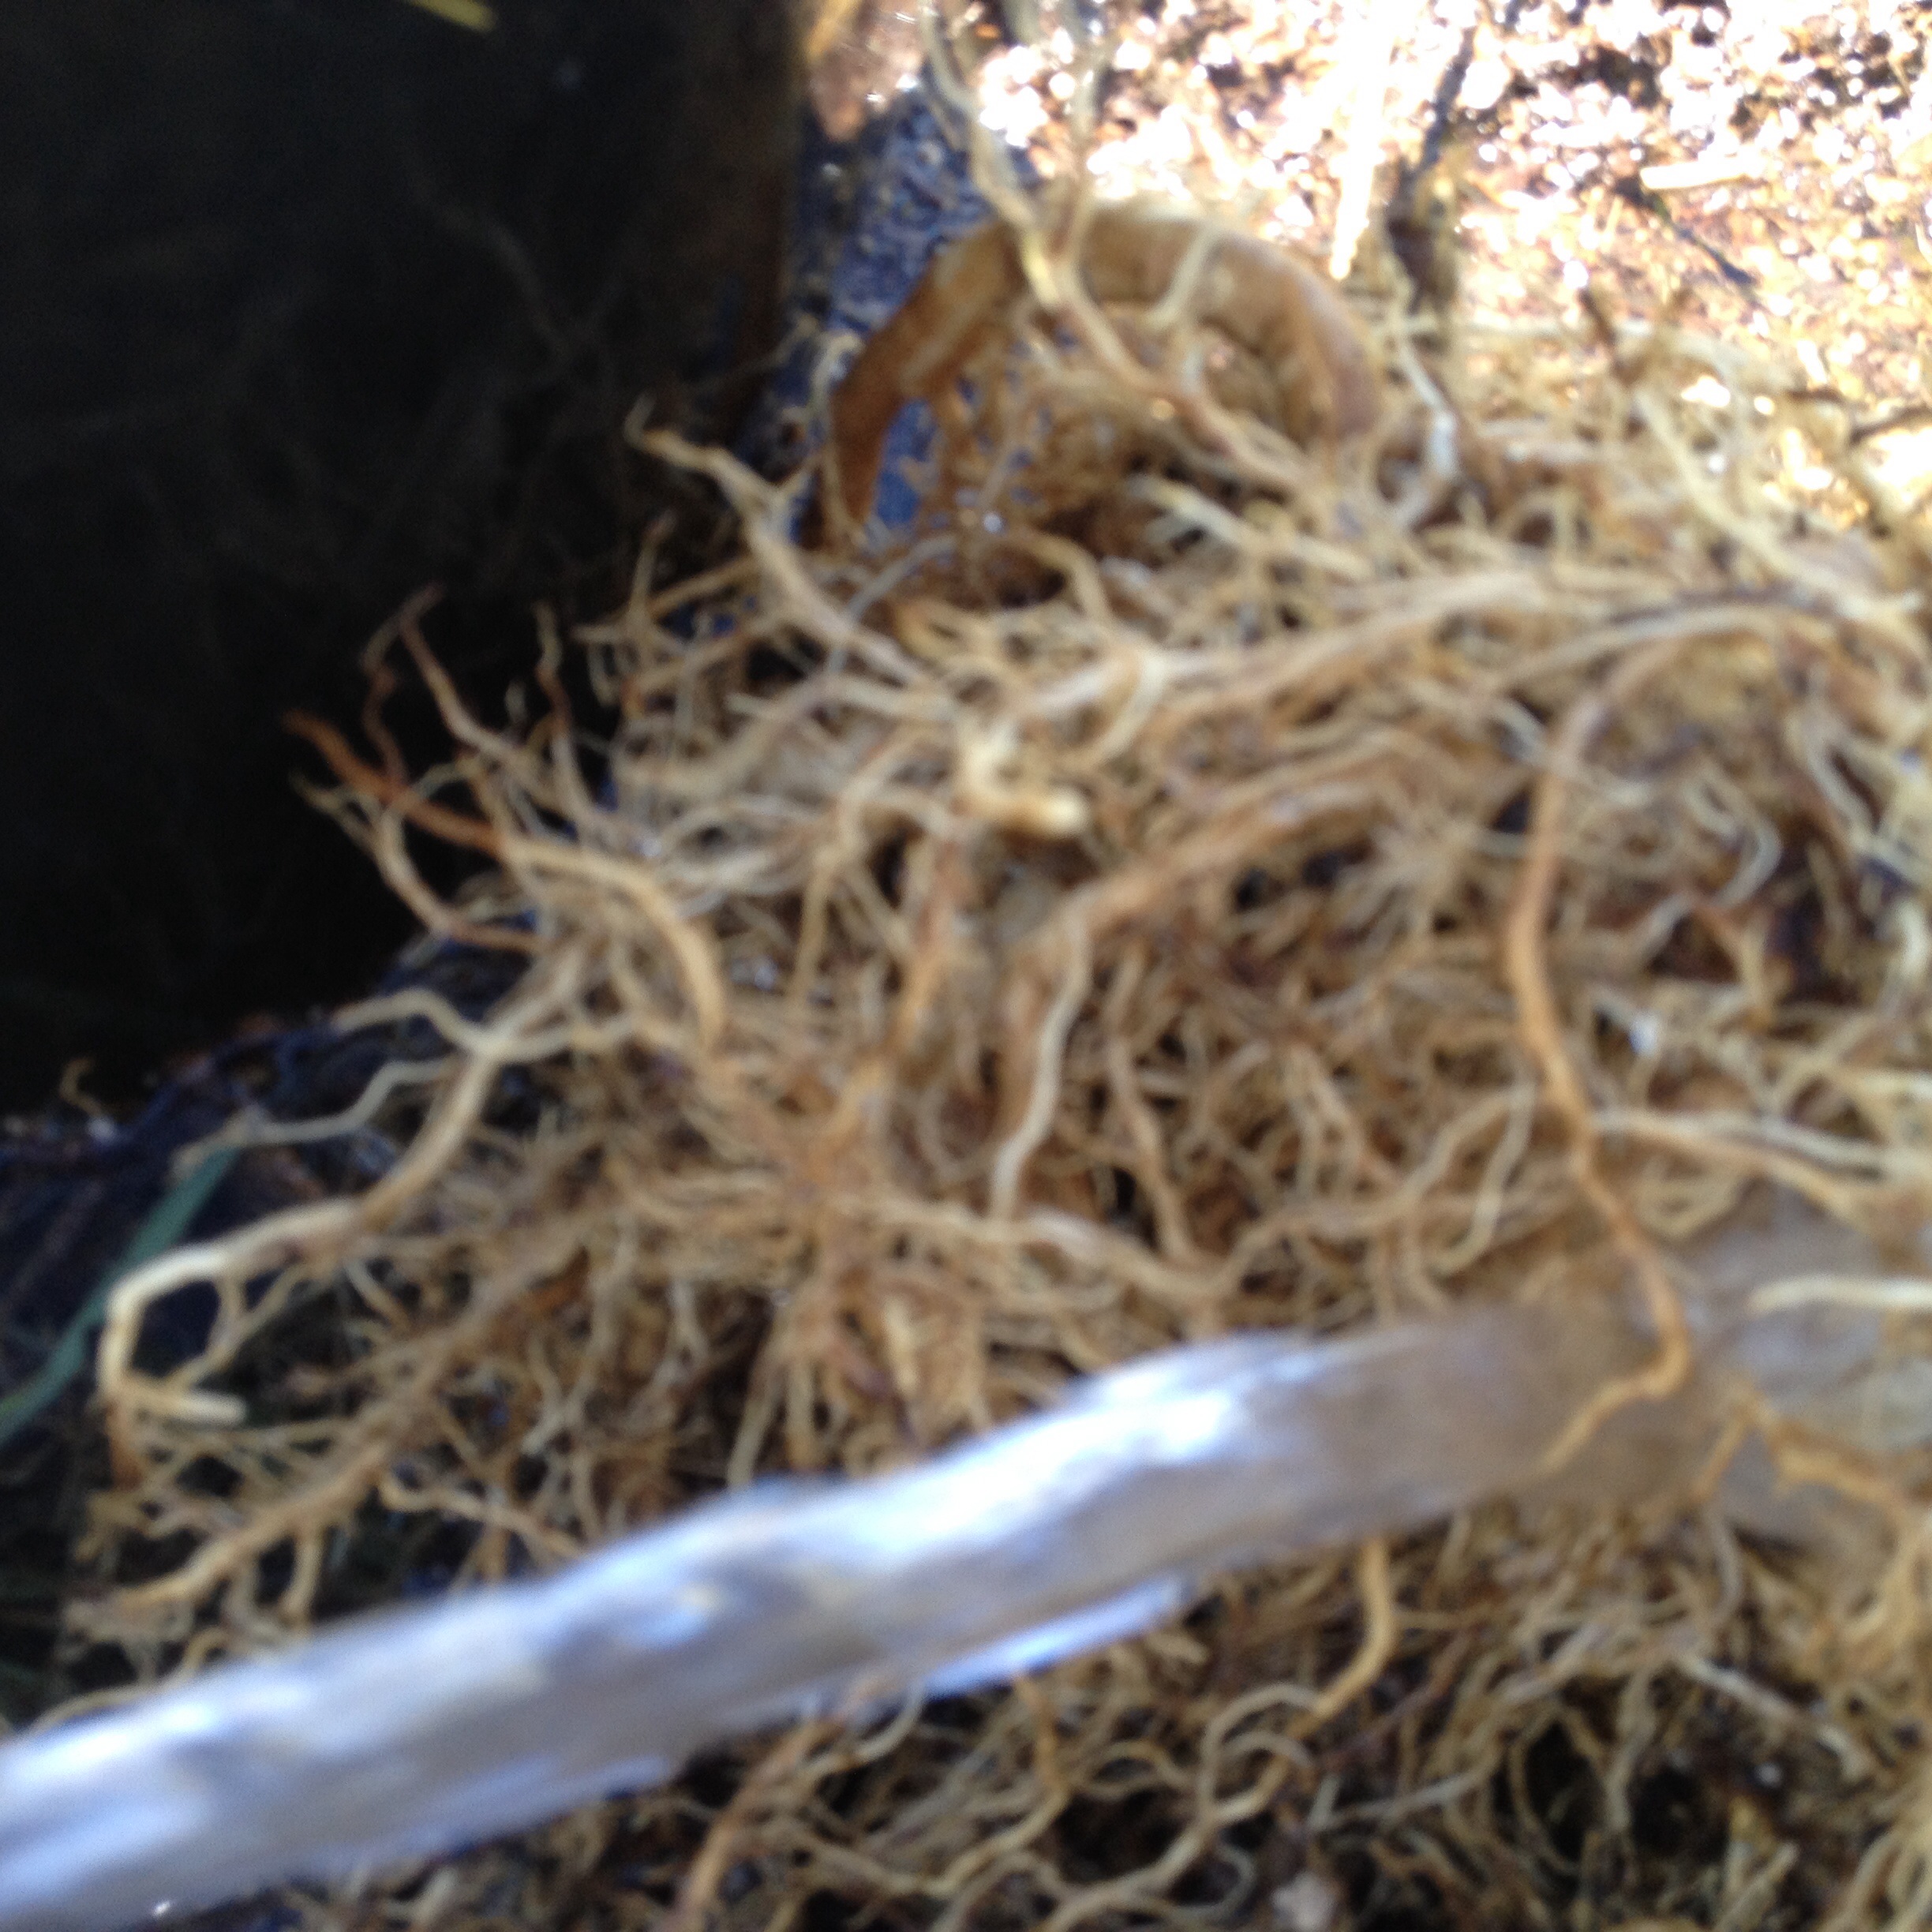
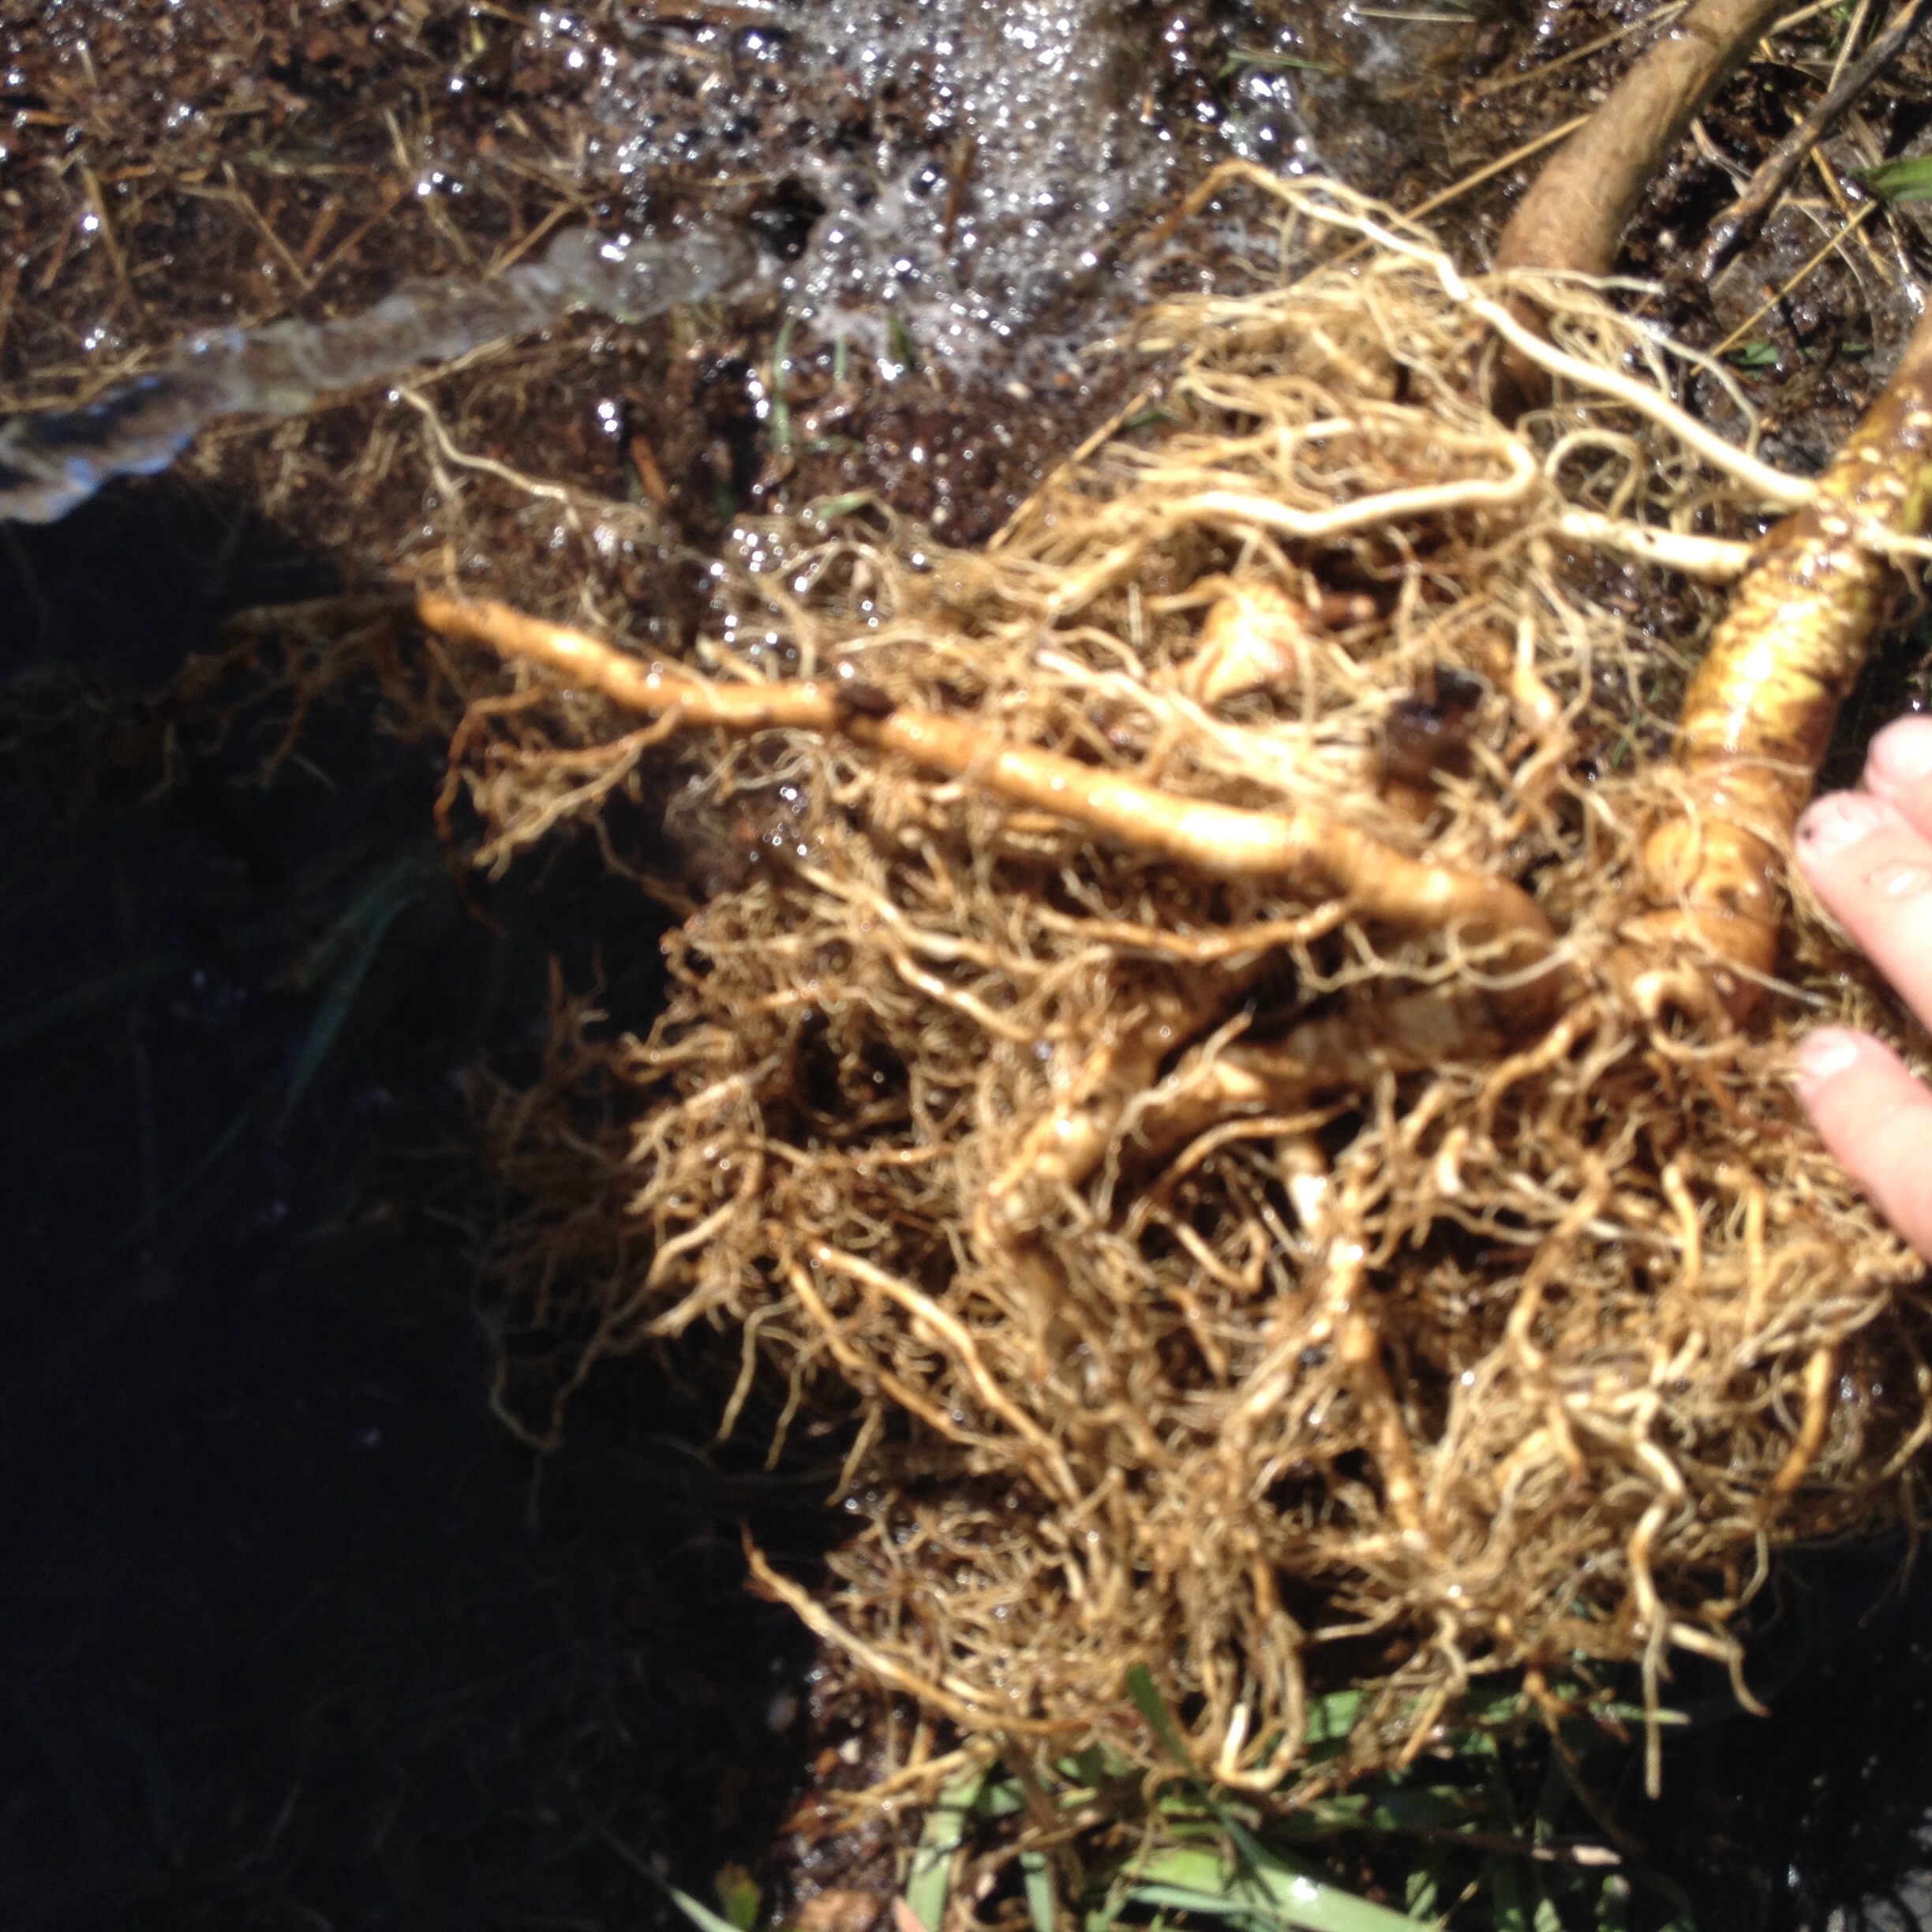
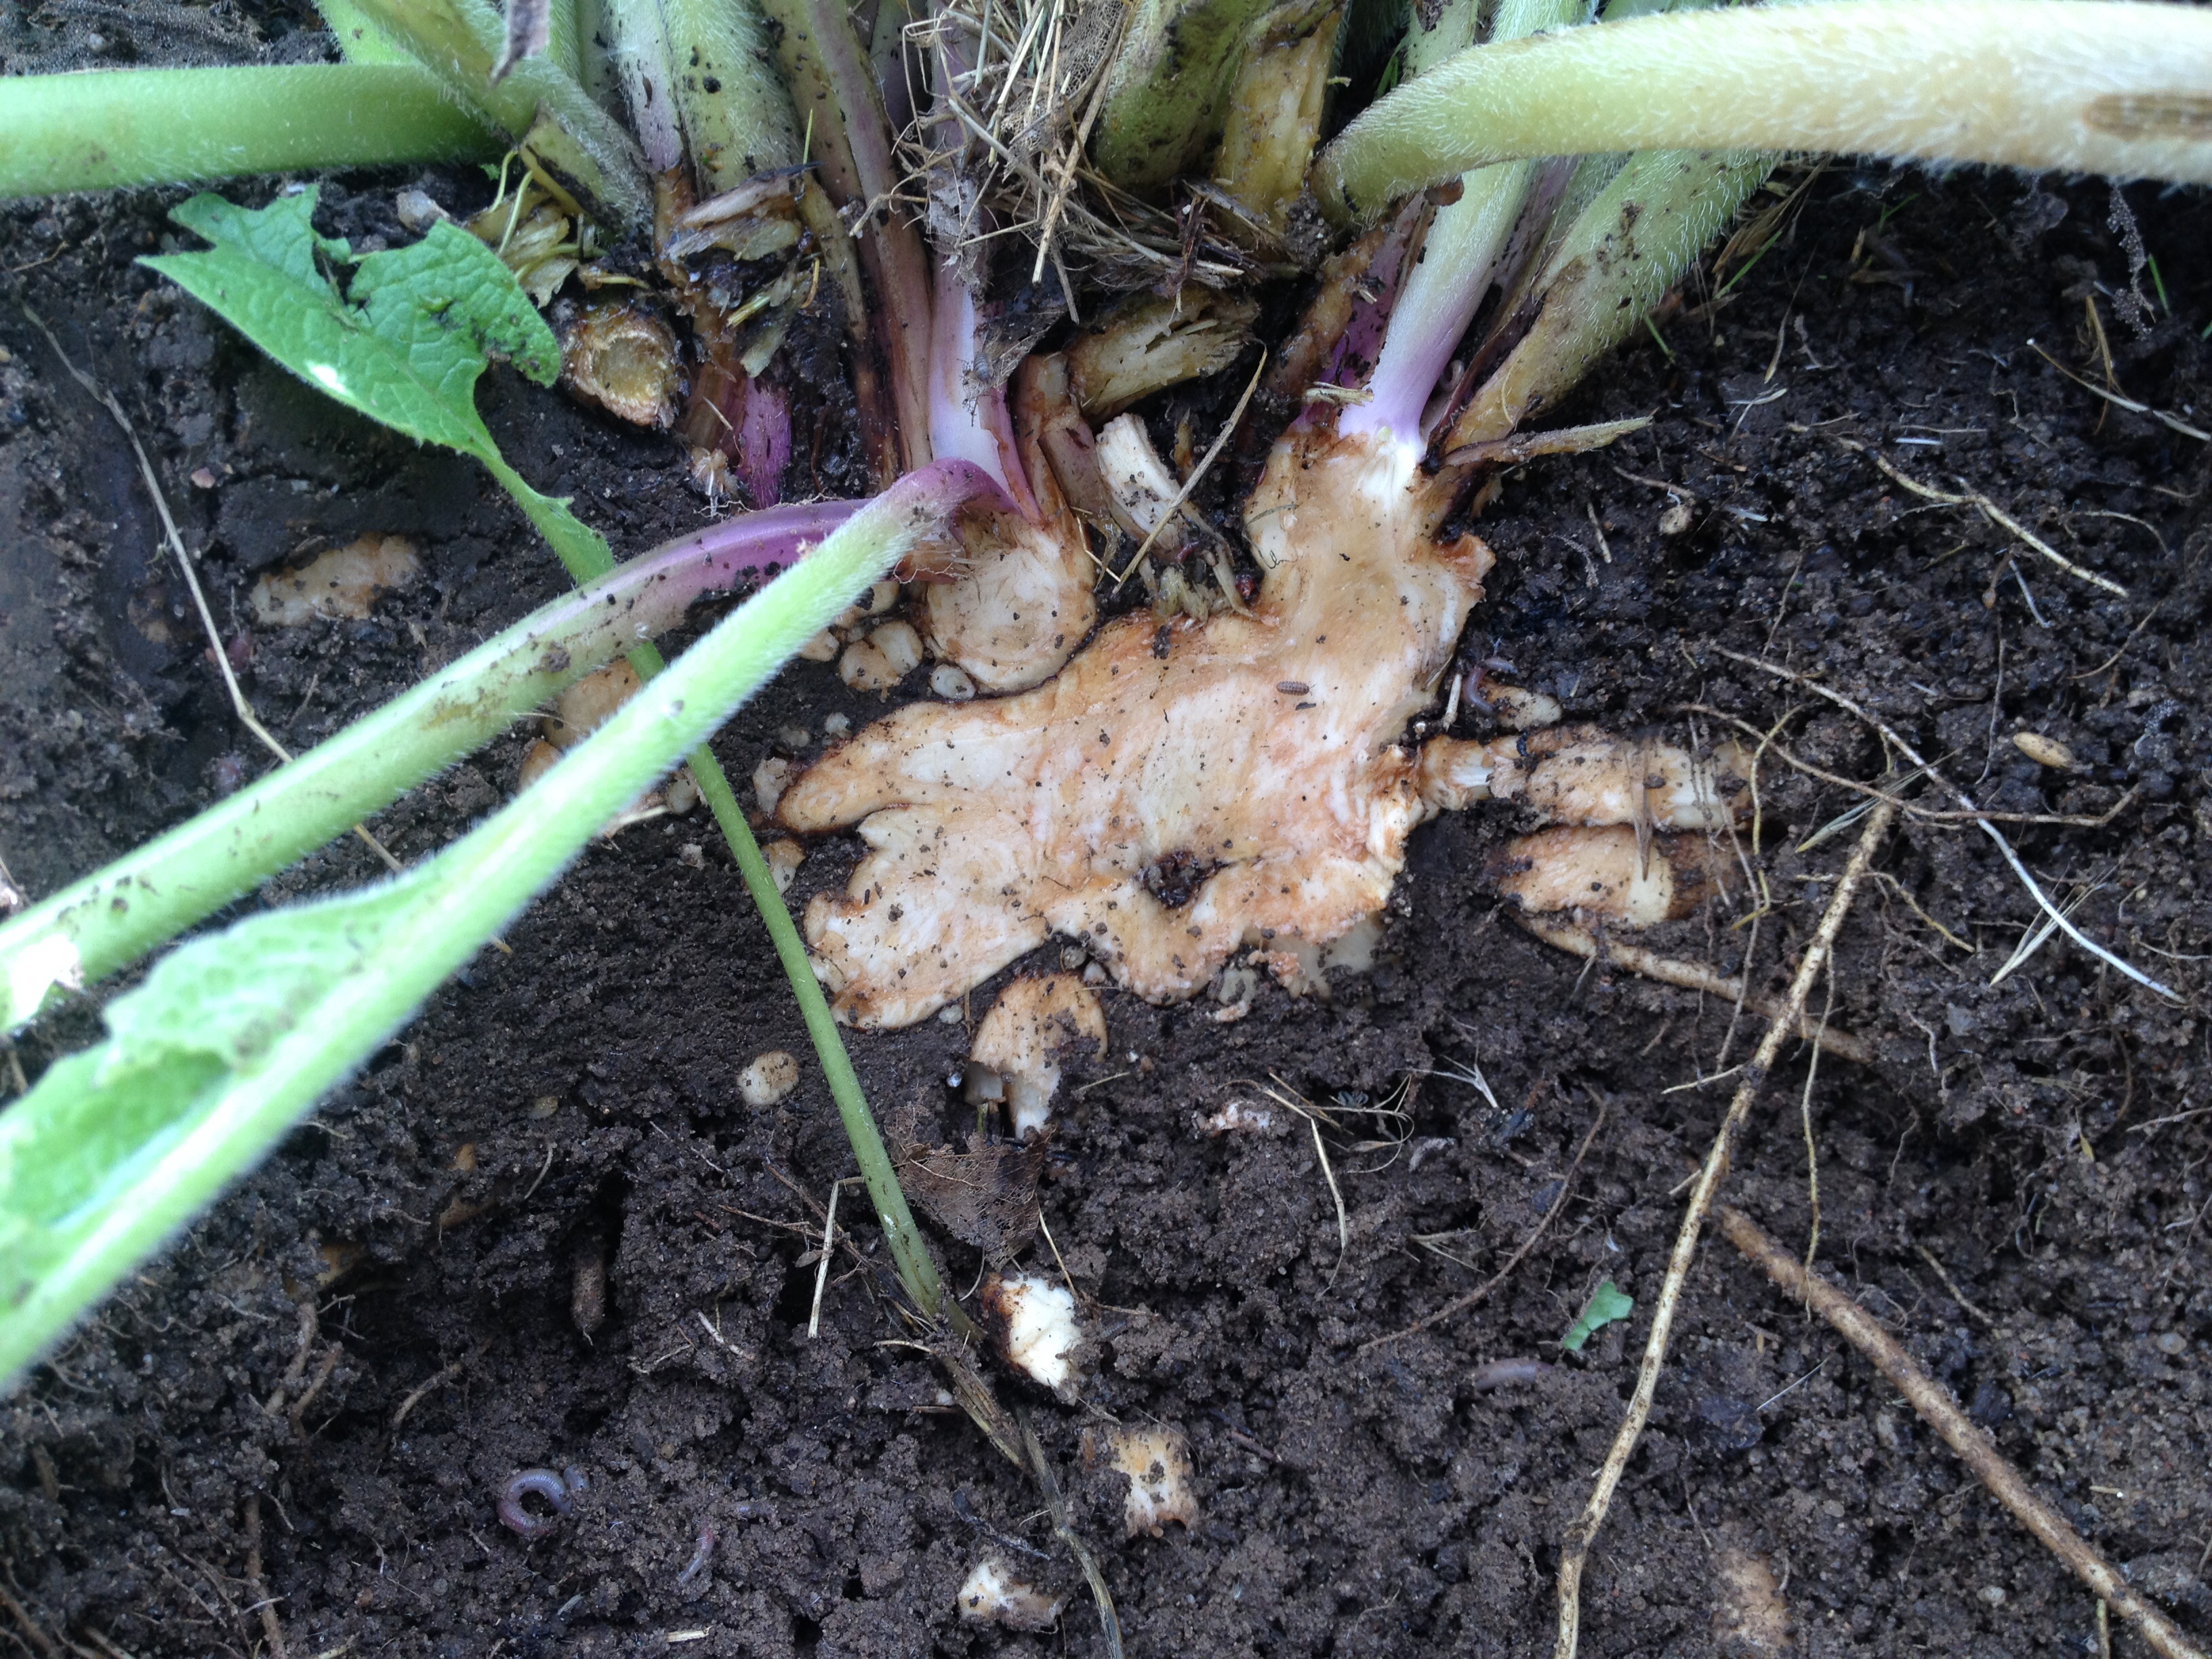
The roots extending about 2 feet.
Large crown cut in half.
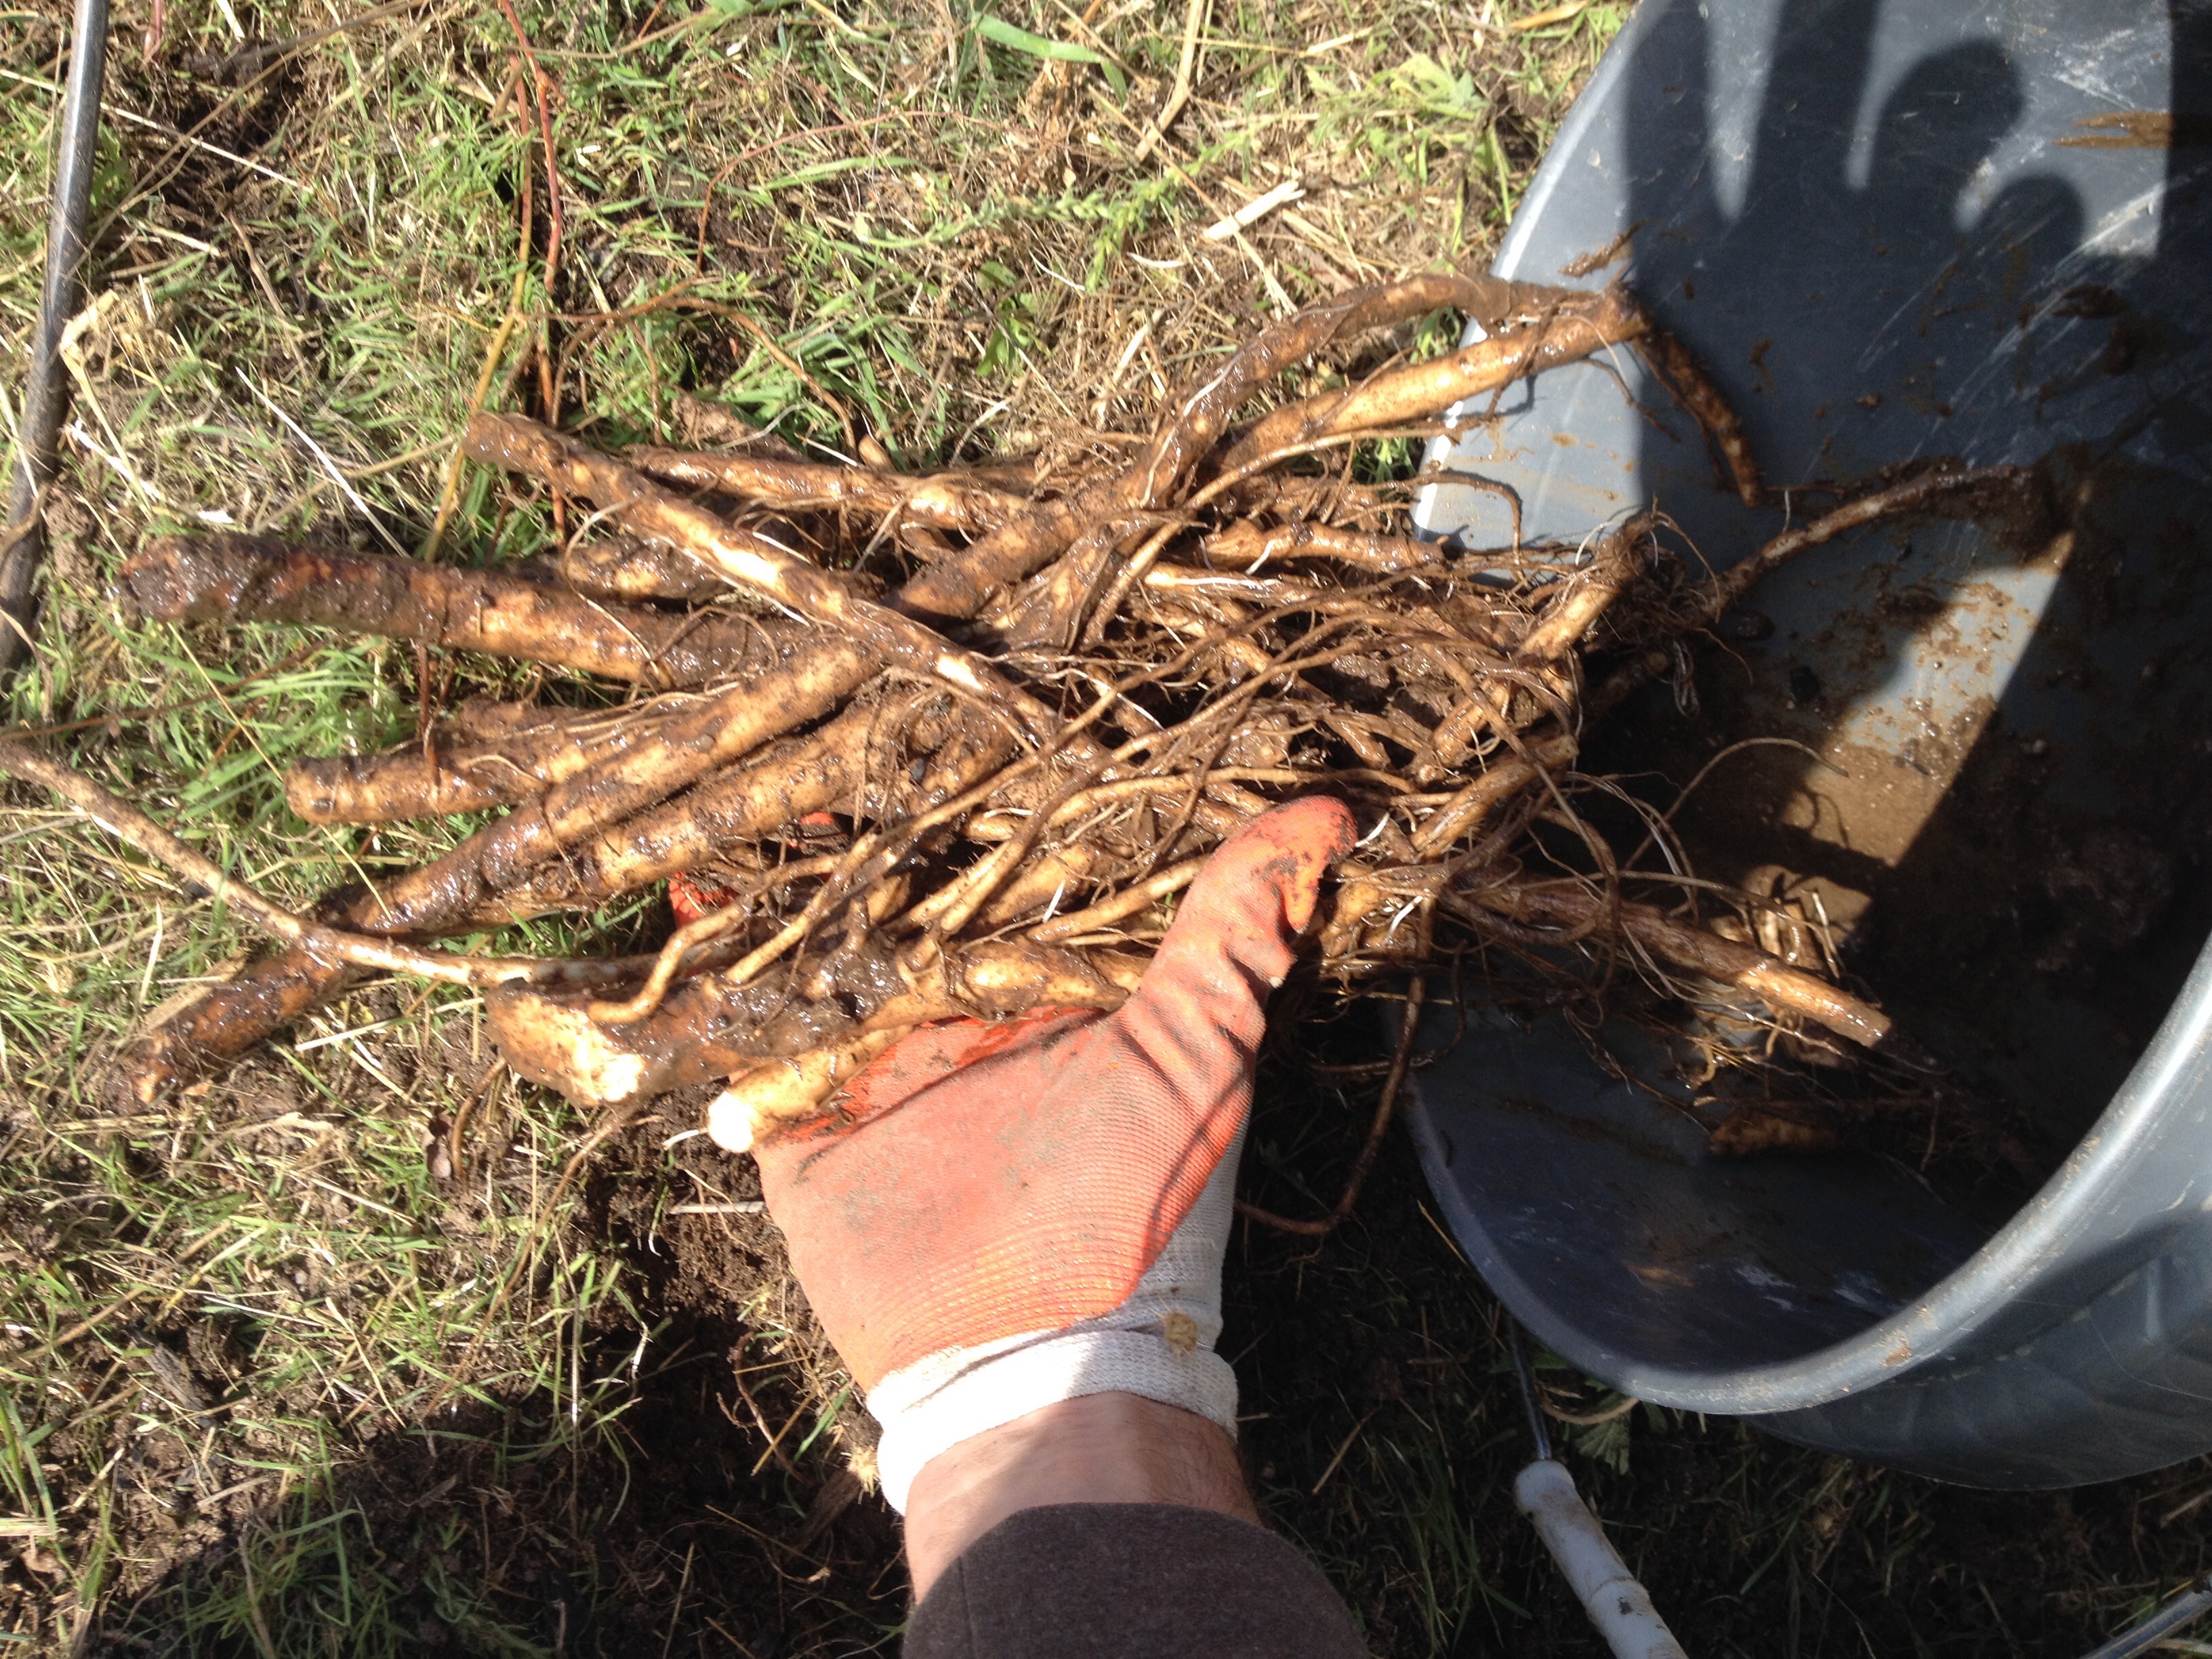
Comfrey root cuttings.
I cut and planted these for more production next year. I need to divide the row of small root cuttings I planted last year. I should have spaced the more than 6 inches apart!
This past week I planted the two yellow delicious apple trees I bought at the end of the season. I decided to plant them at the homestead for a few reasons including to provide more shade for the chickens and because the apple trees already here produced so well this year.
After hearing about how well some trees planted in the fall have done in Texas I excited to be planting some and am looking at buying more to plant at RegenFarms. Some to replace the ones that died this summer.
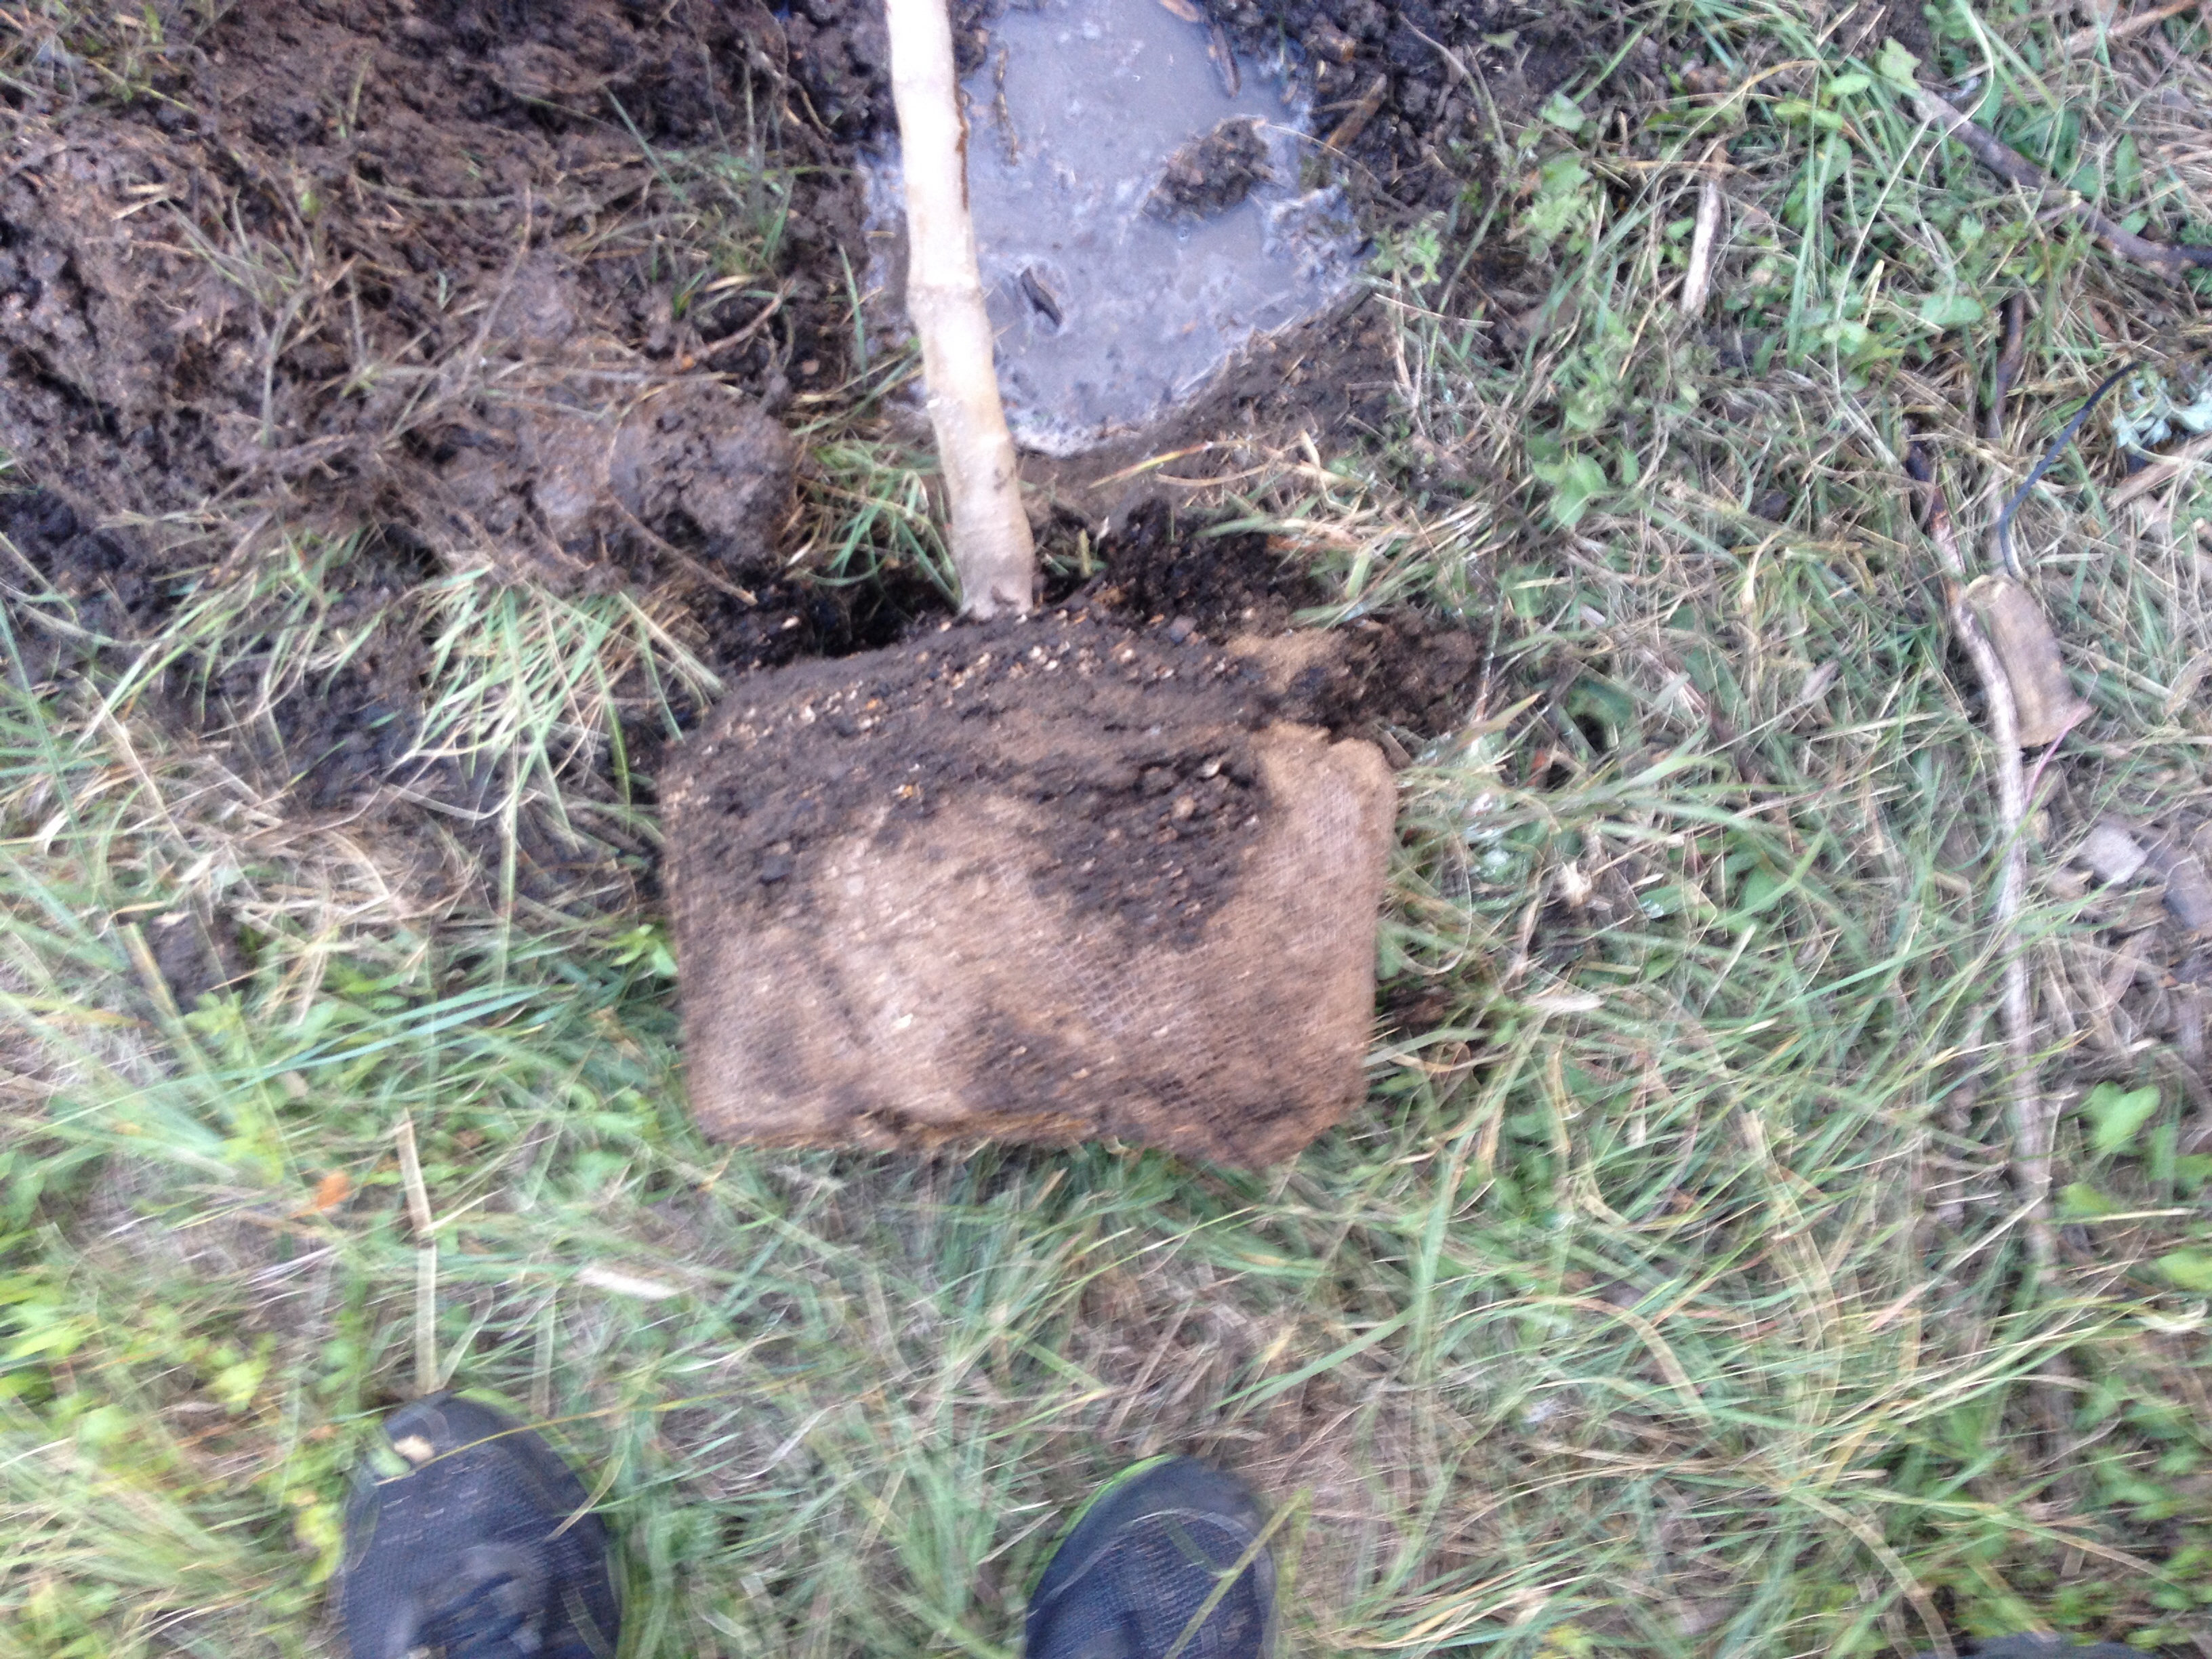
First I removed the roots from the pot.
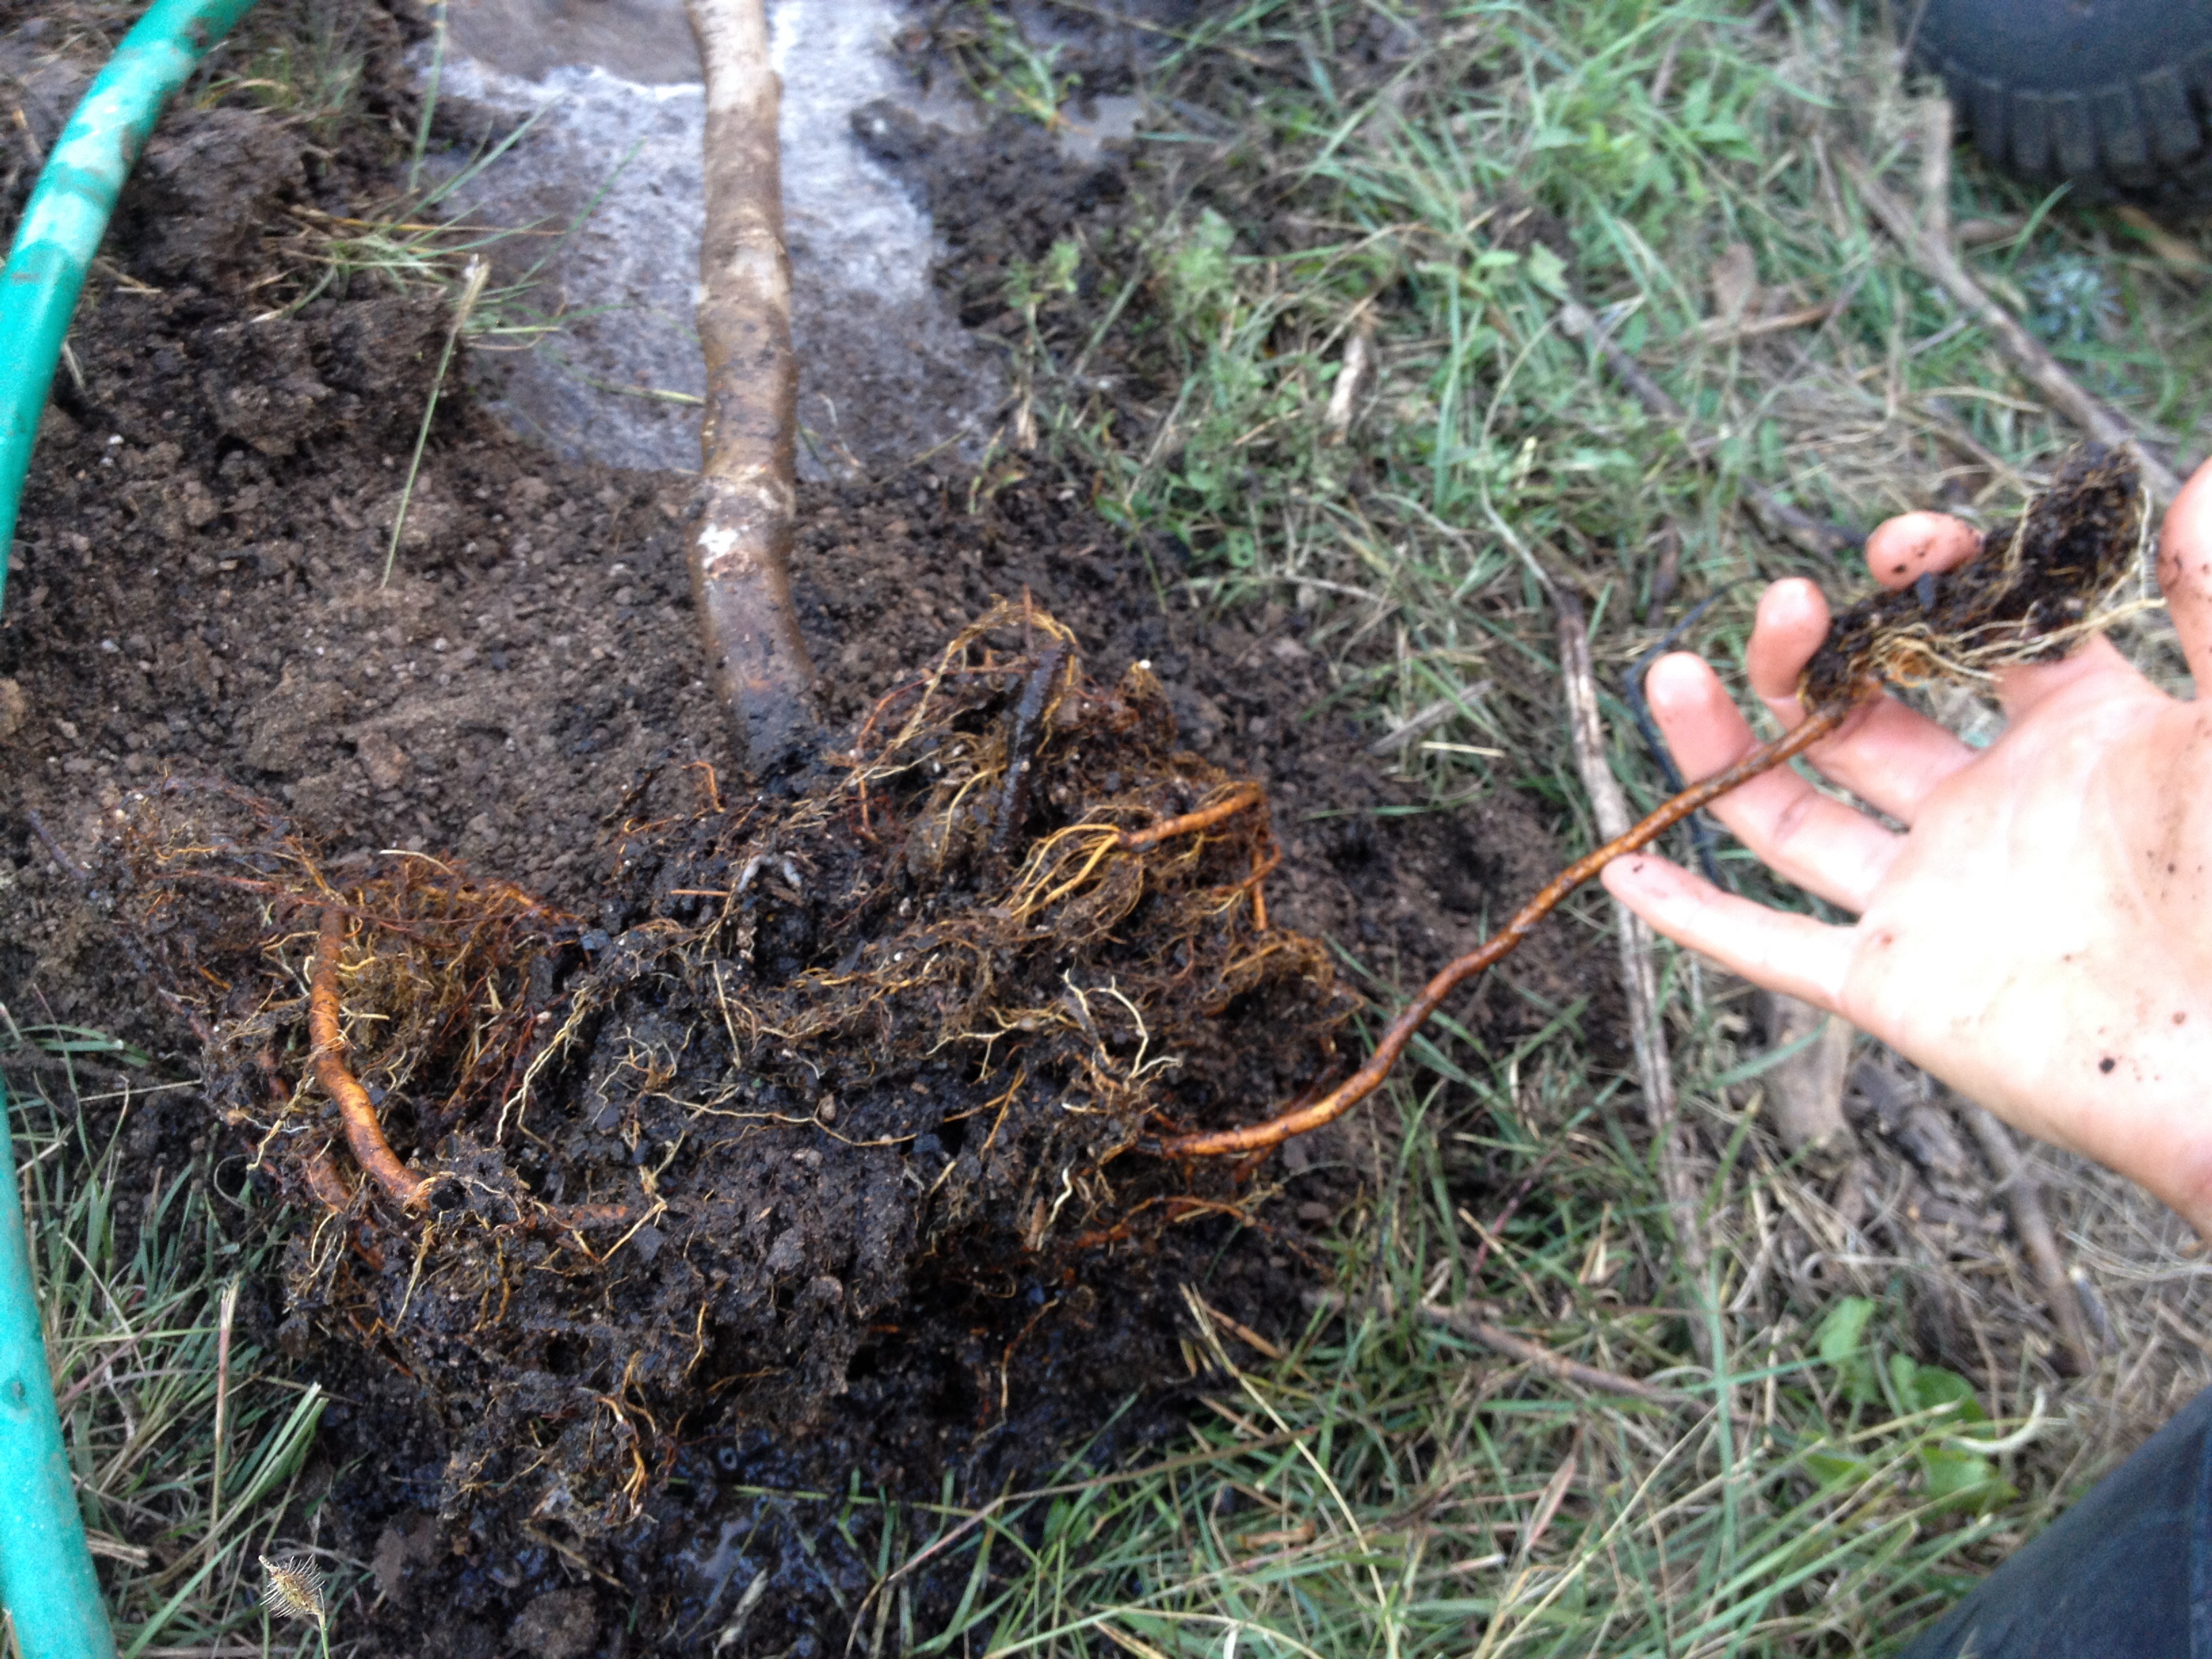
Then I untangle as many of the roots as possible to keep them from strangling each other as they grow. Also when I place them in the hole I spread them out in as many directions as possible. This should help the tree establish and grow easier and give it a wider and thus stronger base to ground itself.
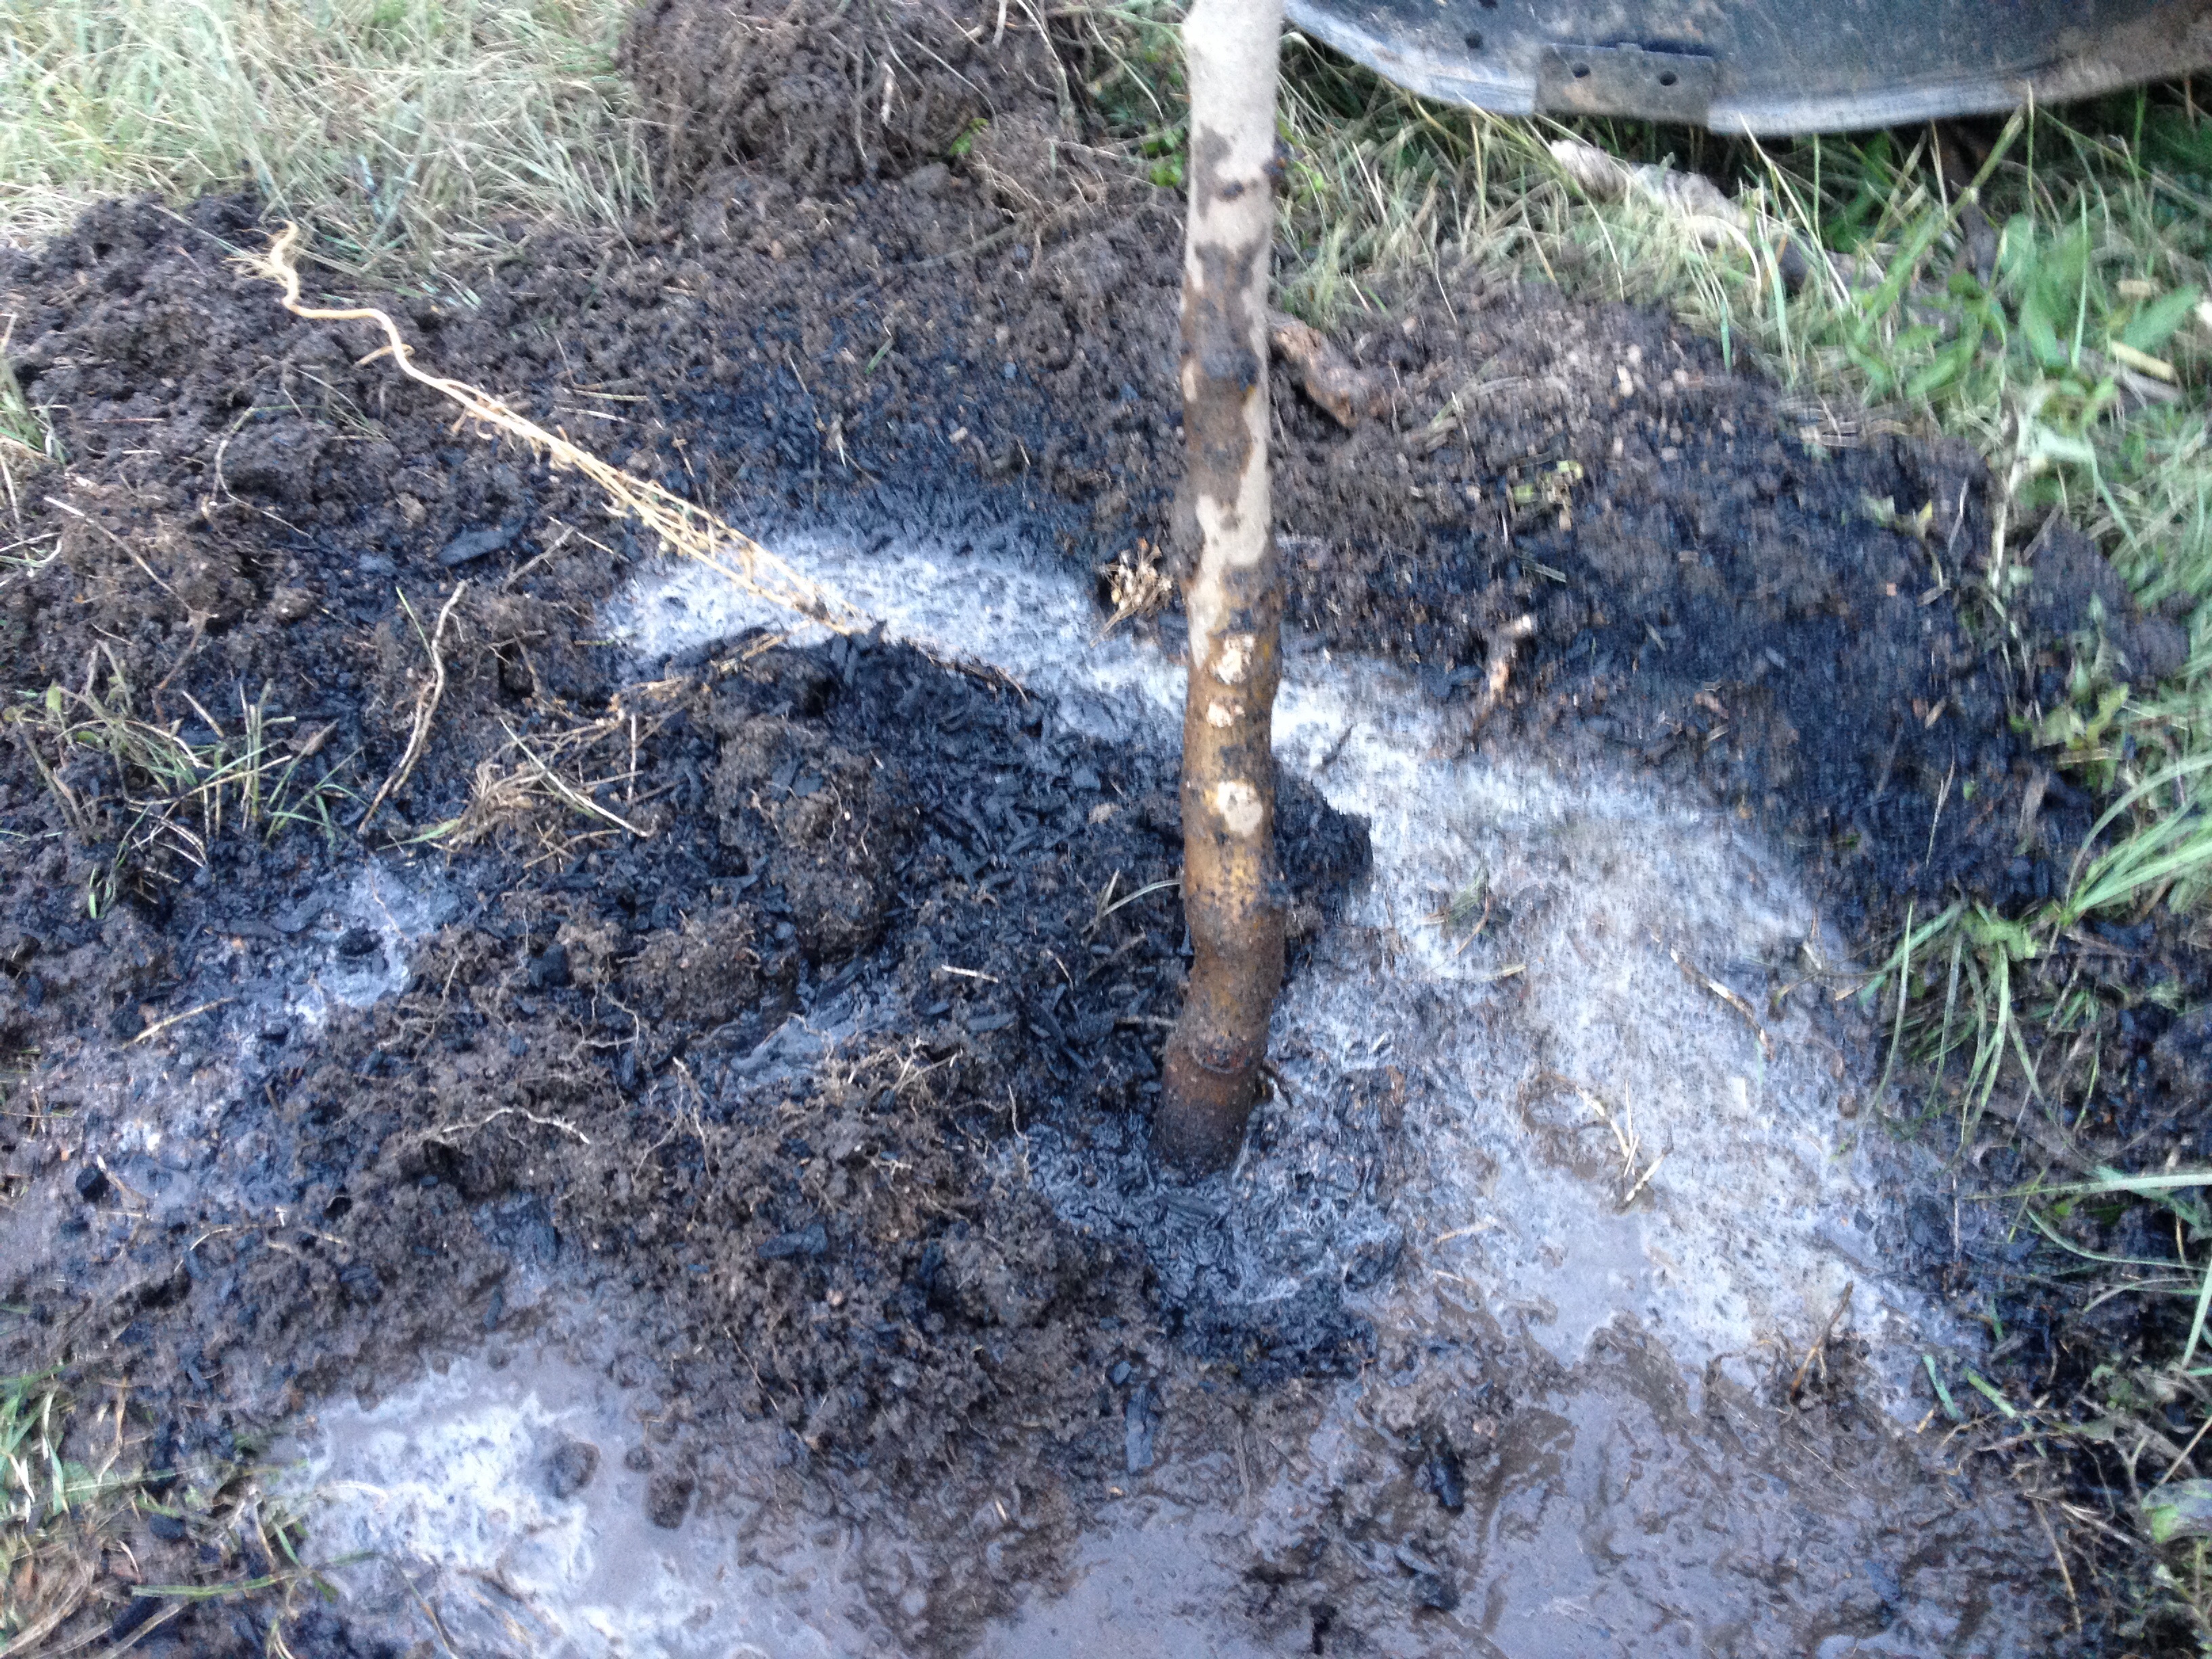
I place the trees into a soupy mix of water and mud. I then pulled the roots away from the center and stick them in the mud and or place heavy dirt on top of them to keep them in place.
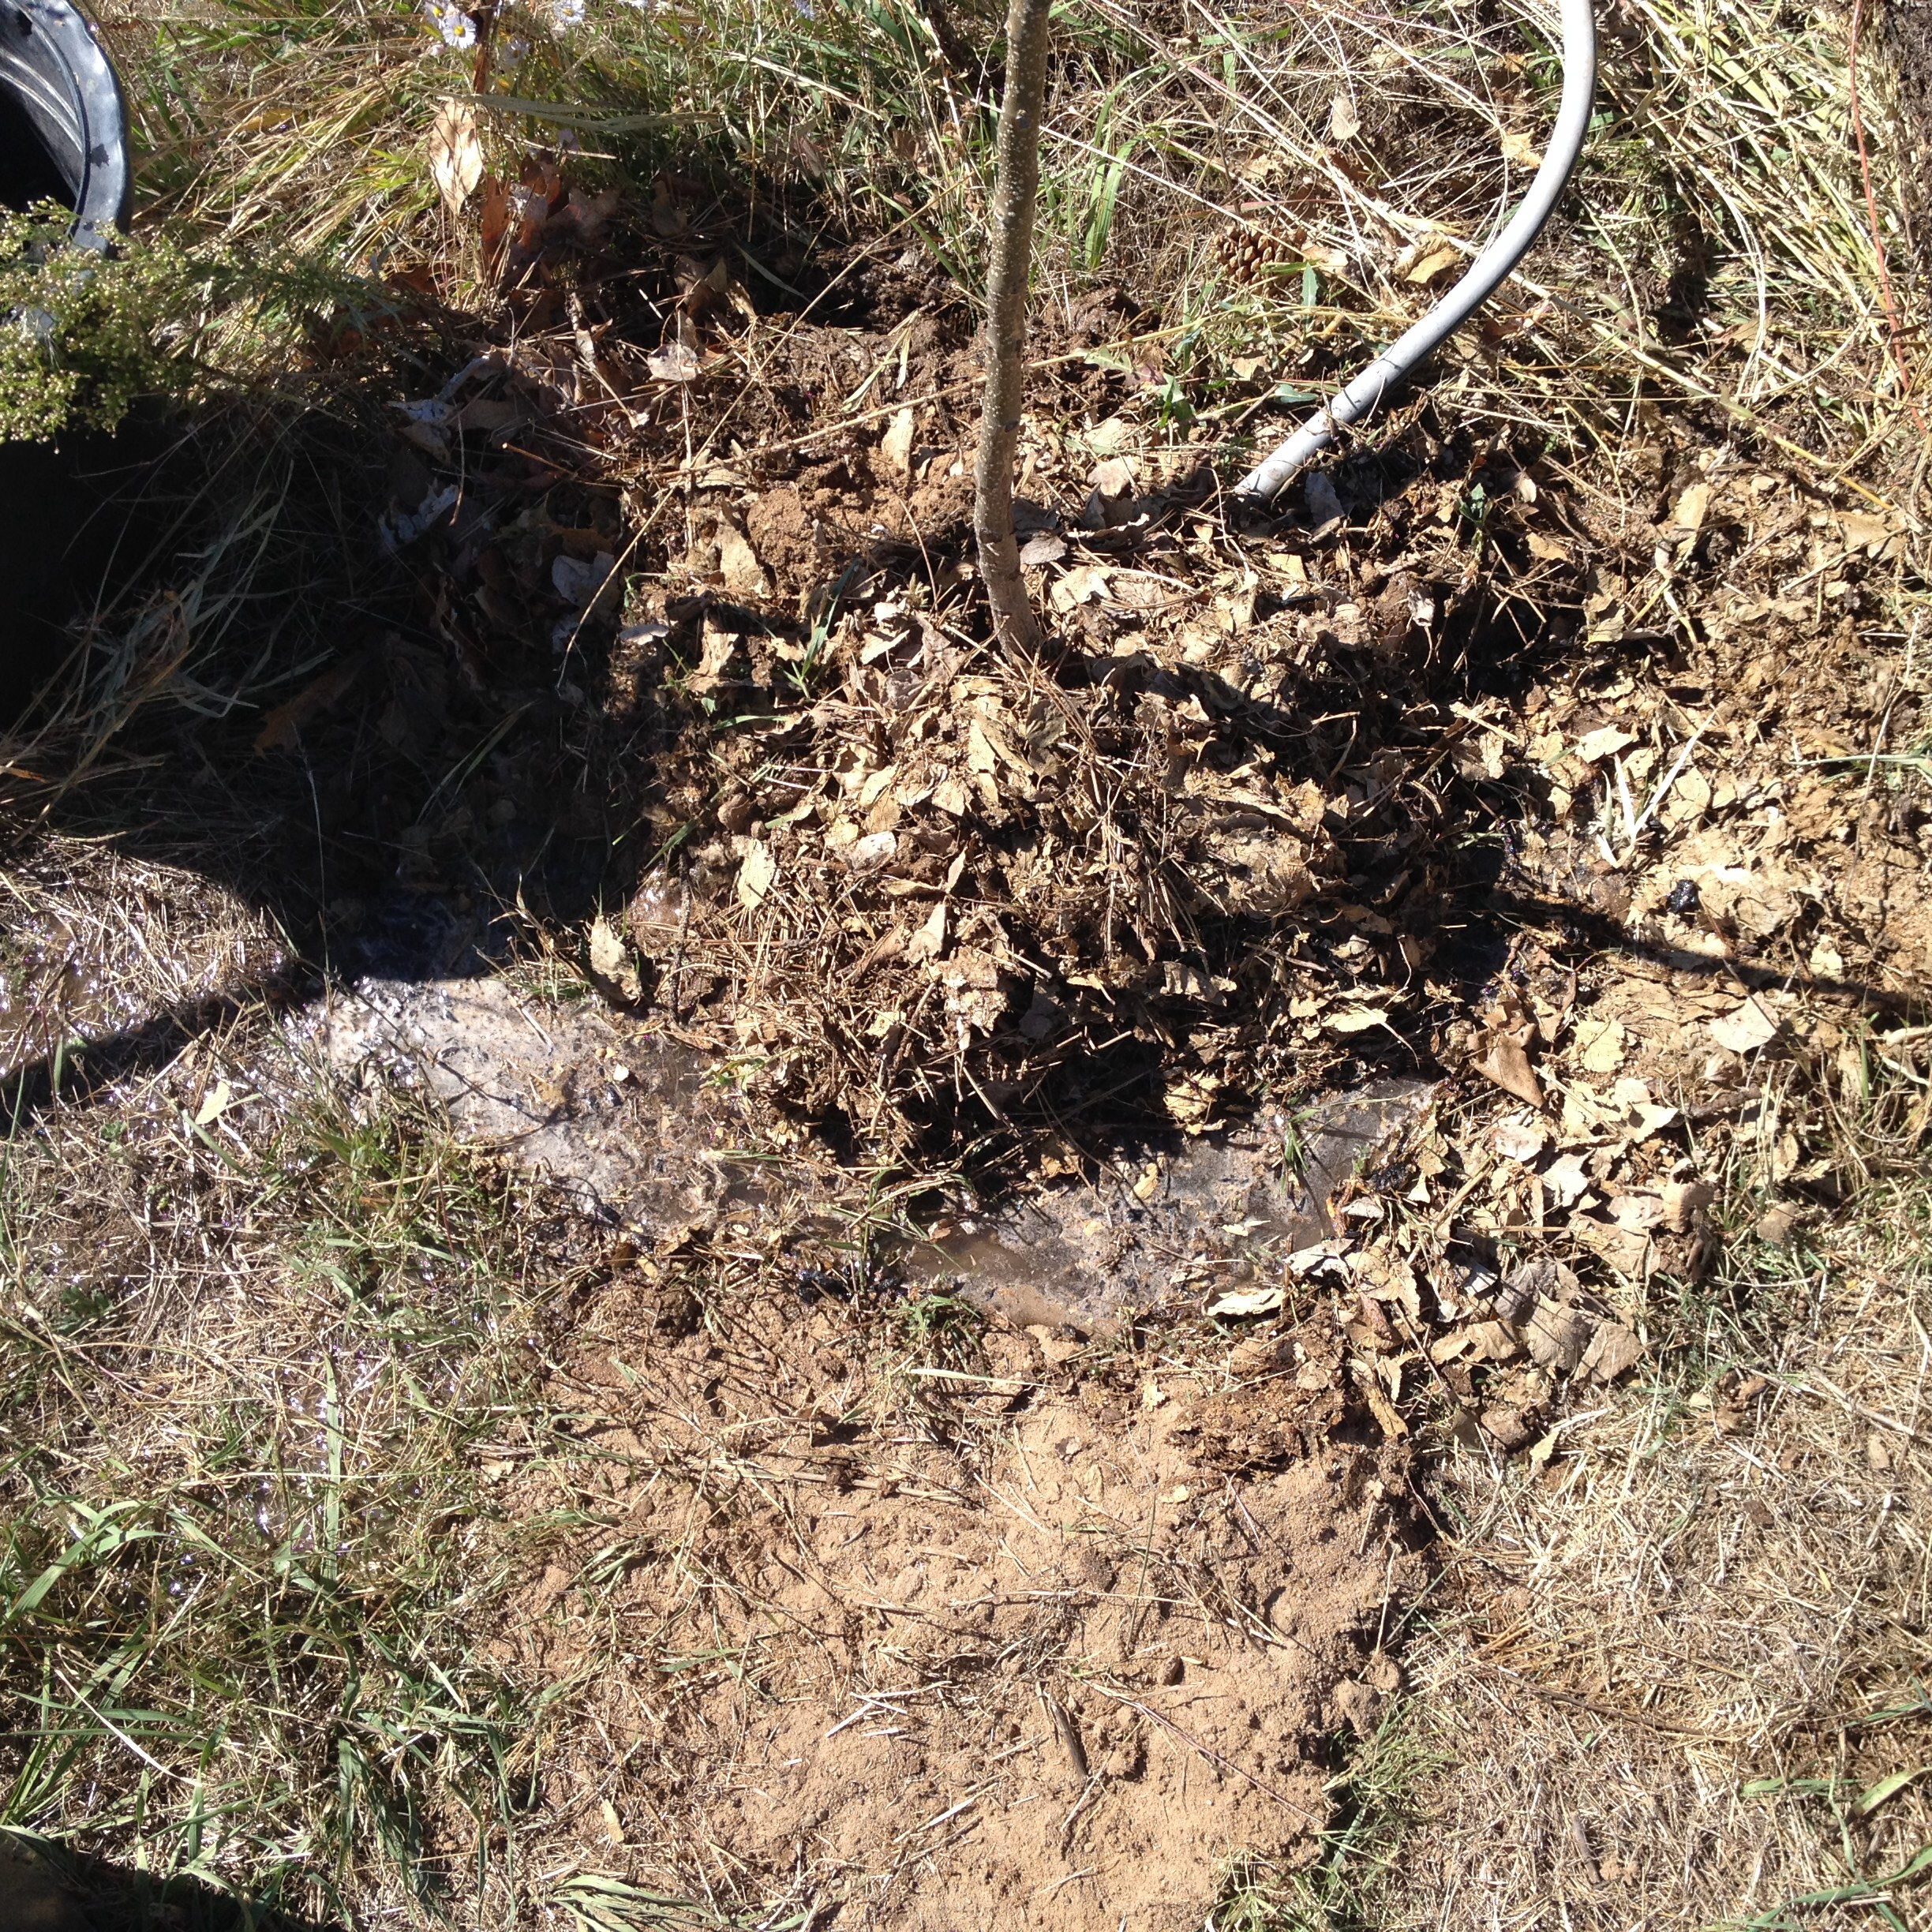
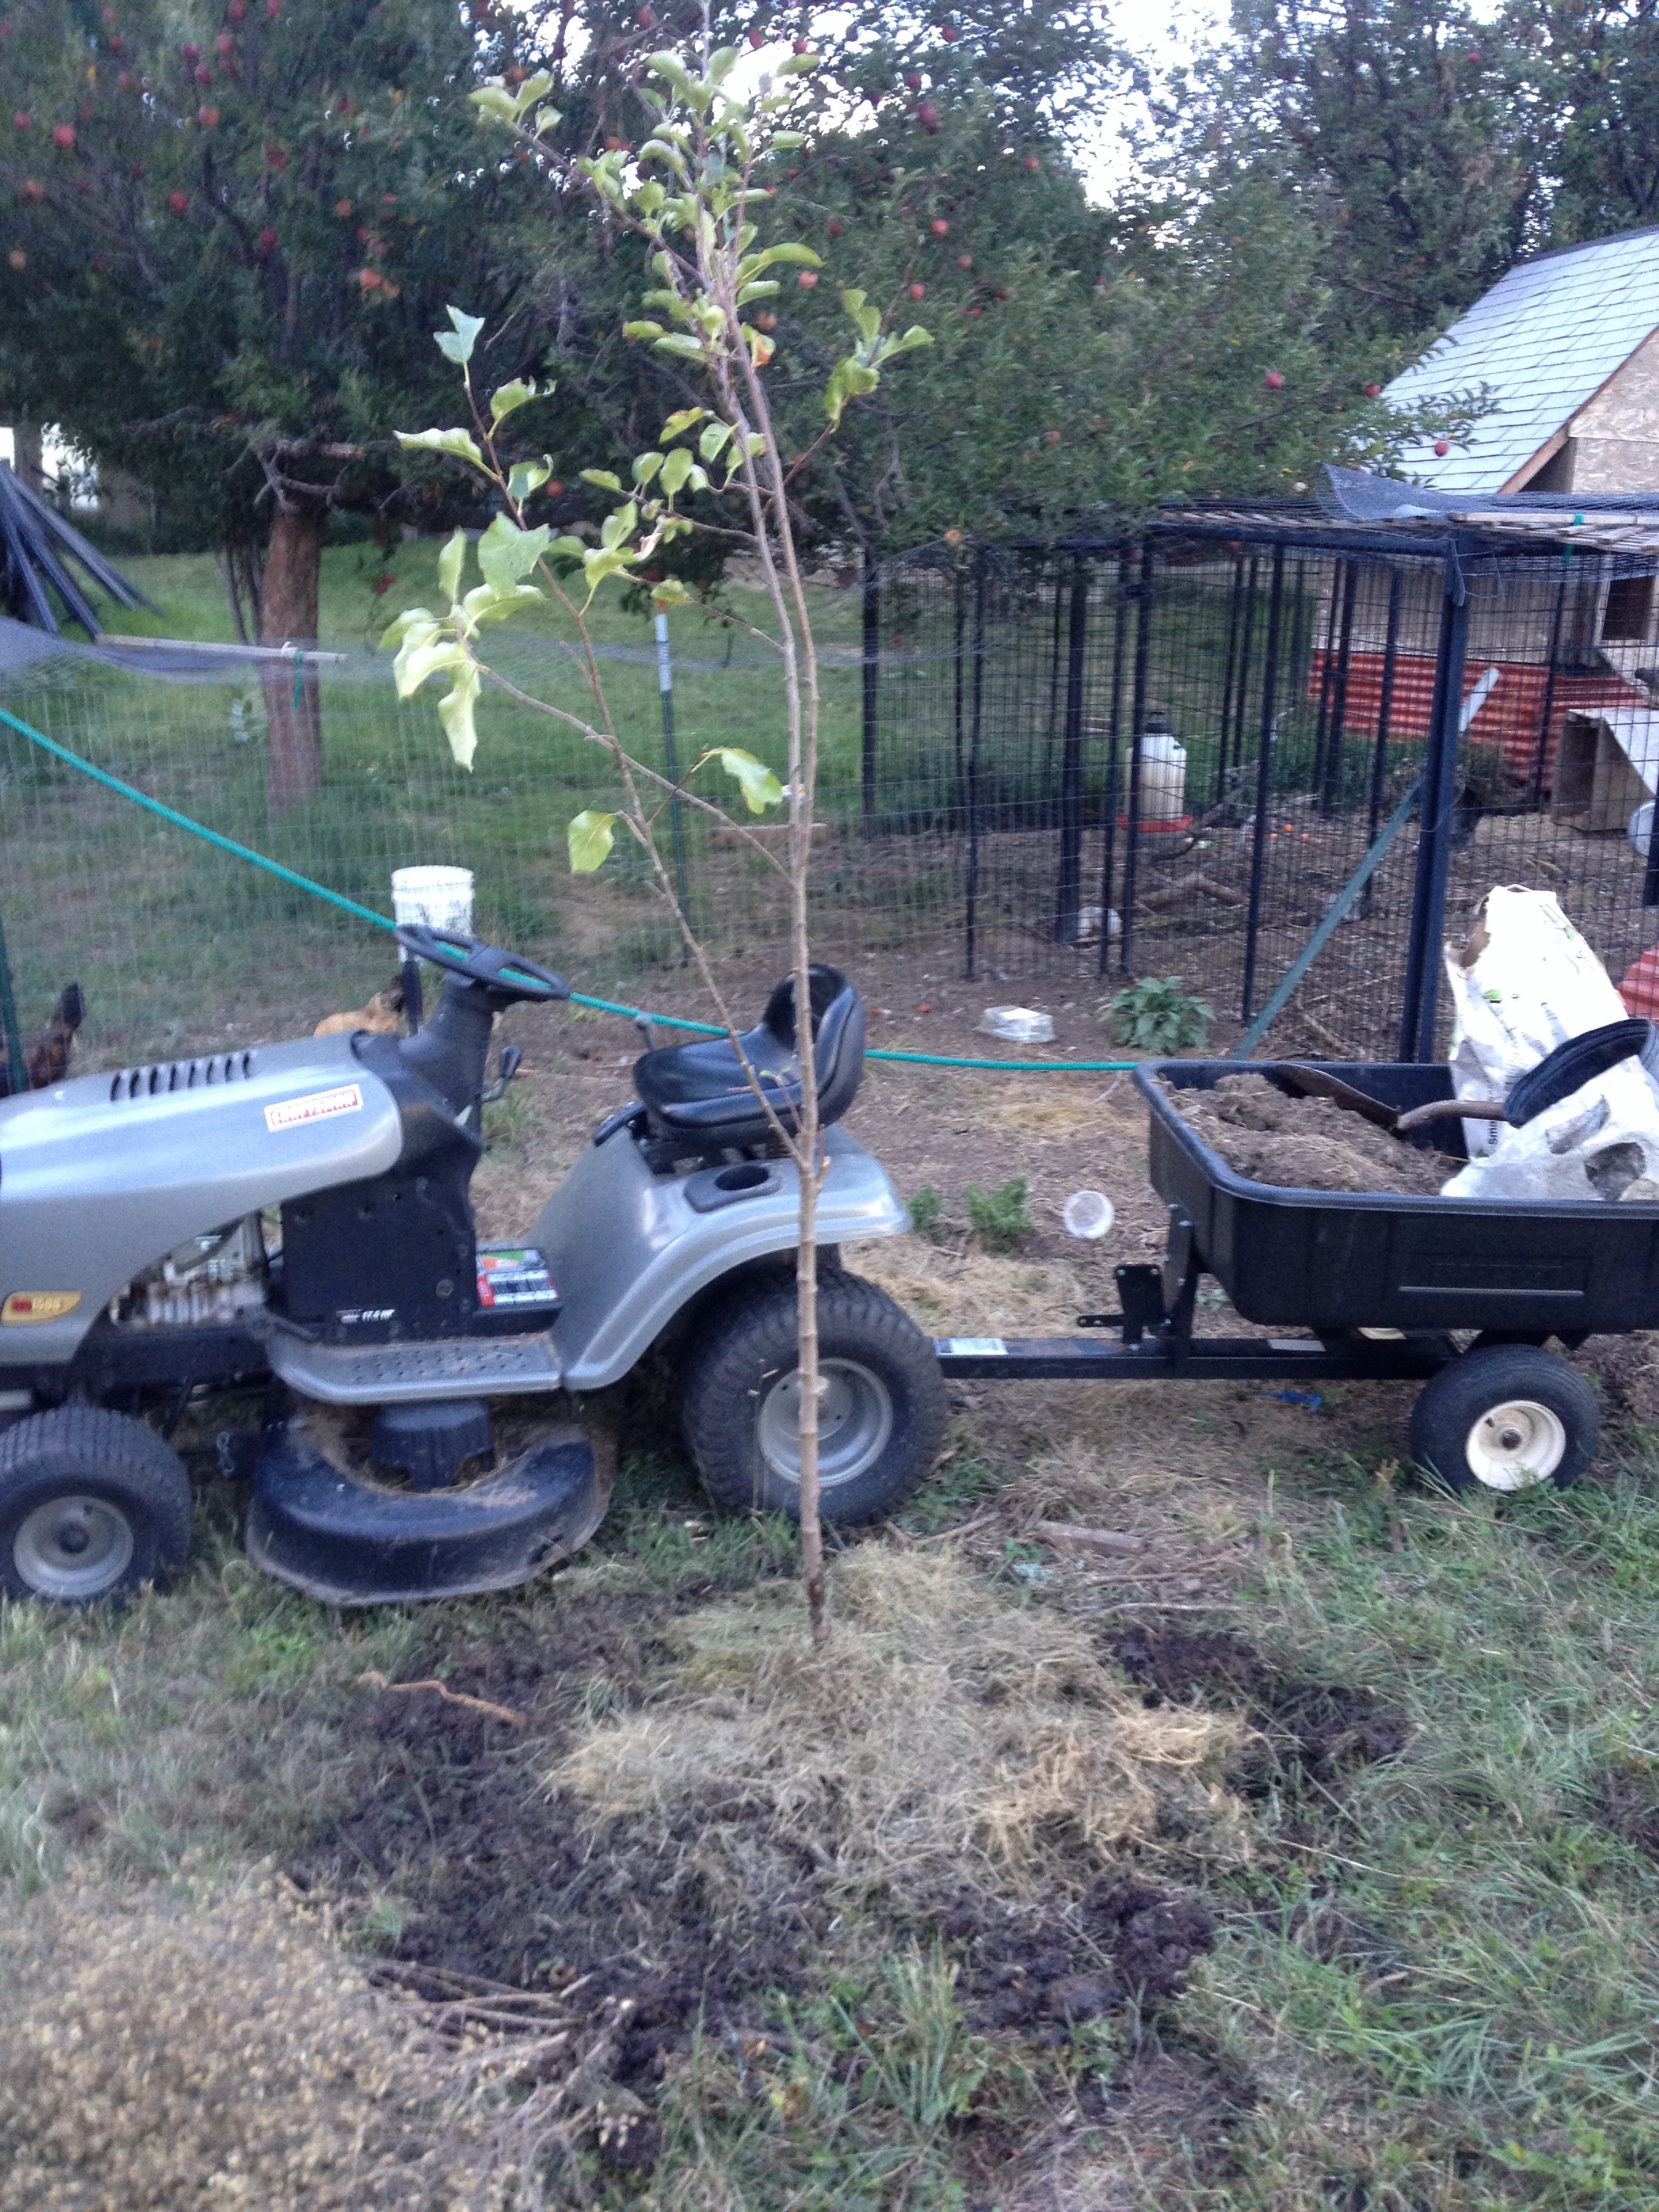
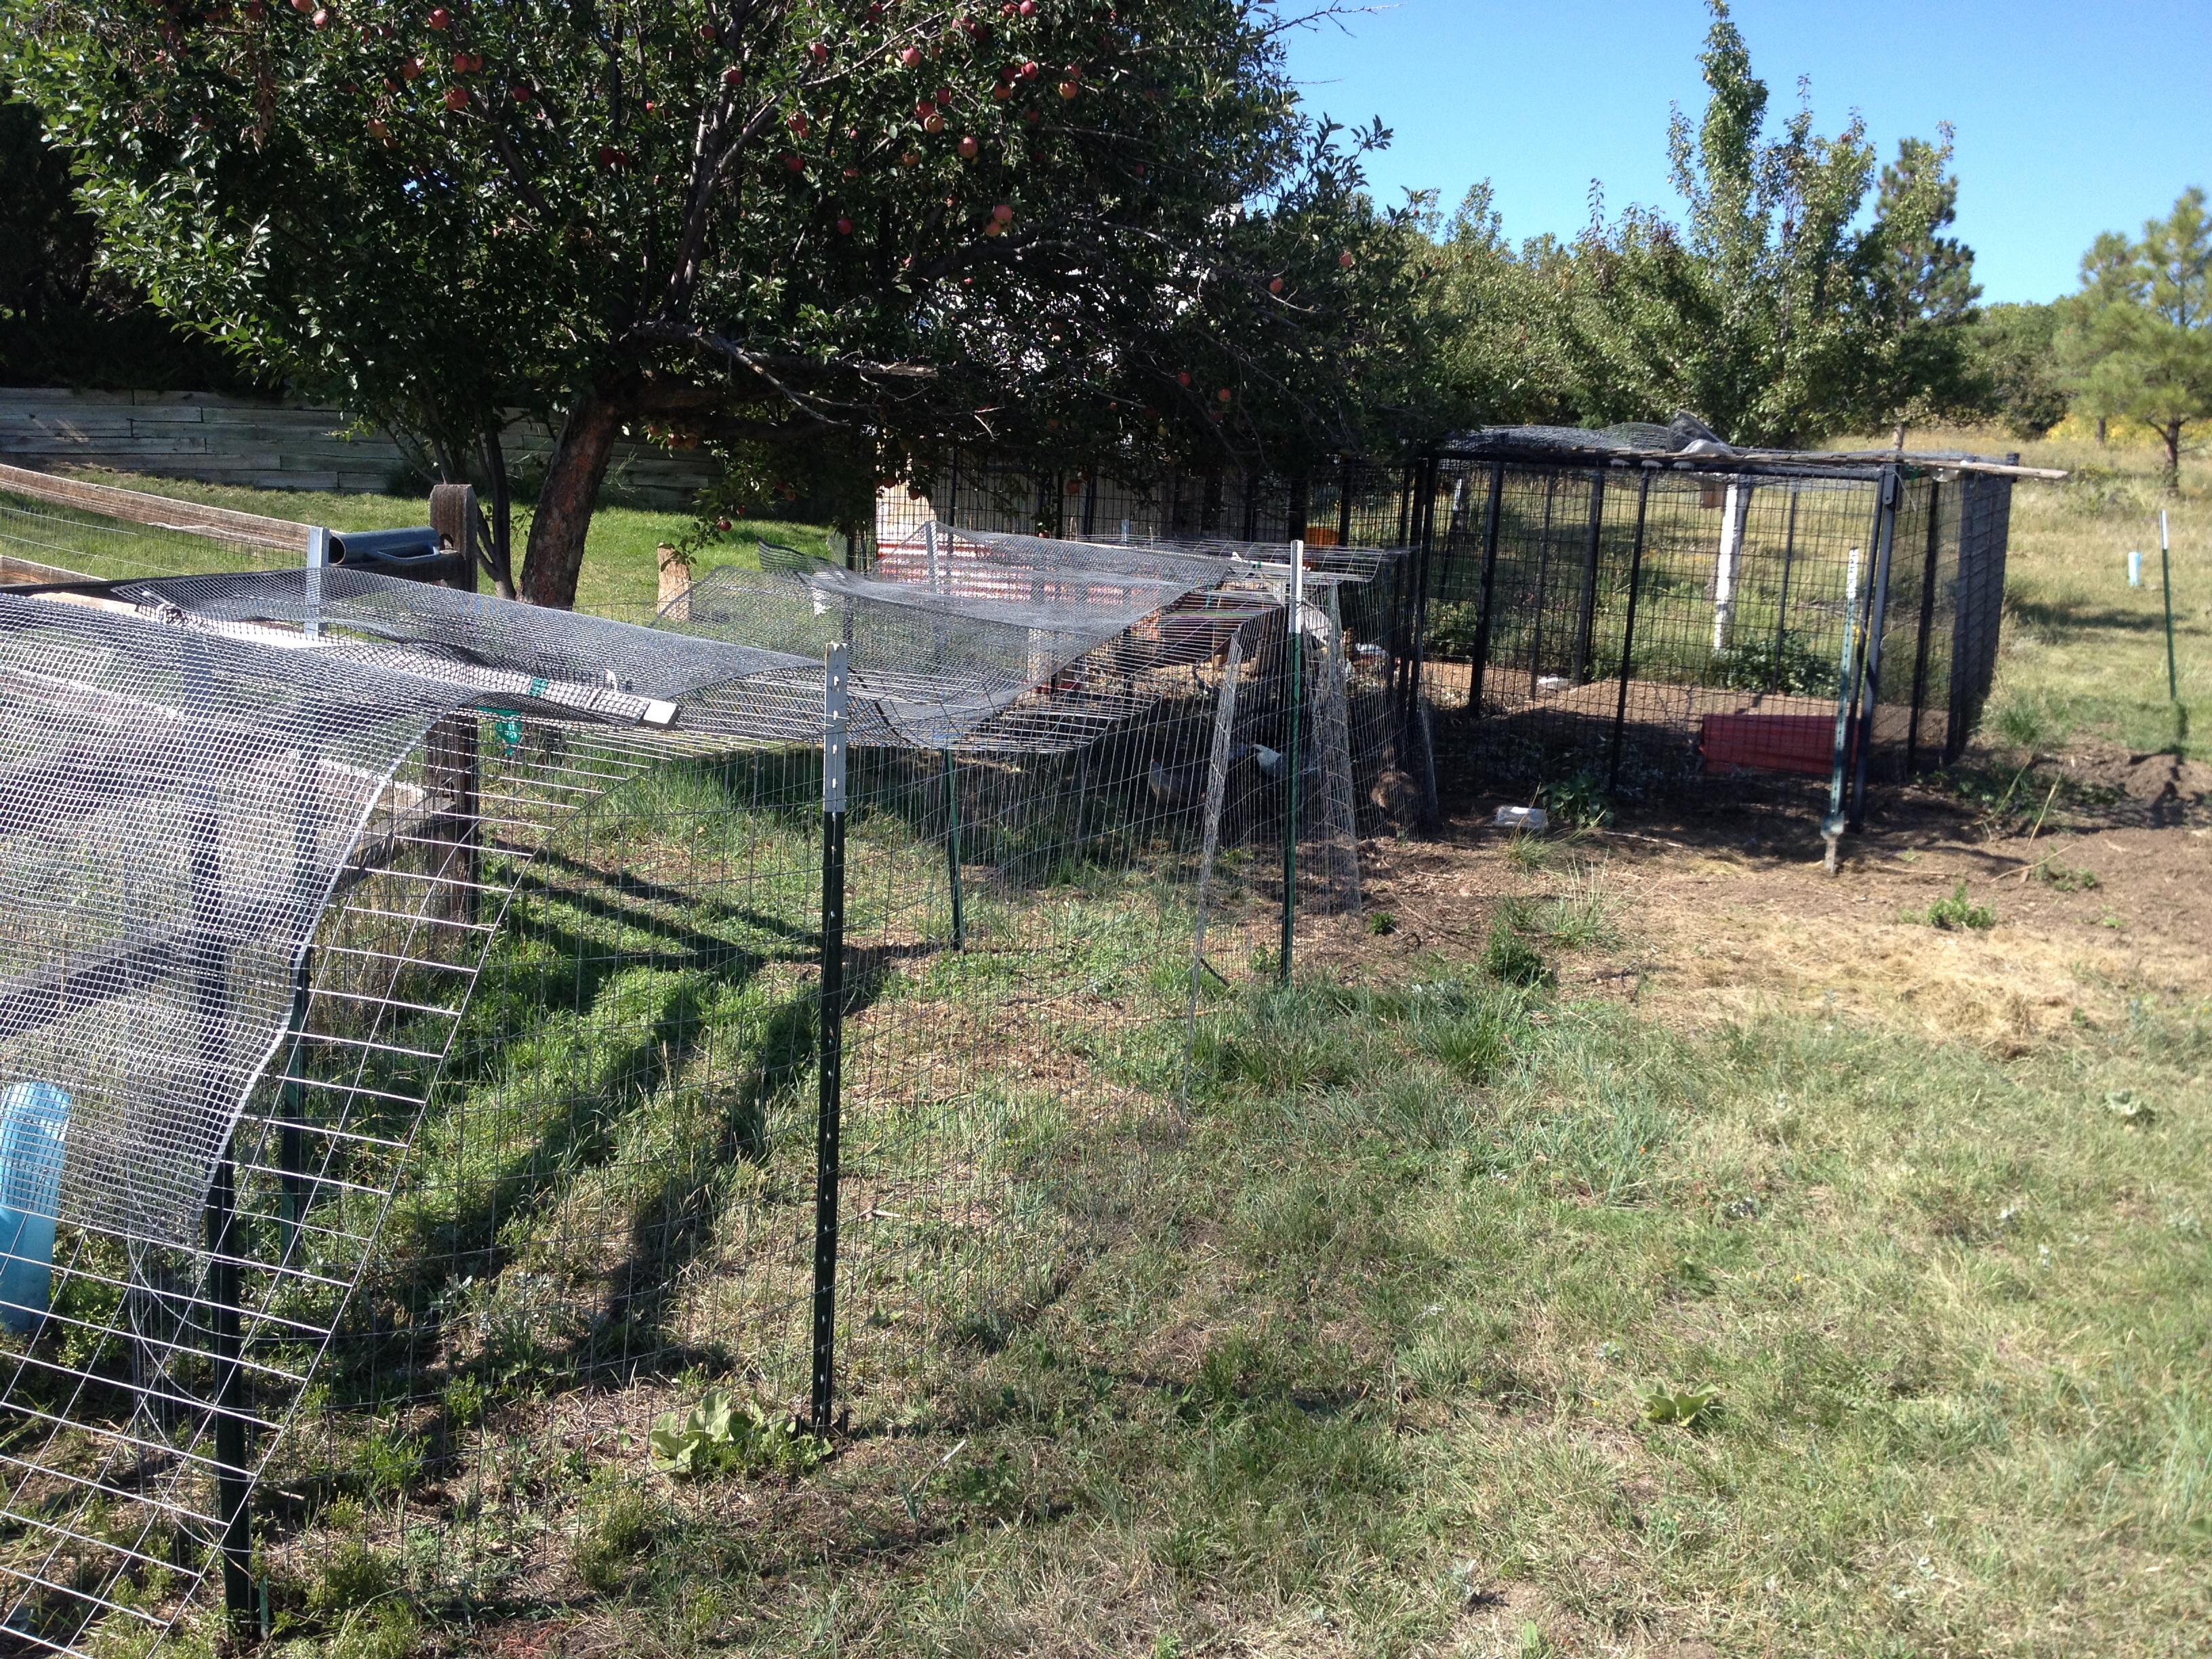
This is the tree at the corner of the permanent pen but in an area near the temporary runs I setup for the chickens. The other tree is directly in front of the permanent pen which will provide the chickens shade much like the large apple tree to the left of this new one.
Here are some of the straw bales that I spread out over the newly dug hugel swale. I first threw out some clover seeds then I spread the straw out. I them threw out a bit more clover seed over the straw.
Most of this straw has been sitting on the groin out in a field since last year. So part of it was very wet and some had mushrooms growing out of it.
It takes a lot more time to spread out wet straw! Paying a dollar or two for each dry bale would have saved me a lot if time.
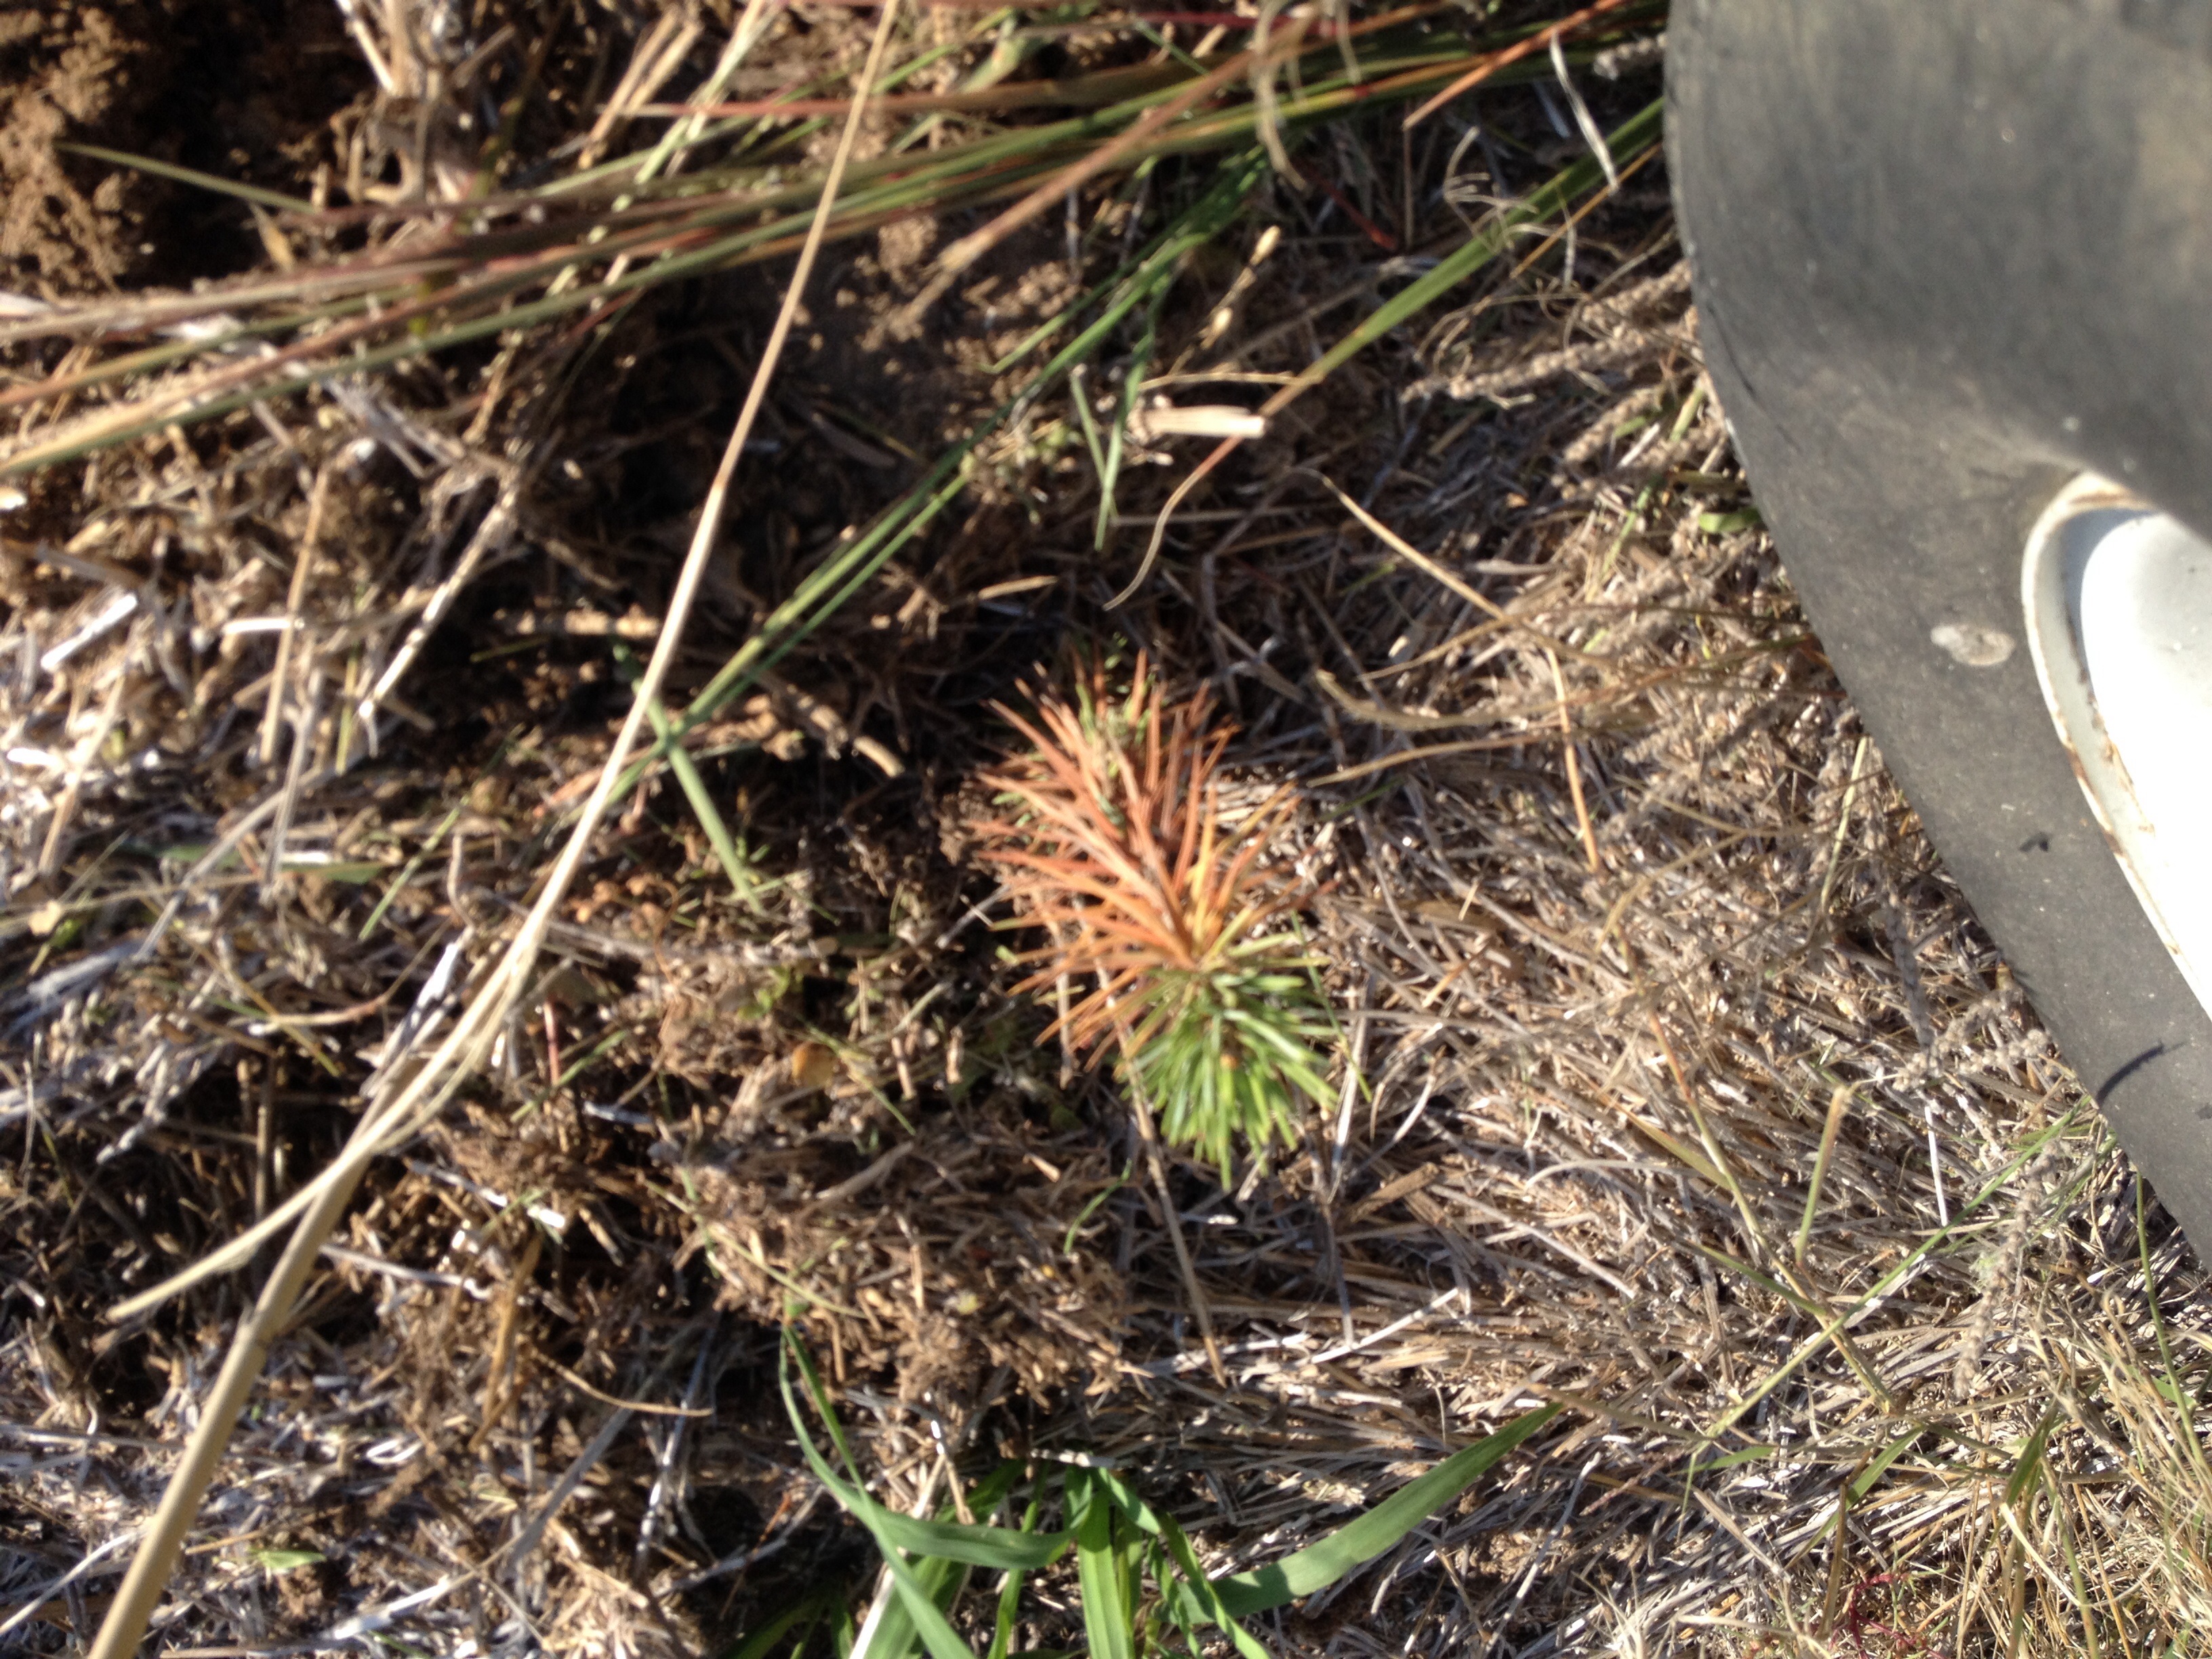
Below is one of the pinion pines that survived its first summer. Besides the attention they got when being planted which included biochar, soil amendments, initial water and mulch they have been neglected. The 25 ponderosa trees have faired much worse with most all of them dying months ago. They were much taller and the wind looked to take quite a toll on them. Even the four in tree guards died.
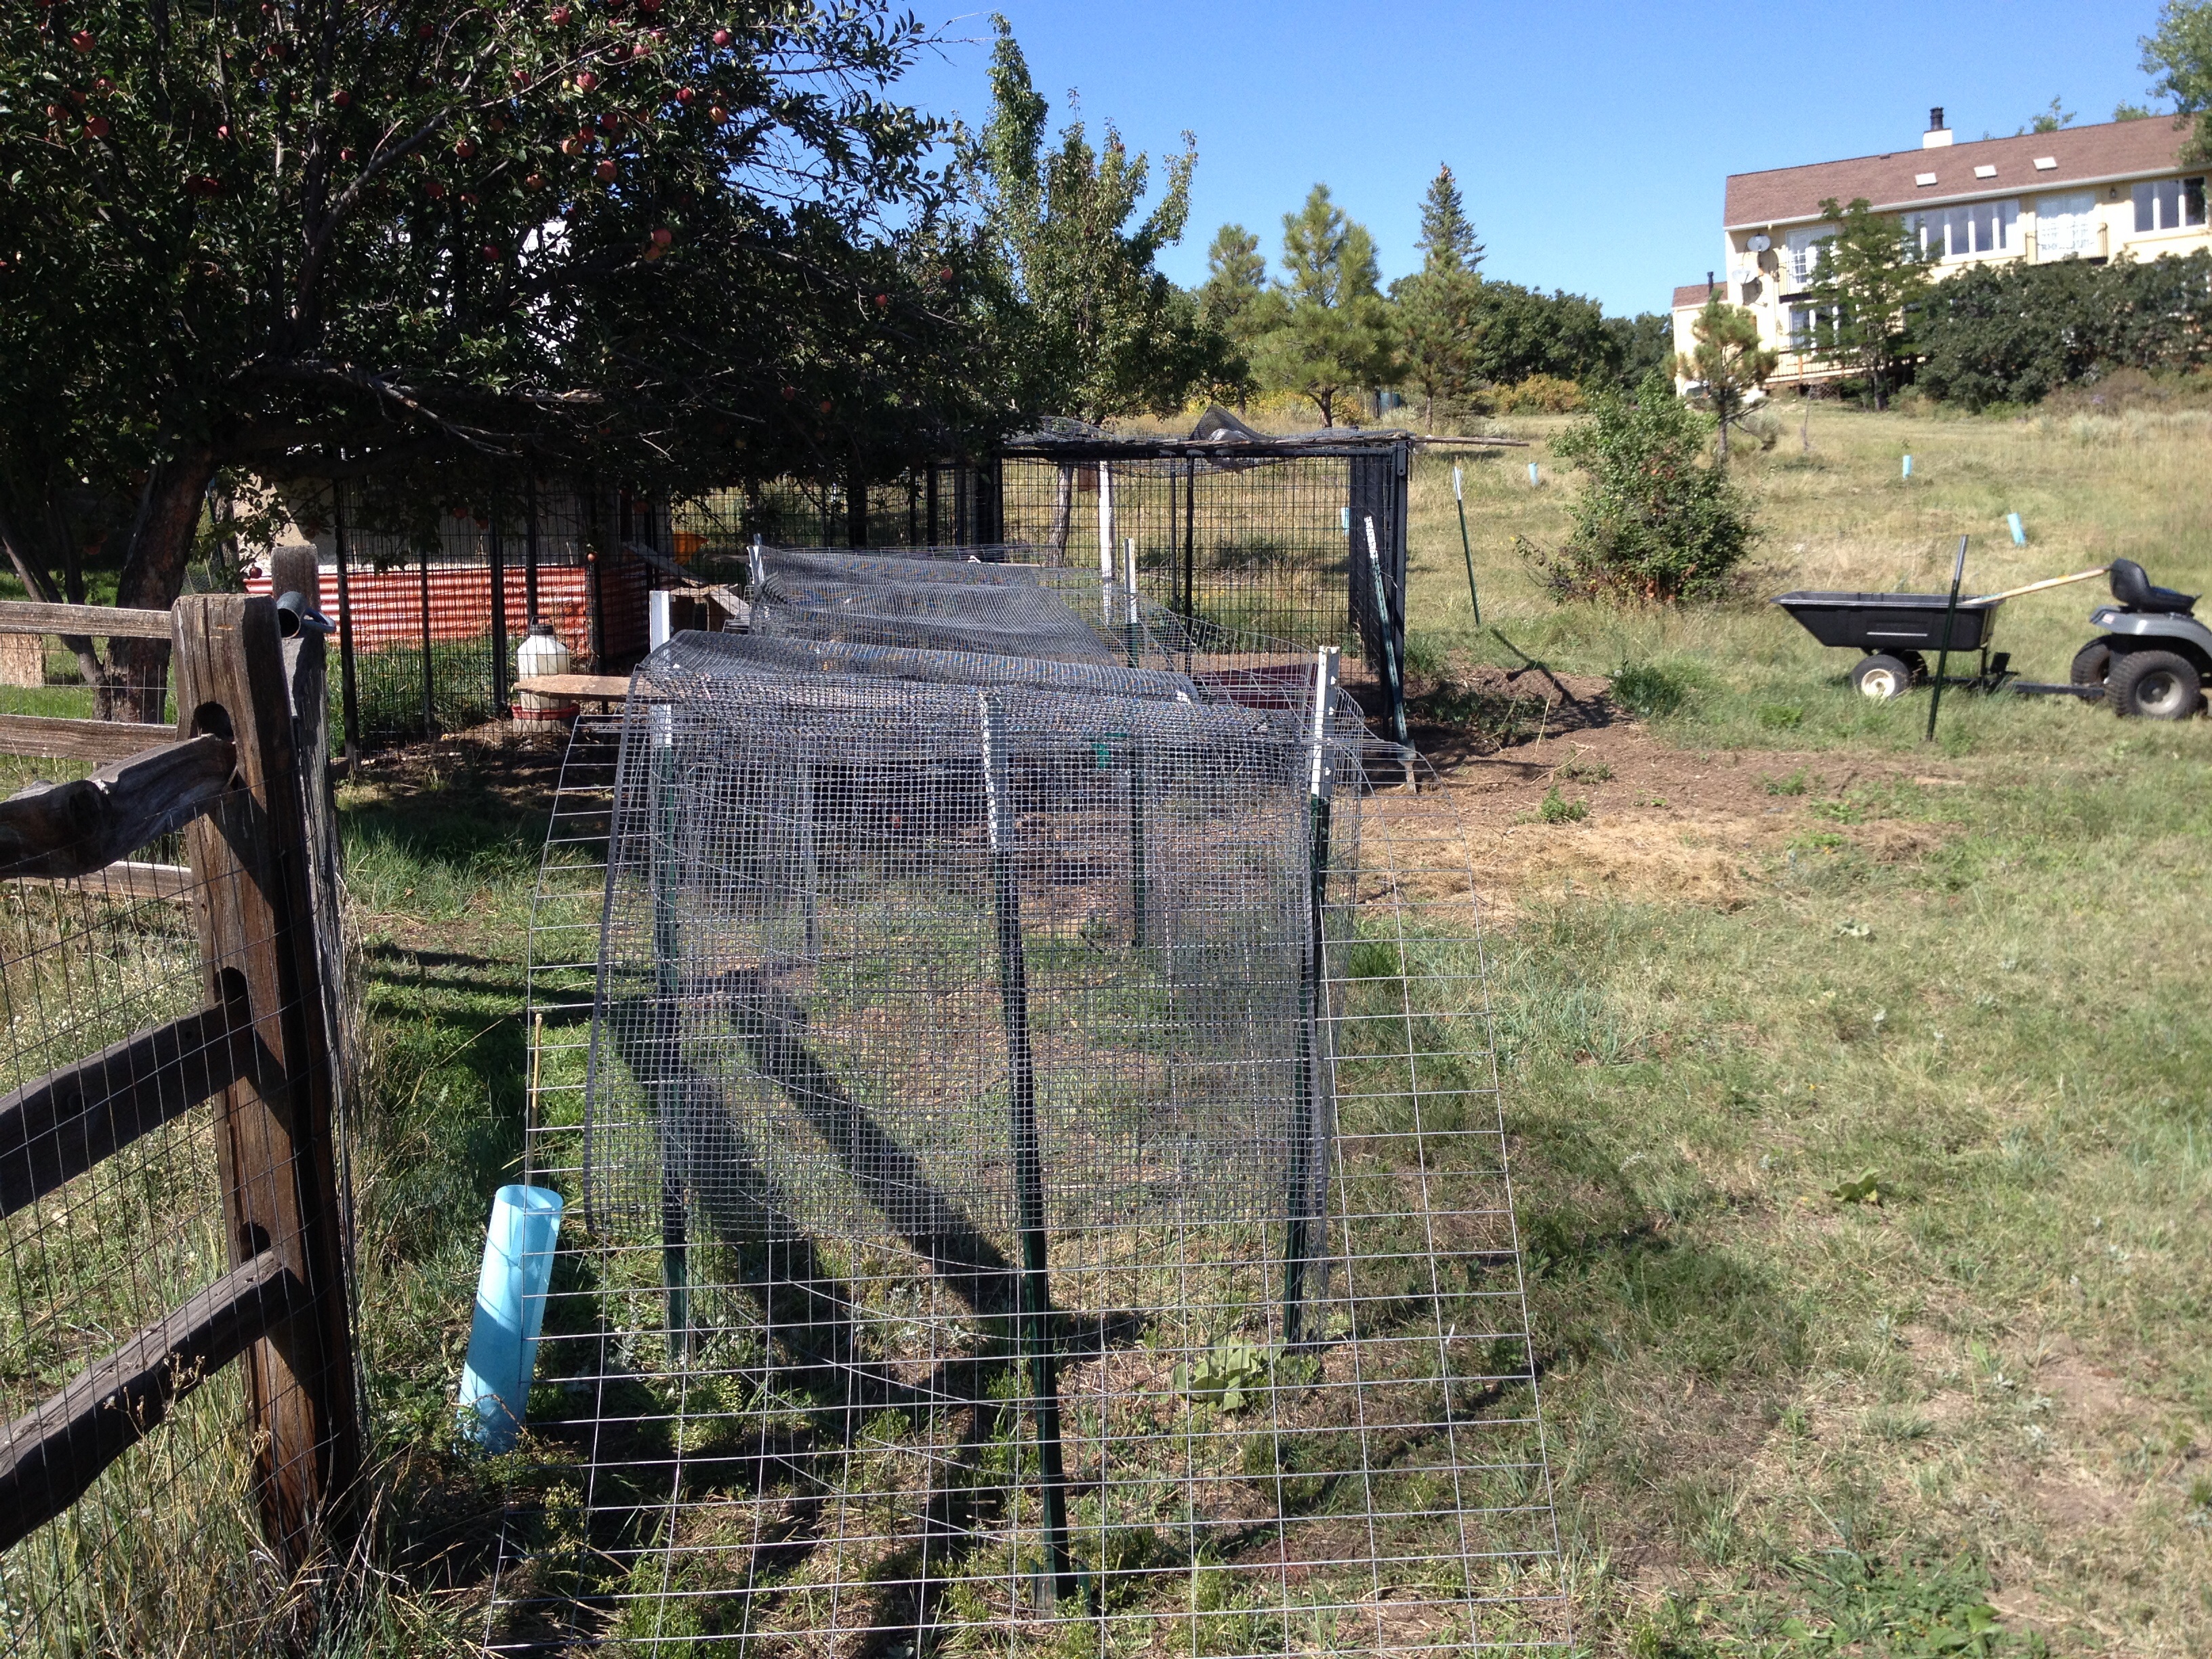
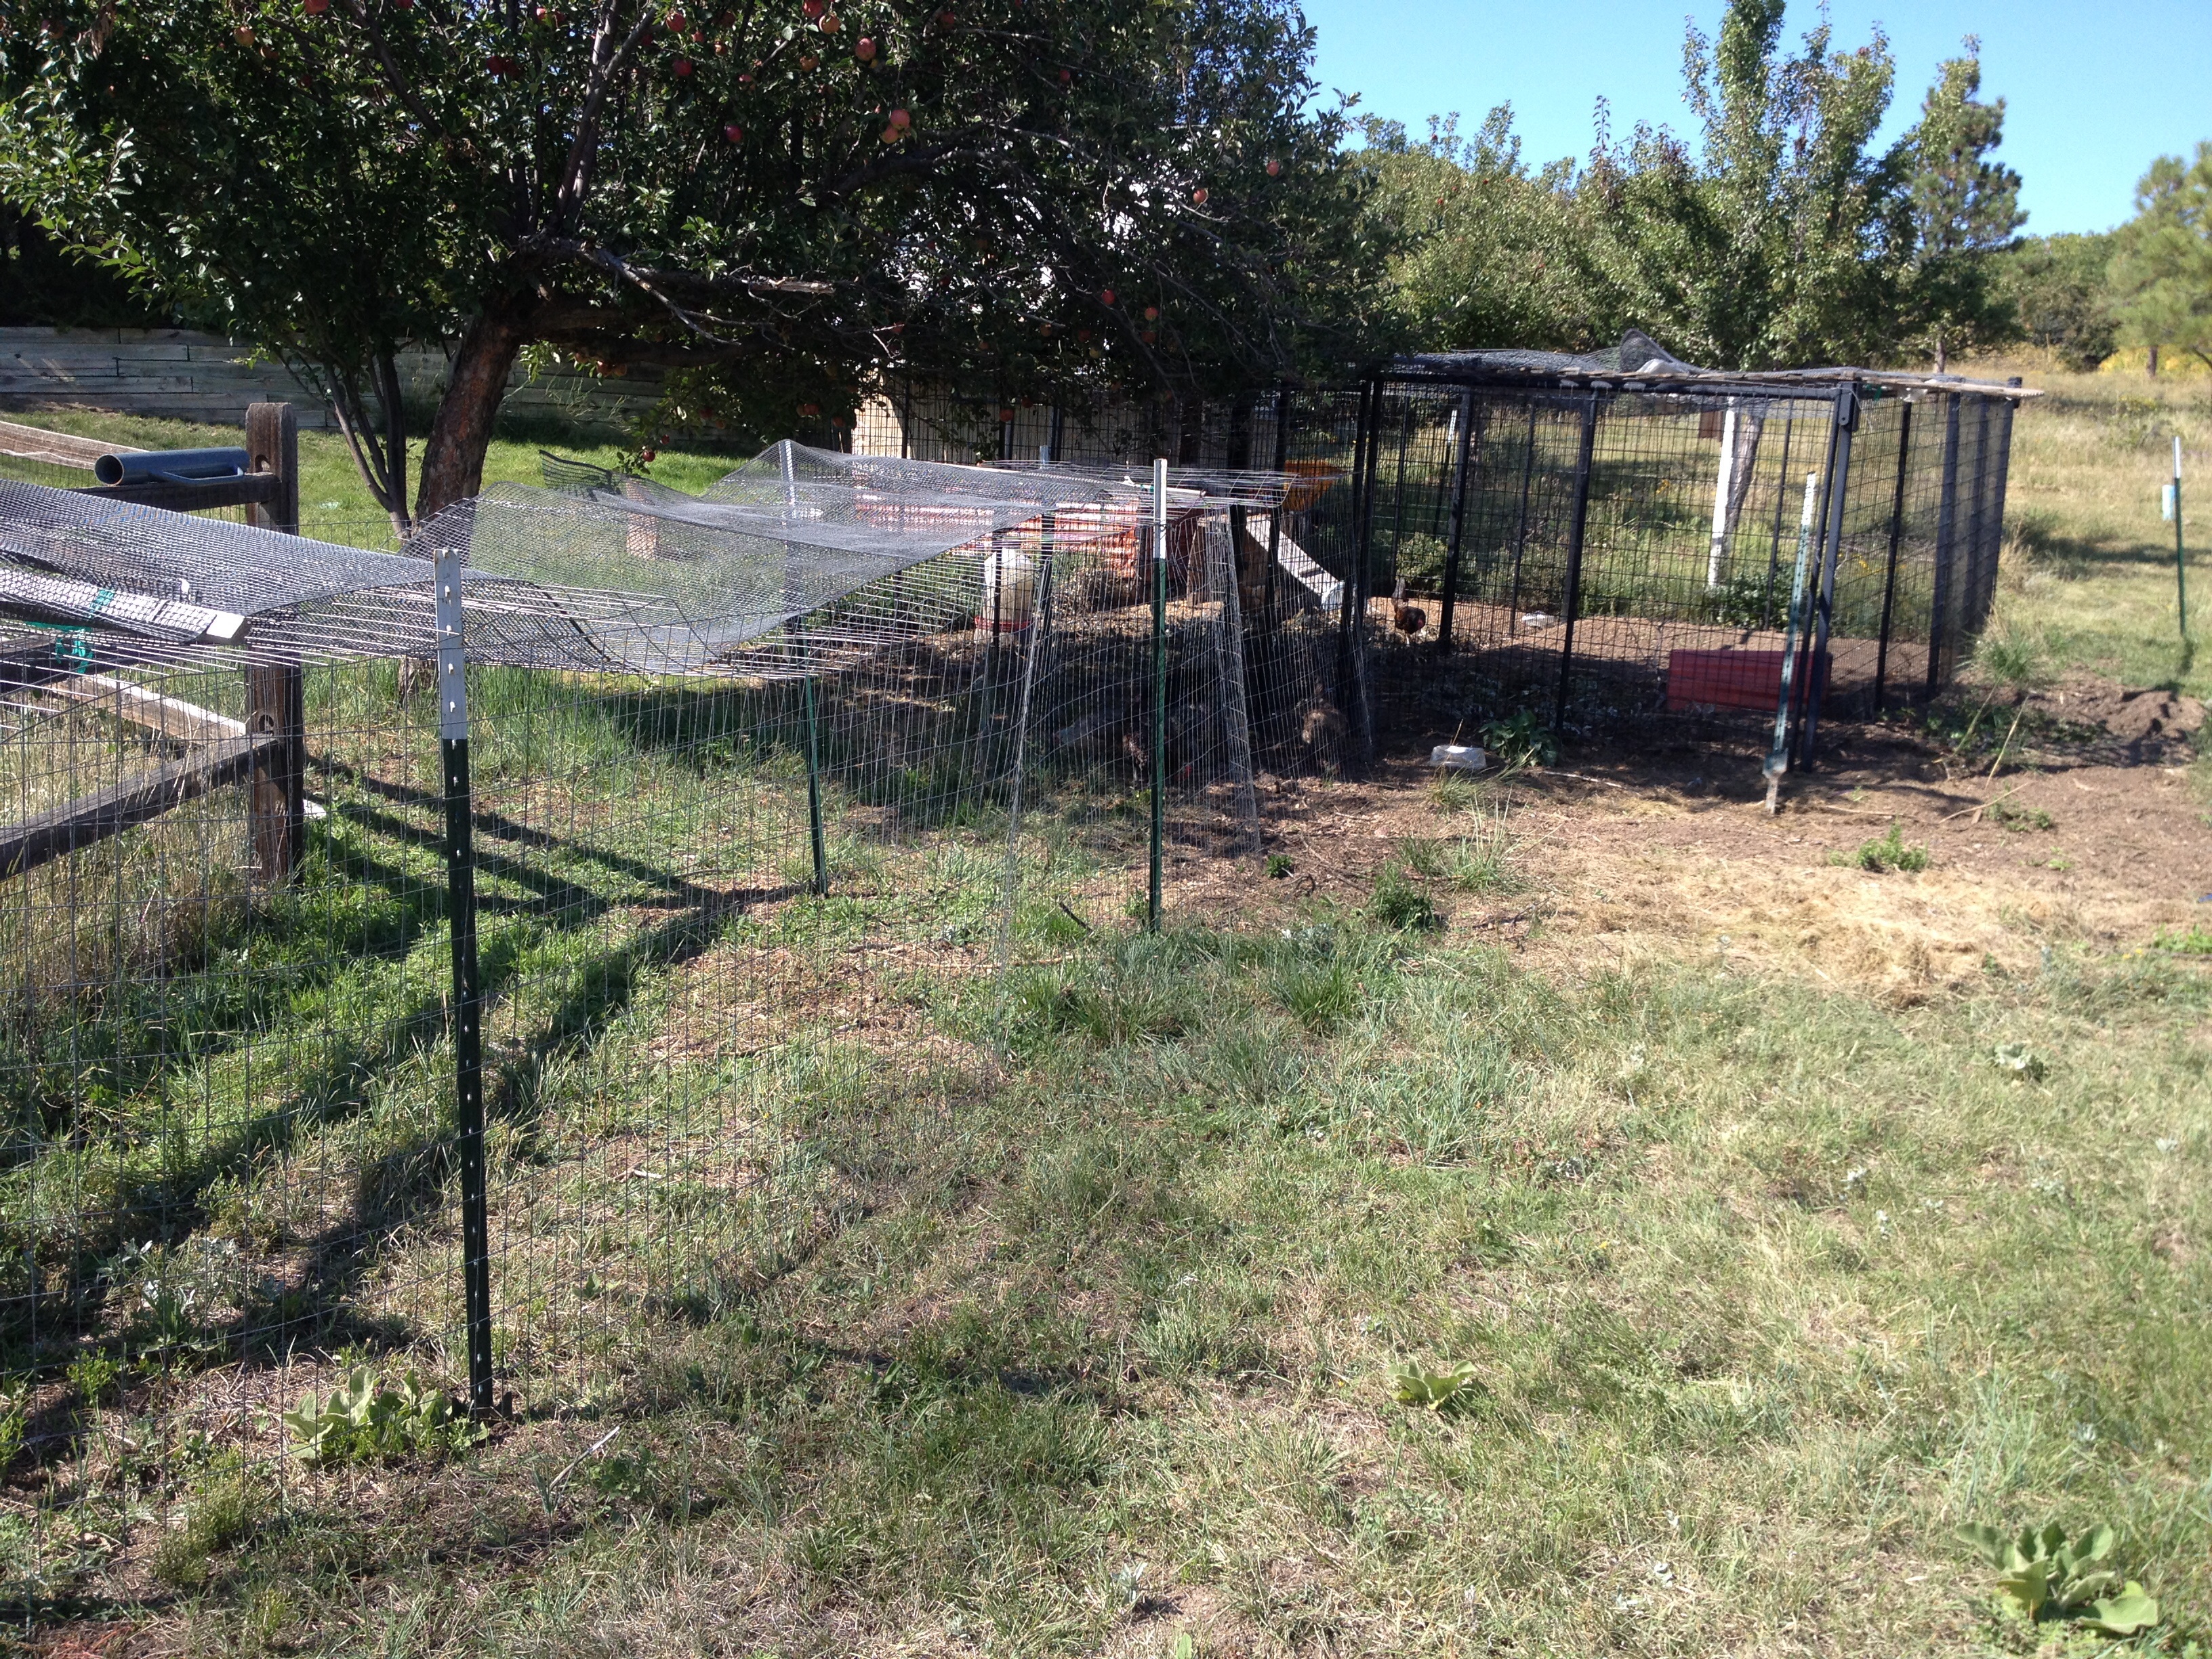
Yesterday I moved and changed the chicken run for the chickens. After watching a hawk eat one of the chickens, all of the runs will now have a top on them.
Since I have two runs of wire that are about 4 foot wide I used one for the side and put the other on top. I had to keep it skinny enough to keep the top from falling in. I used metal fence posts again. This setup took longer than my other setup and it provides maybe another foot of width. This doesn’t use both runs of fence though so I will probably try another triangle shape when I move it next since I’ll get twice the length if I use all of both fences.
I used removable zip ties to hold it together.
Side view.